15
OS X will recognize a RAID 1 array as a single “drive” (the second device is essentially “hidden” from
the OS X).
JBOD (capacity)
– JBOD is an acronym for “Just a bunch of disks”. A JBOD array is used to maximize
capacity when using devices of different sizes. Unlike RAID 0, capacity is cumulative. For example, a
JBOD configured using the same 1TB + 2TB disks (from the RAID 0 description) would yield a usable
capacity of 3TB. However, JBOD offers no performance benefit.
2)
After selecting the RAID type or Level, name your array. Although this step is optional, it may provide
useful if you intend to configure more than one RAID level and remove these devices for safekeeping. If
you decide to use the default naming scheme, the array will be labeled as follows:
RAID_RAID level_RAID #
For example, a RAID 0 array would be displayed as RAID_0_0
The first zero represents the RAID type or level. The second refers to the array’s number
(RocketStor will start from zero).
3)
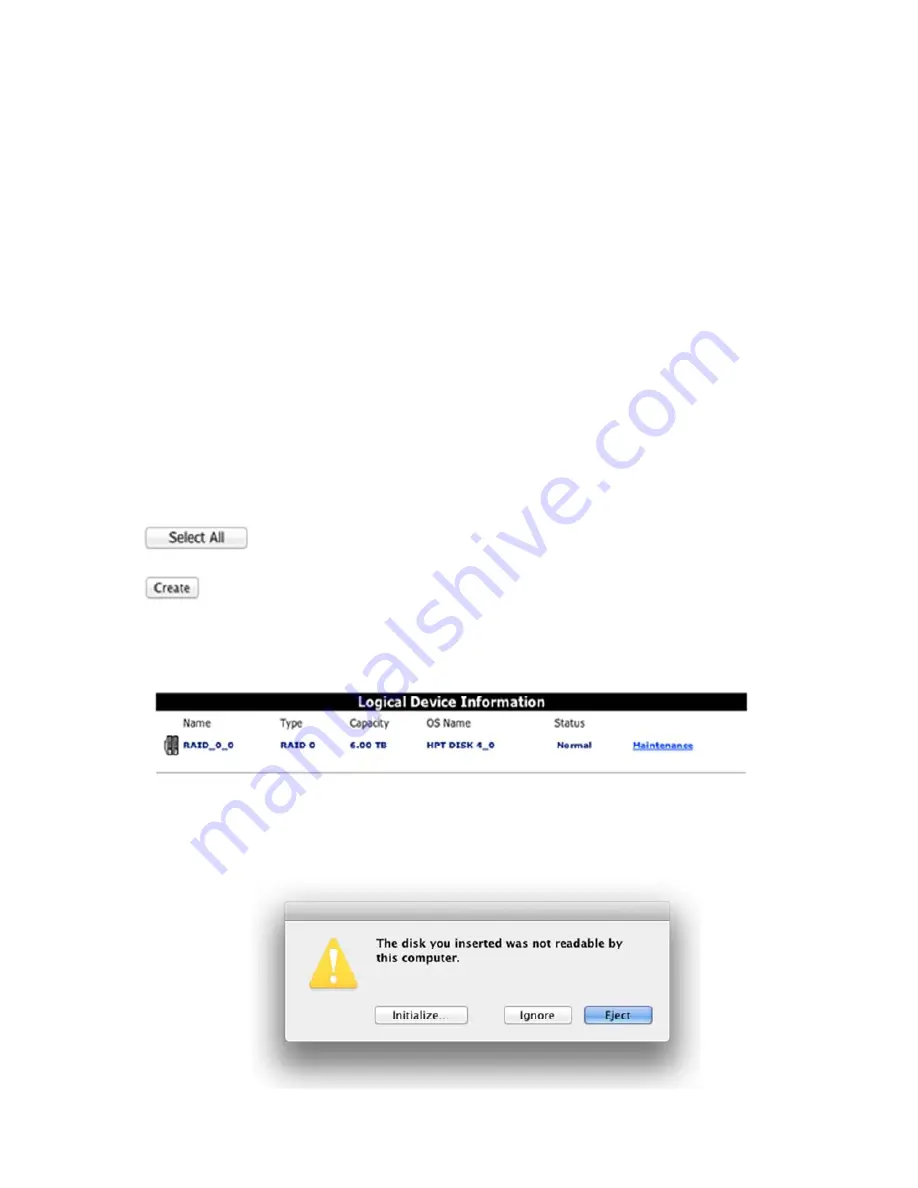
Once you have named the array, click the “Select All” button, or manually check the box before each
device.
4)
Once the devices have been selected, click the “
Creat
e” button.
5)
The interface will notify you after the array has been successfully created. This information will also be
logged under “Event”. The new array will be displayed under Logical Devices:
6)
OS X will recognize a freshly created RAID array as a new “disk”. You will need to use OS X’s Disk
Utility interface to prepare the array for use.
Disk Utility Alert Message:
7)
Click “
Initialize
” – this will open Disk Utility.


