16
Show system time, video resolution, and video refreshing rate
3.
Adjust image, 1/2x, 1x, 2x
4.
Select video streaming source
5.
(If in”Video Setting” the streaming 2 setting is
closed, this option will not appear here.)
IP Camera supports 2-way audio. Click the “Chatting” check box, then you
6.
can use microphone connected to the PC to talk to the Camera side.
Show how many people connect to this IP camera.
7.
Tick the Relay out "ON" box to trigger the relay output for testing. Tick "Off" to
8.
stop triggering.
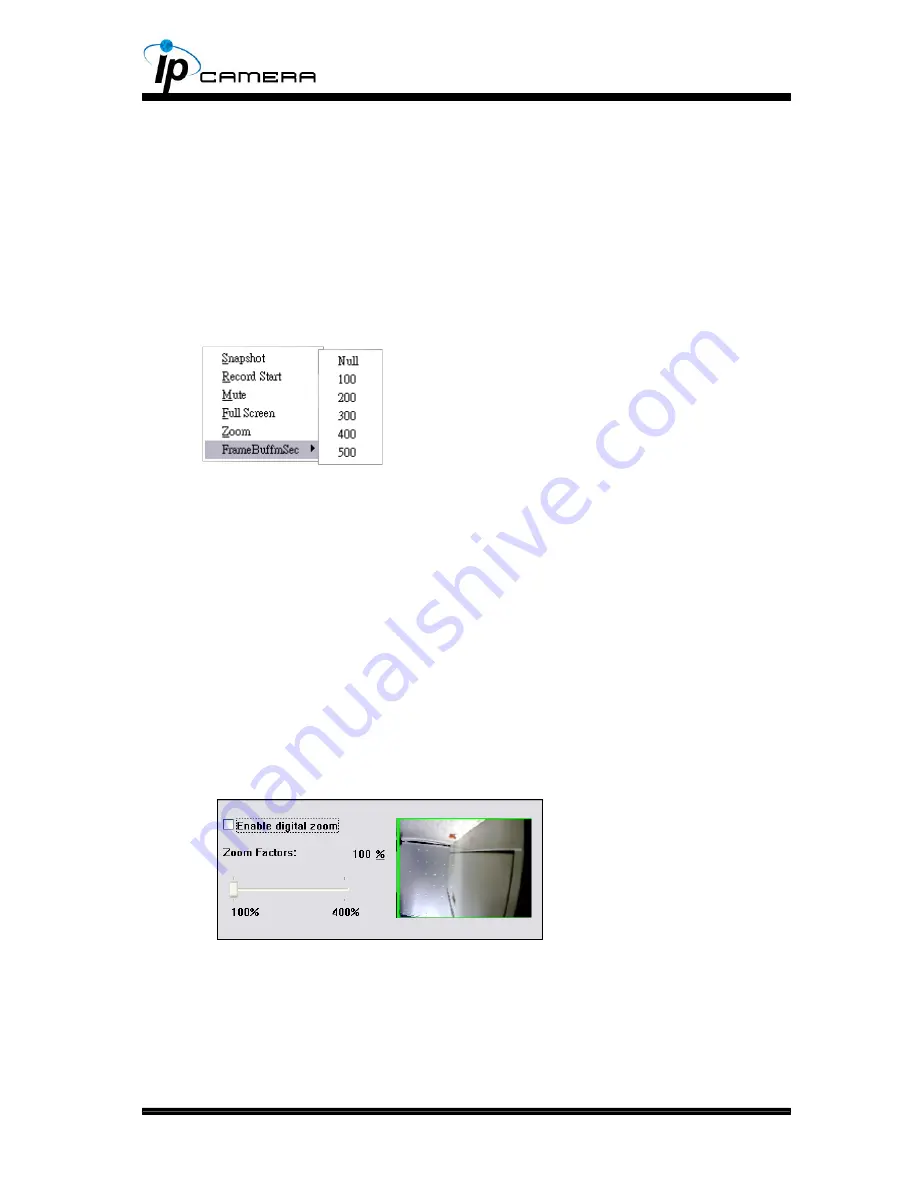
Right-Click the mouse on the video, it will show a
pop-up menu.
Snapshot: Save a JPEG picture
1.
Record Start: Record the video in the local PC. It will ask you where to save
2.
the video. To stop recording, right-click the mouse again. Select “Record
Stop”. The video format is AVI. Use Microsoft Media Player to play the
recorded file.
Mute: Turn off the audio. Click again to turn on it.
3.
The "mute" botton does not affect the playback recording video.
As long as
the "IP Camera to PC" option in the audio setting is enabled, all the audio will
be recorded into the playback video even you click "mute" in the live page.
Full Screen: Full-screen mode.
4.
ZOOM: Enable zoom-in and zoom-out functions. Select “Enable digital zoom”
5.
option first within the pop-up dialogue box and then drag and drop the bar to
adjust the zoom factors.
Frame Buffm Sec: Build a buffm to accumulate several video frame and
6.
play at a regular intervals. This function can make video smooth-going when
the Network speed is slow and lag. If you select “100”, the interval between
every frame is fixed to 100 mSec. The slower the Network is, the bigger value
should be selected. The default value is null.


