User manual - Machine Automation Solution - V3R003
26 / 102
·
·
·
7.5.3.1 Markers
In the
Tools
option, you can place flag-type markers on the map to mark the location of obstacles or other points of
interest such as rocks, holes, anthills, and wet areas.
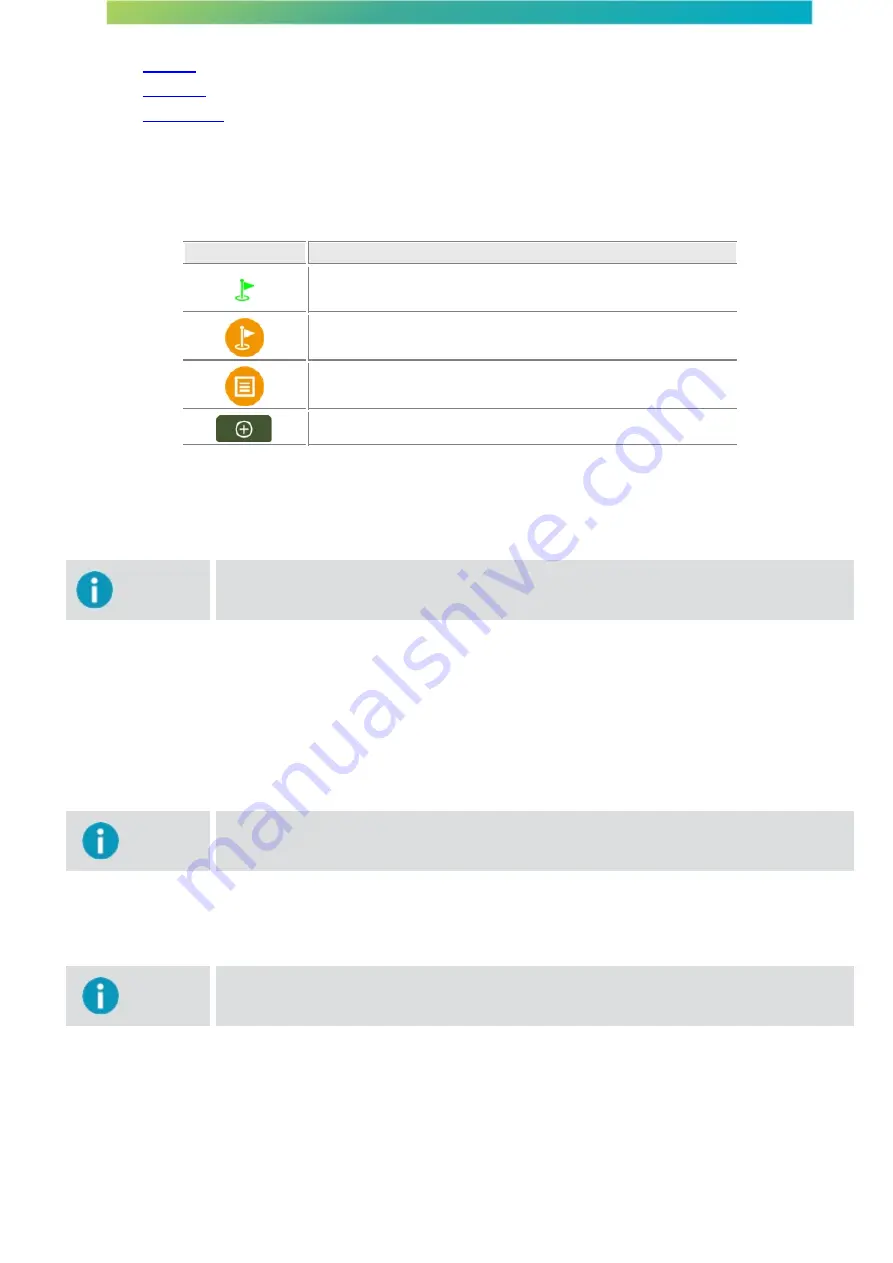
Icon
Description
Marker function
Create new marker
Manage markers
Create new marker layer
To use the markers, proceed as follows:
1.
Press on the Marker option and then on the Flag icon to mark the desired location.
Important
In this option, the system will create the markers grouped in a layer with the default name
given by the system. The marker name and color cannot be changed. If you want the mark in
a layer with a specific name, you must select it in advance as described below.
To create different layers of markers with specific names, you must create them in advance before using them on the map.
To do so, proceed as follows:
1.
Press on the
Marker
option and then press the
Manage markers
icon;
2.
In the layer manager, press option
Create new marker layer
;
3.
Insert a new name for the layer and confirm. Example: anthills or holes. The name cannot be changed later;
4.
The new layer is not displayed on the list;
Important
When you select the layer, you can see a drawing of the marker which indicates the color that
the system associated with the layer. You cannot change the color. For each new layer, a
new marker color is associated by the system.
5.
Select the layer whose markers you wish to visualize on the field or to which you want to add a new marker
and press
OK
;
6.
On the operation screen, when you press the
Marker
icon a marker will be placed according to the color of
the layer which was pre-selected in the manager.
Important
In the layer manager it is possible to select multiple layers at the same time to visualize all
the markers on the Field. However, when you click on the flag icon, only one layer will be
edited. The new marker will be created on the layer indicated with the pencil icon.


