23
3. Install the stove beneath the chimney gap
if possible. Take all necessary precautions
when crossing through walls. Use double
insulated piping if there is any risk of fire.
If the material the wall is made of is not
combustible, a single pipe can be used.
4. As chimney pipes must be cleaned
regularly, we advise building them vertically.
In certain cases, elbow joints are inevitable.
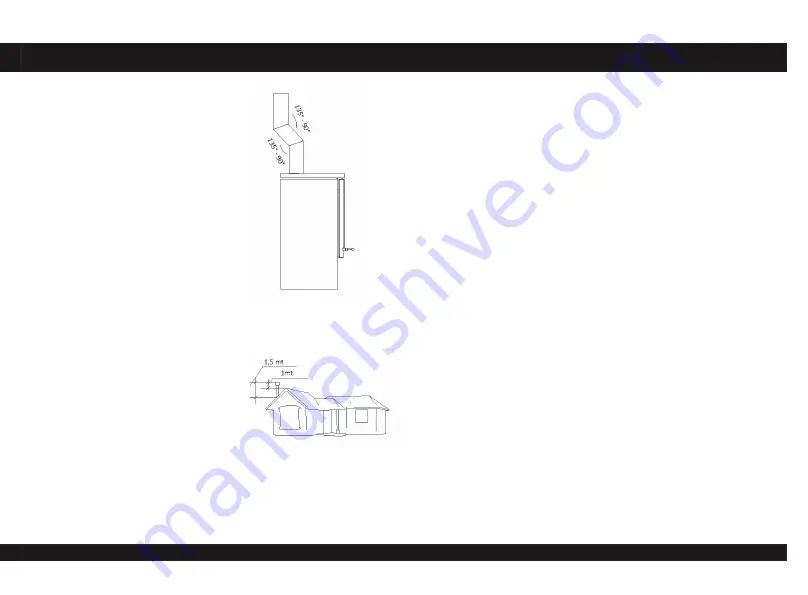
Up to two 135º or one 90º elbow joint can
be used, ensuring a height about six metres.
Respect the interior diameter of 150 mm.
(Fig. C).
5. The chimney stack should extend 1 metre
above the highest point of the roof. When
this is not possible and/or the roof has a
slope in excess of 60º, the pipe must extend
at least 1.5 metres from the point where it
comes out through the roof. (Fig. D.)
6. In the case of installations in windy areas
and/or when the pipe extends more than 1
metre above the roof, fit supporting cables
to the pipe.
FIG. C
FIG. D
7. When the stove is installed on a wooden or plastic floor, use a metal or
ceramic base. Ensure that the floor can withstand the weight.
8. If any work, alterations or repairs is performed in the area near the pipe or
the stove after its installation, ensure that none of the items specified in the
User Manual have been affected.
9. If you notice a smell of burning or overheating in the area around the stove,
request a technical inspection. Note: When lighting the stove for the first times,
a certain amount of smoke and odours may appear caused by the paint.
10. Ensure the no element of the house’s electrical installation is affected by the
heat of the stove or of the chimney pipe.
11. Build ventilation grates in the house and do not cover them by accident.
12. When cleaning the smoke connector use a metal brush. When cleaning the
interior of the stove, remove the ash using a small scraper and a brush. Do not
damage any of the parts inside the stove.
13. Do not use or install with shared chimneys.


