


XF2 - Enable Internal GPS Module
Page 11 of 22
PN 874-0305-000 Rel. February 13, 2013
Screenshot or Graphic
Step
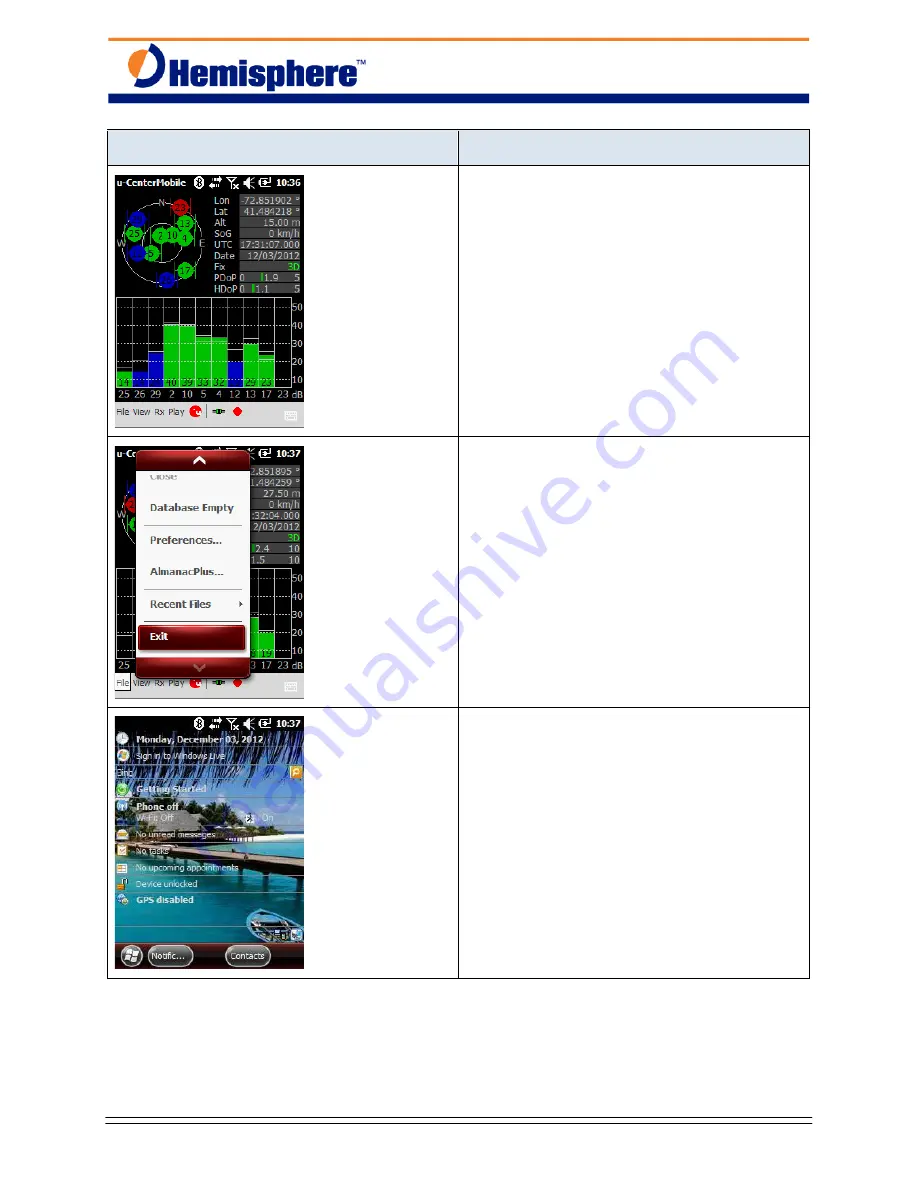
16. From the
SV Summary
menu,
Note the u-Center Mobile is still
connected to the internal GPS module
green (active) connection icon, but the
software is not currently logging a file; the
red circle icon is displayed on the task
bar.
To start a new Log file, tap the Red circle
icon on the task bar, the new file menu
will be displayed to the user, tap/select
Save,
a new log file will be opened,
NMEA messages recorded into the log
file.
17. To exit from the u-Center Mobile software,
tap/select
File,
browse the list, select
Exit
18. The user is returned to the Windows
Mobile Desktop.
19. If needed, the u-Center Mobile Log files
can be copied from the XF2 data
controller to the office PC using USB
cable and Windows Mobile Device Center
software.
1. The following steps describe the steps to
output data from the XF2’s internal GPS
module to the Carlson SurvCE software.
The following steps presume the Carlson
SurvCE software has already been
installed on the XF2 data collector.
2. From the Windows Mobile Desktop,
tap/select the Windows Start icon on the
lower left-corner of the task bar,


