


Installation
Additional Work with Conveyor Option
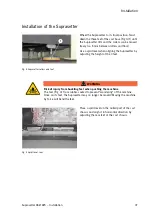
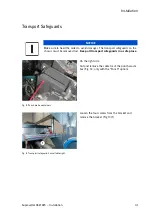
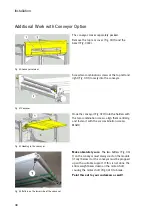
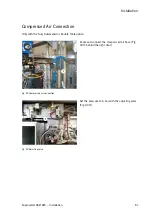
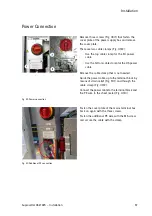
Fig. 30 Conveyor retainer
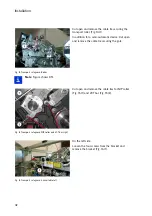
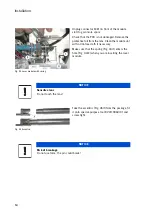
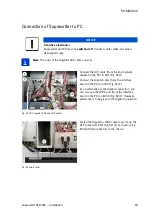
Fig. 31 Conveyor
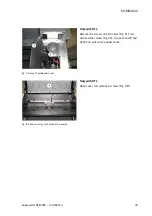
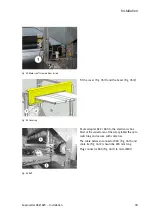
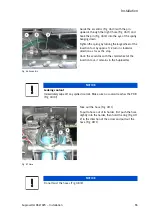
Fig. 32 Hooking in the conveyor
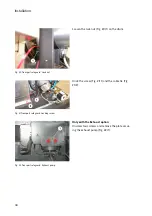
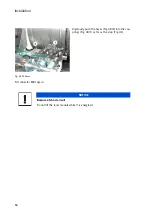
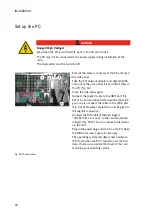
Fig. 33 Buffers on the lower side of the conveyor
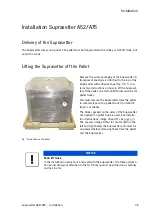
The conveyor comes separately packed.
Remove the top rear cover (Fig. 30/1) and the
bezel (Fig. 30/2).
Screw two combination screws at the top left and
right (Fig. 31/1) loosely into the conveyor.
Hook the conveyor (Fig. 32/1) into the holders with
the two combination screws, align them centrally,
and fasten it with the six combination screws
M4x10.
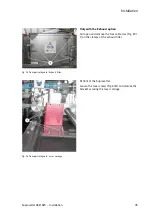
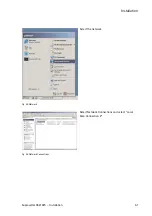
Make absolutely sure:
The two buffers (Fig. 33/
1) on the conveyor must always rest on the module
(if any) below it or the conveyor must be propped
up with a suitable support. If this is not done, the
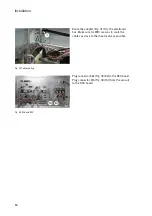
entire weight bears down on the motor shaft,
causing the motor shaft (Fig. 34/1) to break.
Point this out to your customers as well!
Summary of Contents for Suprasetter A52
Page 6: ......
Page 24: ...Safety 22 Fig 24 Filter replacement Fig 13 4 On the filter unit ...
Page 26: ...Safety 24 Fig 26 Warning sign copy template ...
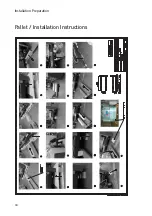
Page 36: ...Installation Preparation 34 Pallet Installation Instructions ...
Page 82: ...Technical Data 80 Resolution 1000 pixels cm 2540 dpi Type Value Comment ...
Page 84: ......
Page 85: ......