Page 6
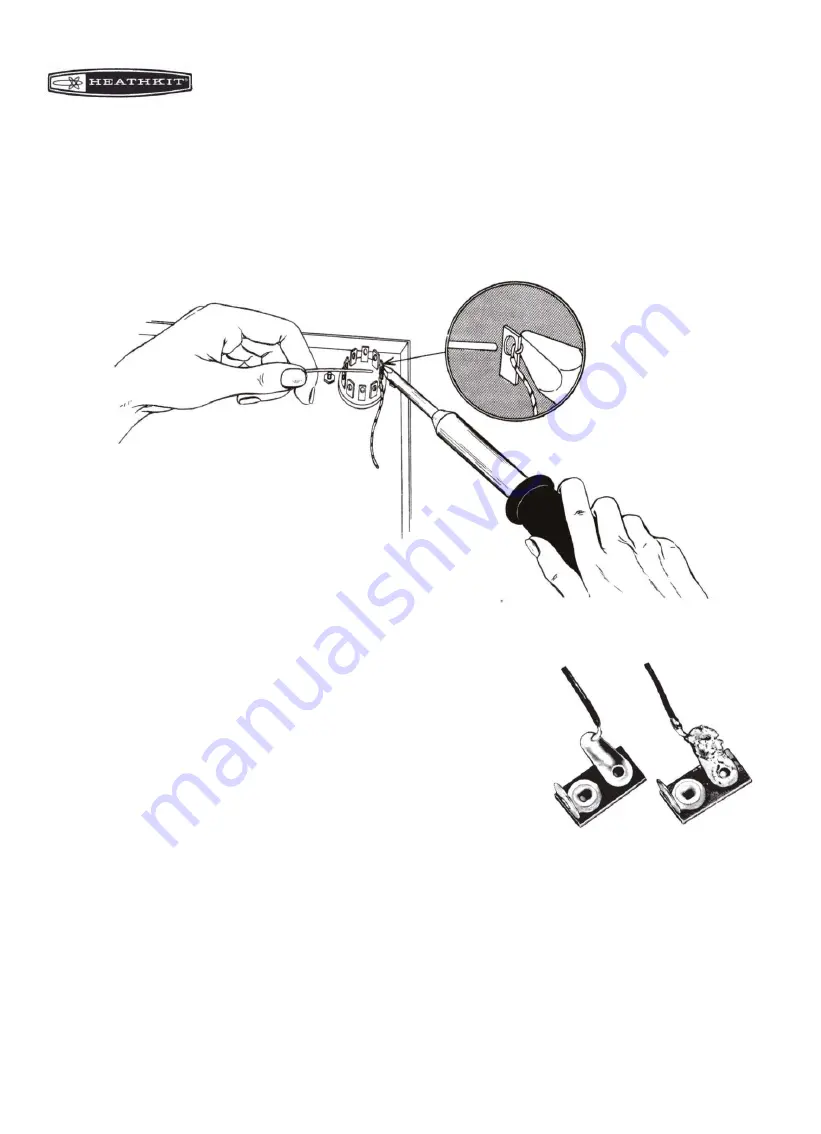
To make a good solder joint, the clean tip of the soldering iron should be placed against the joint to be soldered so that the
terminal is heated sufficiently to melt solder. The solder is then placed against both the terminal and the tip of the iron and
will immediately flow out over the joint. Refer to sketches on page 6 and 7. Use only enough solder to cover wires at the
junction; it is not necessary to fill the entire hole in the terminal with solder. Excess solder may flow into tube socket
contacts, ruining the socket, or it may creep into switch contacts and destroy their spring action. Position the work so that
gravity tends to keep the solder where you want it.
A poor solder joint will usually be indicated by its appearance. The solder will
stand up in a blob on top of the connection with no evidence of flowing out
caused by actual "wetting" of the contact. A crystalline or grainy texture on the
solder surface, caused by movement of the joint before it solidified is another
evidence of a "cold" connection. In either event, reheat the joint until the solder
flows smoothly over the entire junction, cooling to a smooth, bright
appearance. Photographs in the adjoining picture clearly indicate these two
characteristics.
A good, clean, well-tinned soldering iron is also important to obtain
consistently perfect con-nections. For most wiring, a 25 to 100 watt iron, or the
equivalent in a soldering gun, is very satisfactory. Smaller irons generally will not heat the connections enough to flow
the solder smoothly over the joint and are recommended only for light work, such as on etched circuit boards, etc. Keep
the iron tip clean and bright. A pad of steel wool may be used to wipe the tip occasionally during use.
CRIMP WIRES
Summary of Contents for IT-12
Page 1: ......
Page 4: ...Page 2 ...
Page 25: ...Page 23 ...
Page 26: ...Page 24 ...
Page 27: ...Page 25 ...
Page 28: ...Page 26 ...
Page 30: ......


