


NOTE:
When the unit is off, the date and time will still appear at the
top of the screen.
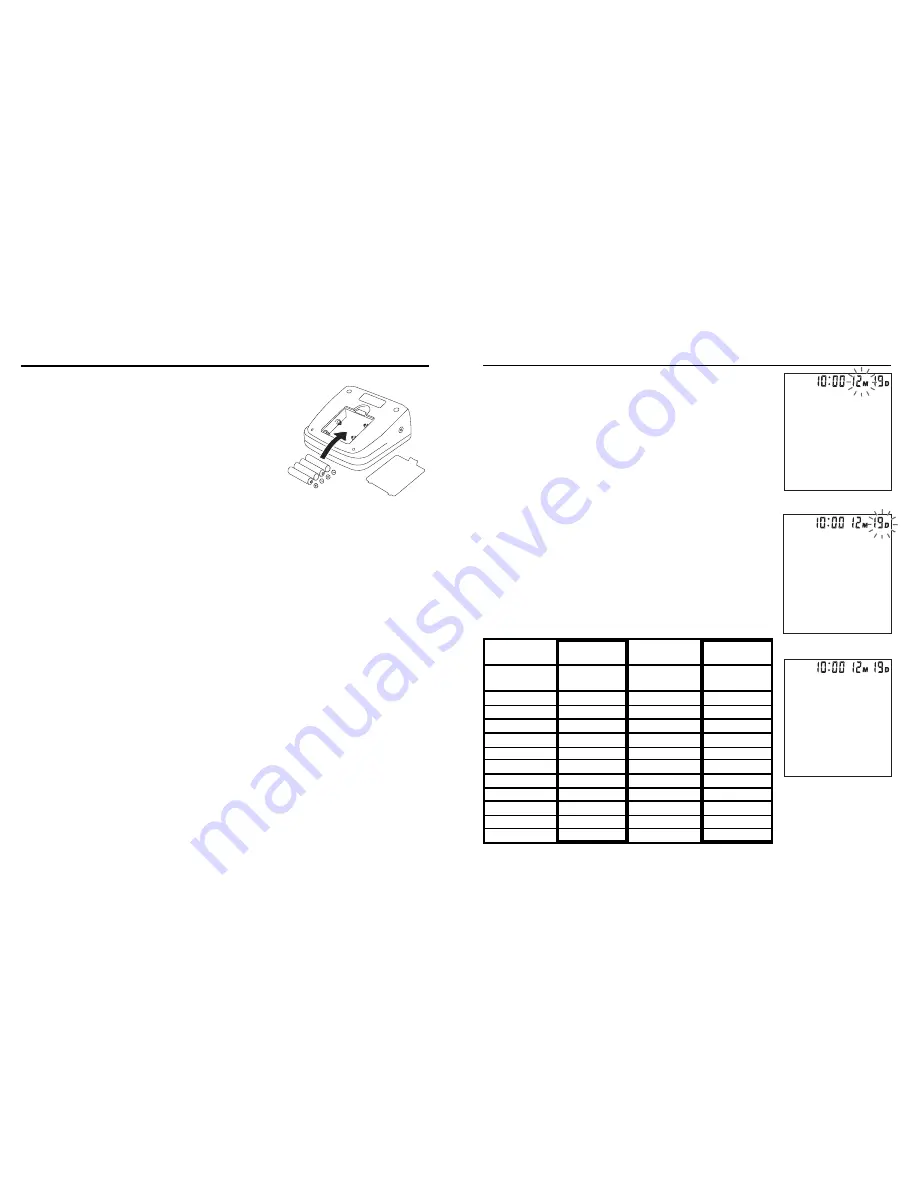
1. When the unit is off, press and release both the POWER and
MEMORY button at the same time. The month will begin to flash,
Fig. 1
.
2. Press the MEMORY button to change until the desired
number appears.
NOTE:
To scroll through the numbers quicker, hold down the
MEMORY button.
3. Press the POWER button to set the entry.
4. The date,
Fig. 2,
followed by the hour and minutes will blink.
Repeat steps 2 and 3 to adjust the date/time setting.
5. After setting the minutes, the unit will automatically exit out of the
date/time setting mode,
Fig. 3
.
NOTE:
The time is expressed in 24hr military time. The chart below
explains the time conversion.
11
Fig. 2
Fig. 1
Fig. 3
Regular Time
(12 hours)
Military Time
(24 hours)
Regular Time
(12 hours)
Military Time
(24 hours)
12 am
Midnight
0
12 pm
Noon
12
1 am
1
1 pm
13
2 am
2
2 pm
14
3 am
3
3 pm
15
4 am
4
4 pm
16
5 am
5
5 pm
17
6 am
6
6 pm
18
7 am
7
7 pm
19
8 am
8
8 pm
20
9 am
9
9 pm
21
10 am
10
10 pm
22
11 am
11
11 pm
23
Setting the Date/Time
10
Battery Installation/Replacement
1.
Press down on tab and lift the cover.
2.
Insert or replace 4 “AA” batteries into the compartment,
matching the indicated polarity symbols,
Fig. 1.
3.
To close, match up and connect the bottom hooks of the
cover, then push the top end.
NOTE:
Replace the batteries when the Low Battery
symbol appears on the display or when the display remains
blank when the POWER button is pressed.
4.
It is recommended to remove the batteries if the unit will not be used for an extended period
of time.
Fig. 1


