7
2
1
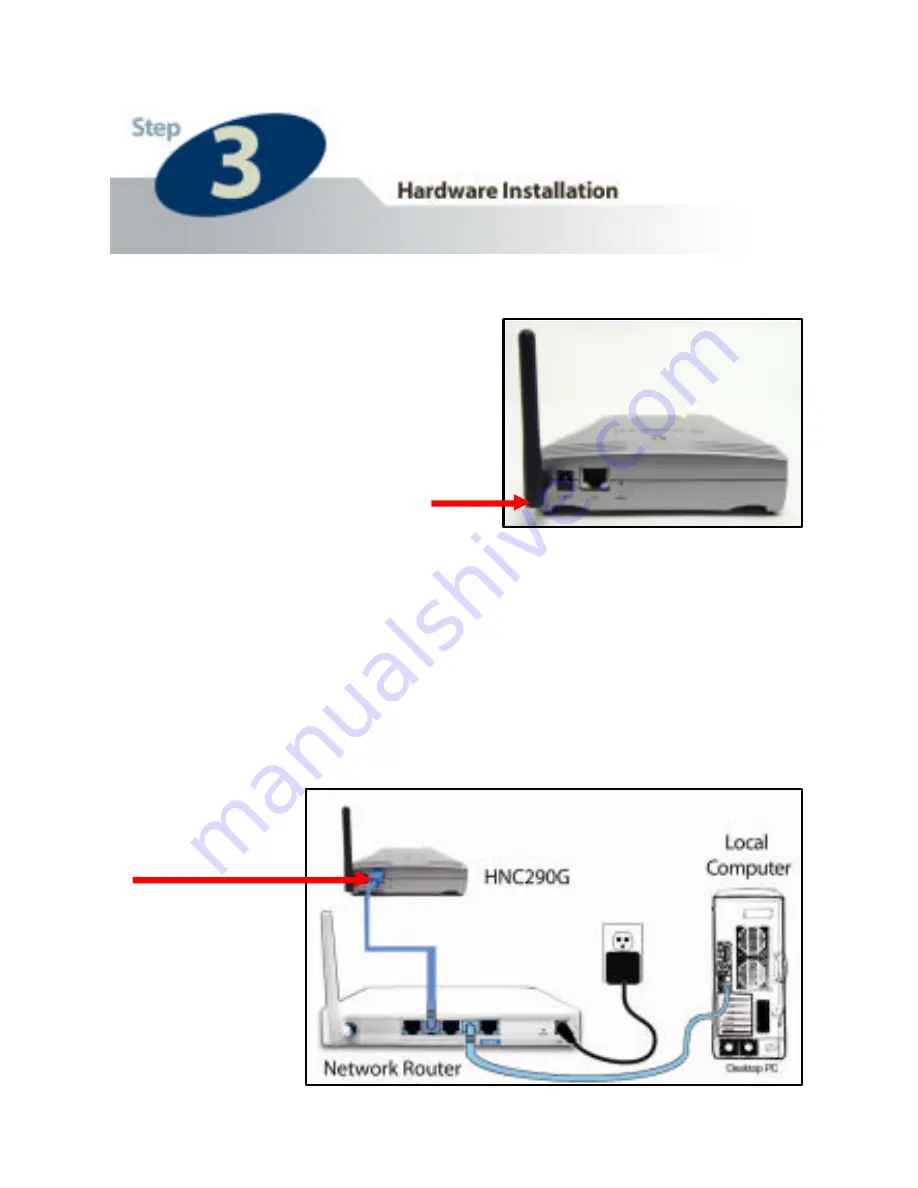
Locate the antenna
connector on the left side
of the camera’s rear panel.
Screw the base of the
antenna (included with the
HNC290G) into the
antenna
connector.
1
2
Locate the network cable connector (RJ -45 port) on the
camera’s rear panel. Connect an Ethernet cable to the port.
Connect the other end of the cable to the network (i.e. a
router or switch). NOTE: For initial setup, you will need
to use a
wired
connection. After completing the setup and
configuration, you can begin using your camera wirelessly.
Summary of Contents for Net-Vision HNC290G
Page 1: ...1...
Page 4: ...4...
Page 6: ...6 Power Input Reset Button Back Panel Antenna LAN Port...
Page 14: ...14 4...
Page 17: ...17 6...
Page 32: ...32 a Click on Start in the bottom left corner of your screen Then click on My Network Places a...
Page 33: ...33 b Click on View Network Connections b...
Page 36: ...36 d...


