


To set up your HKS102, please follow the steps below:
Before connecting any cable to your KVM Switch, please make sure all of
your computers and their peripherals have been powered off. Otherwise, the
KVM Switch might not be set up properly.
Step 1:
Make sure all the computers that are to be connected to the KVM Switch
and their peripherals are in powered-off state. If not, turn the power off before
you proceed with the following steps.
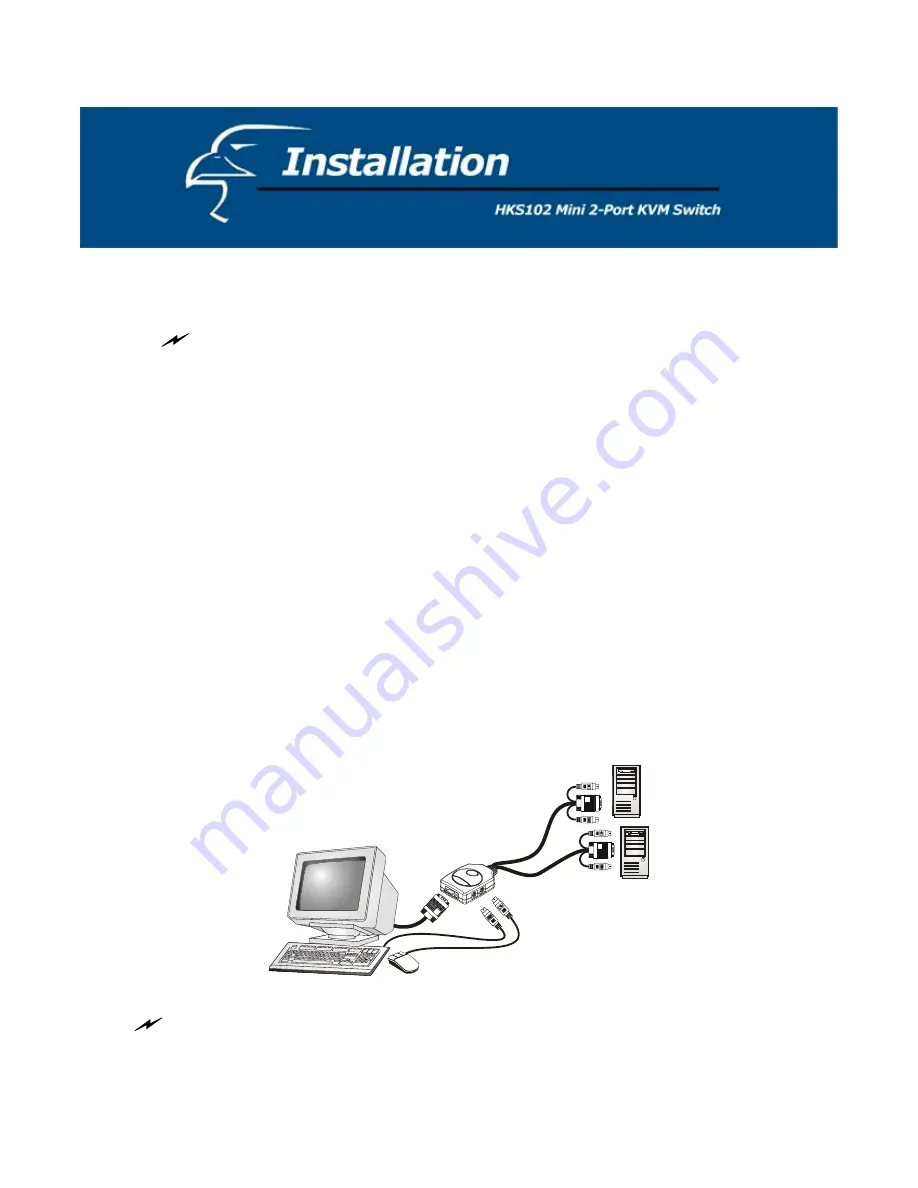
Step 2:
Connect the shared keyboard, monitor, and mouse to the corresponding
ports on your KVM switch.
Step 3:
Connect each set of the built-in KVM cables to a computer’s keyboard,
video, and mouse ports. You can use individual standard keyboard, mouse, and
video cables to extend the cable distance, but it will depend on the type of cables
you use; the maximum cable distance is limited to 5 ~ 7 meters (15.5 ~ 23 feet).
Step 4:
Power on the connected computers, one-by-one. After, your computers
are powered on, it will recognize the keyboard and mouse. Now, you can begin
operating the KVM switch.
DO NOT TRY to connect the built-in KVM cables to the computers while the computers are
still in powered-on states. Otherwise, the computer will have difficulty recognizing your shared
keyboard and mouse.


