MICA IO-Link Gateway - User Manual
9
5
Using the IO-Link Gateway
After starting the container, you can open the user interface by clicking the MICA IO-Link
Gateway Container tile.
The user interface consists of six sections. To make changes to a section, click on the section
title or the button with the chevron left of the section title.
5.1 MICA IO-Link Master
The MICA IO-Link Master section lets you view and configure the settings of the IO-Link master,
ports, and devices. It is also lets you upgrade the firmware of the integrated IO-Link master.
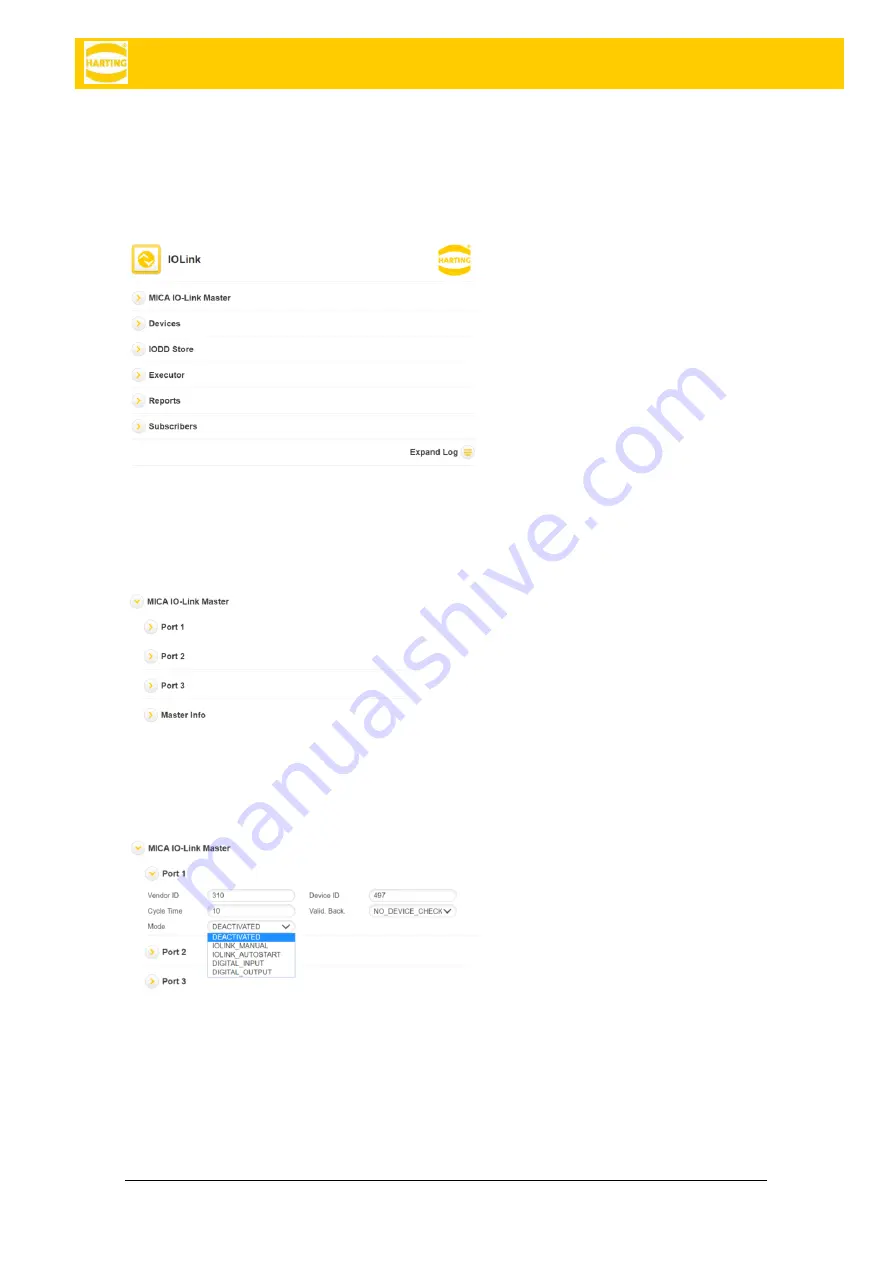
To configure an IO-Link device, connect the device to a port on the front panel, open the
associated port section, enter the
Vendor ID
and
Device ID
, the cycle time in milliseconds, the
Validation
setting, and the IO-Link
Mode
.
Before a device can be activated, the correct IODD file must have been stored in the IODD
Store (see section 5.3).
If the container shipped with a newer version of the IO-Link master firmware than the one
installed on the master, it will display an
Install
button at the end of the section. Click this button
to update the firmware on the master to the latest version.
5.1.1 Using IO-Link Ports as Digital I/O
The IO-Link Gateway also supports the standard IO-Link digital input and digital output modes:


