20
HMX6803
+
and OP
+
HMX
+
Installation and Operation Manual
Copyright © 2009, Harris Corporation
Chapter 2: Installation
4. If it is already installed, remove the front module from the slot.
5. Install the new back module by inserting the bottom lip into the required
frame slot, and then screwing it into place.
Ensure that the EMI gaskets on the right side of the back module remains in
place during the installation. The EMI gaskets fit tightly.
6. Apply the adhesive label to the back module if it is supplied separately.
Front Module Installation
Follow these steps to install the front module:
1. Pull out the finger-release screws on the right and left side of the front panel
of the frame, and then open it.
2. Locate the front module slot that corresponds with the matching back
module.
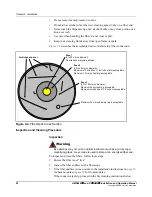
3. Gently remove the outer and inner protective caps from the laser
connections. (see
).
Caution
Microscopic dust or other contaminants can seriously impair or disable a
fiber optic network. Observe strict cleaning procedures. Do not touch the
end of the fiber.
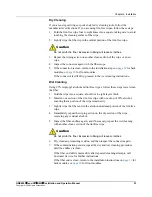
4. Follow the fiber cleaning instructions that begin on
.
5. Ensure that your front module matches with a corresponding back module
of the same name.
6. Slide the module into the guides in the frame.
7. When the module edge is flush with the guide, close the extractor handle.
The module is properly seated when its edge is flush with the guide edge
and the extractor handle closes.
8. Close the front panel to ensure proper frame ventilation.
To prevent overheating, keep the front panel closed and all back module
plate slots covered during operation.
Removing OP
+
HMX
+
Modules
Note
The removal steps provided here are similar to those outlined in your 6800
+
Frame Installation and Operation Manual. Refer to that manual for detailed
information about installing and operating a frame and its components.
Front Module
Follow these steps to remove a front module from a frame:
1. Pull out the finger-release screws on the right and left side of the front panel
of the frame, and then open the front panel.
Summary of Contents for HMX6803+
Page 2: ......

