Scheduler Settings
39
AMX RoomBook Scheduling Touch Panels - Instruction Manual
Changing the Language Displayed On the Acendo Panel
1.
Open the SCHEDULER SETTINGS -
Localization
Page.
2.
Press
Edit
to access the
LOCALIZATION Settings
page.
3.
Press the
Edit
button next to
Language
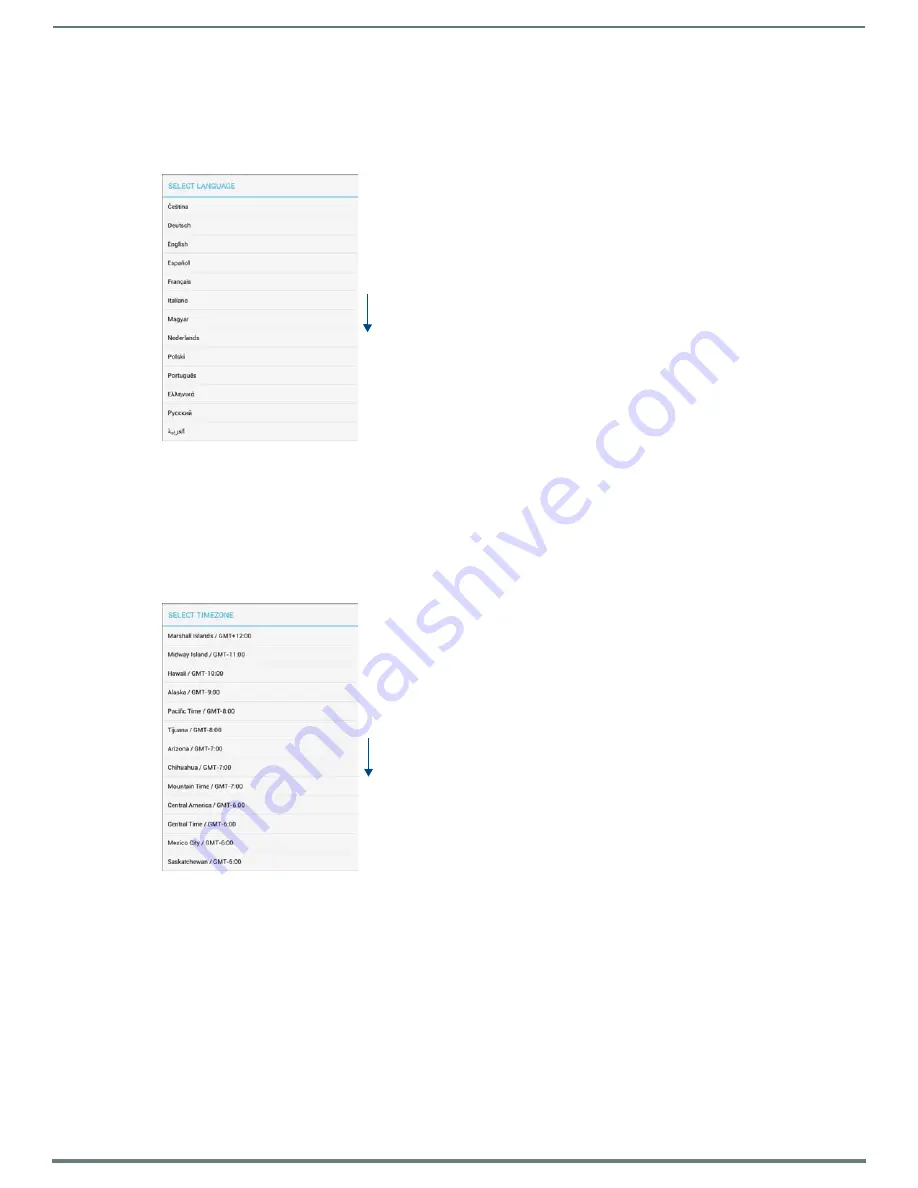
to access a listing of all languages that can displayed on this Acendo panel, in the
SELECT LANGUAGE
window (FIG. 59):
NOTE:
Press anywhere outside the SELECT LANGUAGE window to close the window without making a selection.
4.
Press
Save
in the
LOCALIZATION Settings
page to save this change.
Changing the Timezone Displayed On the Acendo Panel
1.
Open the SCHEDULER SETTINGS -
Localization
Page.
2.
Press
Edit
to access the
LOCALIZATION Settings
page.
3.
Press the
Edit
button next to
Timezone
to access a listing of all time zones that can displayed on this Acendo panel, in the
SELECT TIMEZONE
window (FIG. 60):
NOTE:
Press anywhere outside the SELECT TIMEZONE window to close the window without making a selection.
4.
Press
Save
in the
LOCALIZATION Settings
page to save this change.
Changing the Time Format Displayed On the Acendo Panel
1.
Open the SCHEDULER SETTINGS -
Localization
Page.
2.
Press
Edit
to access the
LOCALIZATION Settings
page.
3.
Next to
Time Format
, press to select either
12HR
(default setting) or
24 HR
time format.
4.
Press
Save
in the
LOCALIZATION Settings
page to save this change.
Changing the Date Format Displayed On the Acendo Panel
1.
Open the SCHEDULER SETTINGS -
Localization
Page.
2.
Press
Edit
to access the
LOCALIZATION Settings
page.
3.
Next to
Date Format
, press to select either
Month-Date
(default setting) or
DATE-MONTH
date format.
FIG. 59
SELECT LANGUAGE window
FIG. 60
SELECT TIMEZONE window
Scroll down
to see all
list items
Scroll down
to see all
list items


