Settings Pages
42
Modero G4 Touch Panels - Configuration & Programming Manual
4.
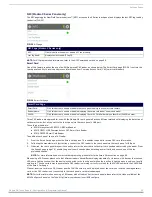
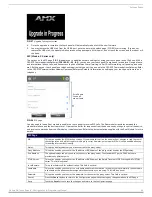
Once the upgrade is complete, the touch panel will automatically reboot with the new firmware.
5.
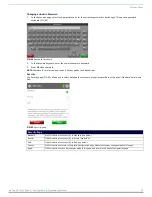
You may remove the USB stick from the USB A port once the dots in the splash page (FIG. 53) start moving. If you do not
remove the USB stick, the update initiation screen will appear again. At this point, do not touch the screen, and the reboot will
continue.
SIP (Modero X Series only)
The options on the
SIP
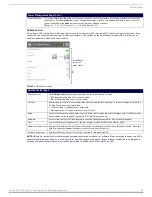
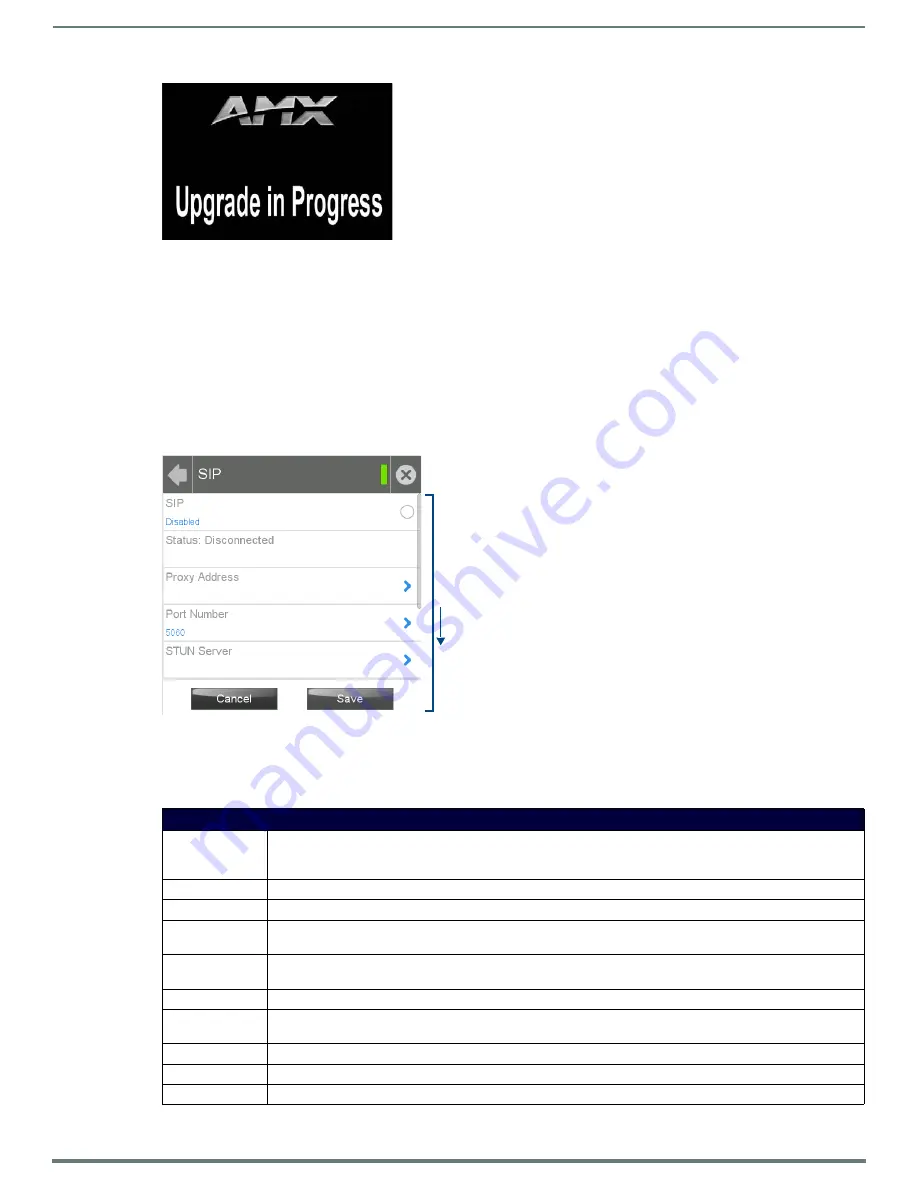
page (FIG. 58) enable you to establish network settings for using your touch panel as an IP phone. With a
CSG SIP Communications Gateway (
FG2182-01, -02, -03
), you can use your touch panel to make and receive local, long distance,
and international phone calls, and have access to phone features like call waiting, caller ID, call forwarding, call queuing, and voice
mail. Setting up your touch panel as a telephone requires that you set it up as one in the CSG SIP Communications Gateway. Refer
to the
CSG SIP Communications Gateway Operation/Reference Guide
for information on setting up your touch panel to work as a
telephone.
You may need to load a Duet module to enable the touch panel to receive SIP calls. The Duet module translates between the
standard interface and the device protocol. It parses the buffer for responses from the device, sends strings to control the device,
and receives commands from the UI module or telnet sessions. Refer to the documentation supplied with the Duet Module for more
details.
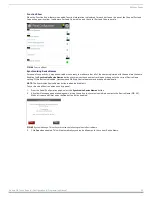
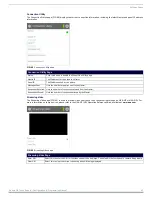
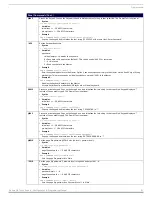
FIG. 57
Upgrade In Progress screen
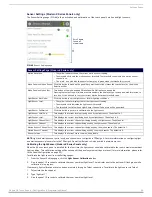
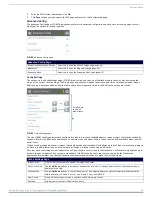
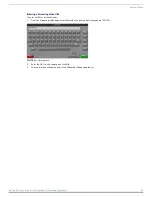
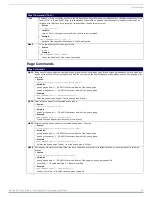
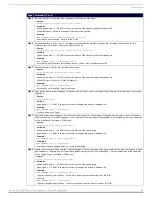
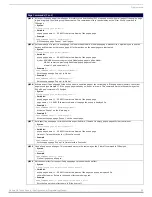
FIG. 58
SIP page
SIP Page
SIP:
This option enables the SIP Stack on startup. If you disable this option, the panel will not attempt to read the rest of
the configuration and will not register with a proxy server. However, point-to-point SIP will still be enabled allowing
for existing intercom functionality.
Status:
This option displays whether you are connected to the proxy server.
Proxy Address:
This option enables you to enter the IP address or DNS name of the proxy server used as the SIP gateway.
Port Number:
The option displays the port you use to connect to the proxy server. The standard SIP port is 5060, but some
providers use different ports.
STUN Server:
This option enables you to enter the IP address or DNS name of the Simple Traversal of UDP through NATs (STUN)
server. This field is optional.
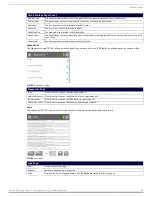
Local Domain:
This is the realm used for authentication. This field is optional.
Username:
This option enables you to enter the user name used for authentication to the proxy server. Normally, the user name
is the same as the phone number assigned to the extension you are using. This field is optional.
Password:
This option enables you to enter the password for the user at the proxy server. This field is optional.
Cancel:
Press the
Cancel
button to return to the
Configuration
page without saving any changes made on the
SIP
page.
Save:
Touch the
Save
button to save the changes and return to the
Configuration
page.
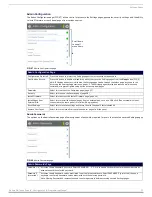
Scroll down
to see all
menu items


