Settings Pages
13
Modero G4 Touch Panels - Configuration & Programming Manual
Using the Settings Pages
When opened, the
Settings
pages appear in the center of the panel display. Please note that many of the pages may be longer than
they initially appear. To reach additional functions on a given page, the page itself may be scrolled up and down, much like a smart-
phone display, to reveal those functions.
NOTE:
The
Settings
pages use the subpage feature. Not all menu items on a
Settings
page are visible on screen at one time, and
scrolling up and down to see them may be necessary. In the case of long Settings pages, a scroll bar appears momentarily when a
new subpage viewer appears, and allows you to gauge current position and length of the page.
Many of the entries on
Settings
pages are read-only, or may be modified if information on the same or another
Settings
page is
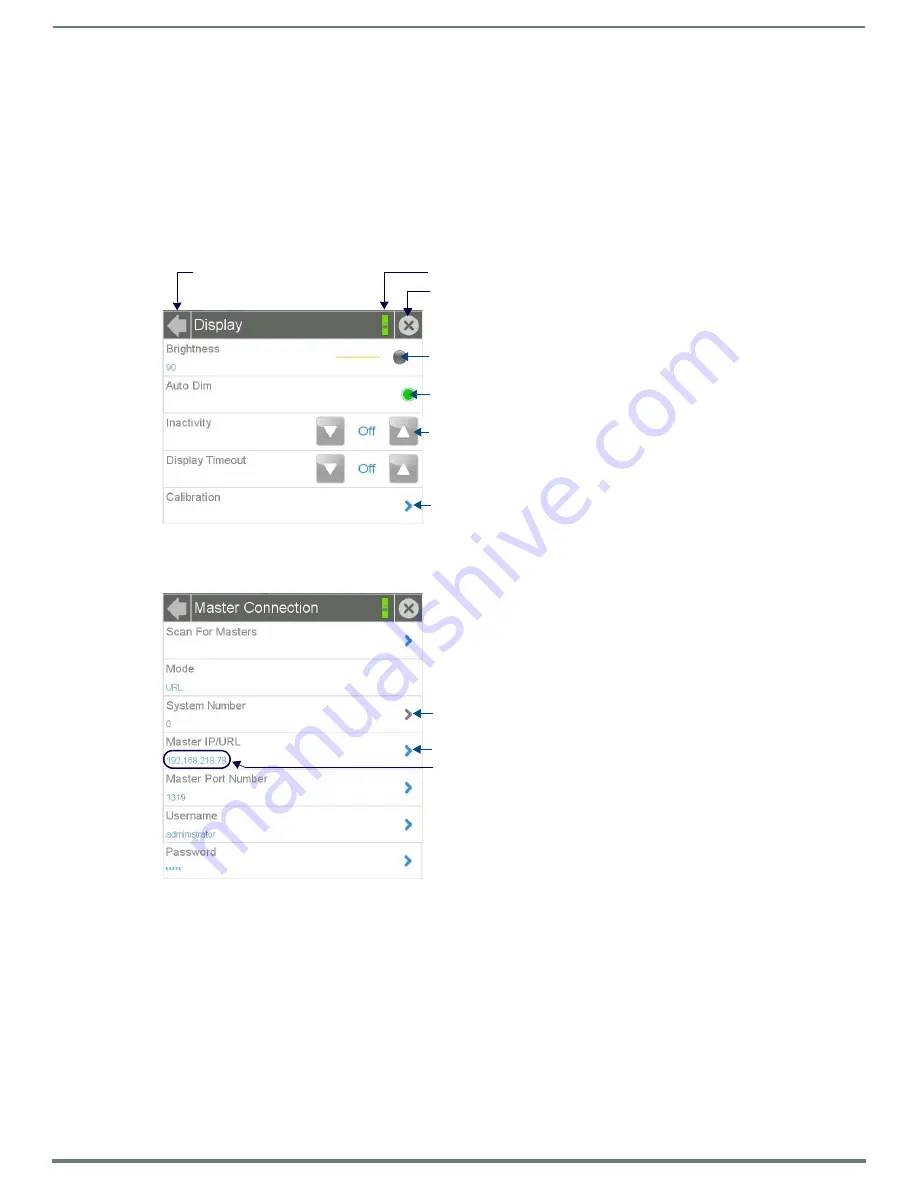
changed. The current information on a page appears in blue under the main category title; press the arrow to the right in order to
open the category’s
Settings
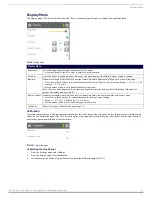
page (FIG. 4).
If the arrow is grey, then the
Settings
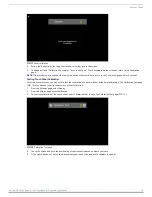
page associated with that category is currently disabled (FIG. 5). This may be altered with
changes in connectivity (connecting a USB stick to the touch panel, for instance) or changes to other
Settings
pages.
Connection Status
Note that the
Connection Status
bar indicates whether the panel has an active connection to the NetLinx Master (green indicates
connected, red indicates not connected).
Saving Changed Settings
Changes to the
Settings
pages are made to the device’s Flash memory, and may not be saved immediately to the panel in the case
of sudden power loss. To ensure that your changes are retained, always make sure to shut down the device from the main
Settings
page (page 14). In situations of sudden power loss, the panel may boot up at its next use with only previously saved settings,
requiring resetting all of those settings to their new values.
NOTE:
G4 Touch panels should always be shut down or rebooted by the Settings pages. Turning off a touch panel by removing power
may cause damage to the touch panel’s flash memory.
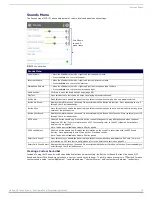
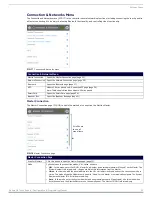
FIG. 4
Settings page with multiple modifiable sections
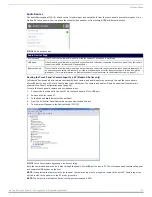
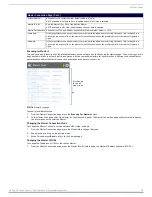
FIG. 5
Settings page with enabled and disabled arrows
Drag the slidebar to adjust the panel brightness.
Press the button to enable or disable the feature.
Use the Up/Down arrows to adjust the information listed between them.
Press the arrow to open the options page (in this case, the Calibration page).
Press to close the Settings pages
Connection Status
(Green = Connected, Red = Not Connected)
Press to return to the previous
Settings page
Current Setting
Press to open the Master IP/URL keypad
This function is currently disabled


