THE BRIDGE / TV FUNCTIONS
39
ENGLISH
USB Menu/The Bridge
Using
When Harman Kardon’s
is connected
and a compatible Apple
®
iPod
®
is docked in The
Bridge, press the
DMP Selector Button
K
to
choose the iPod as the input source allowing
playback of audio materials on your iPod through
your high-quality audio/video system.
When The Bridge is properly connected and a
compatible iPod is properly docked, the
Upper
Display Line
will read
DMP IN
. Once that
message appears, use the remote to control the
iPod.
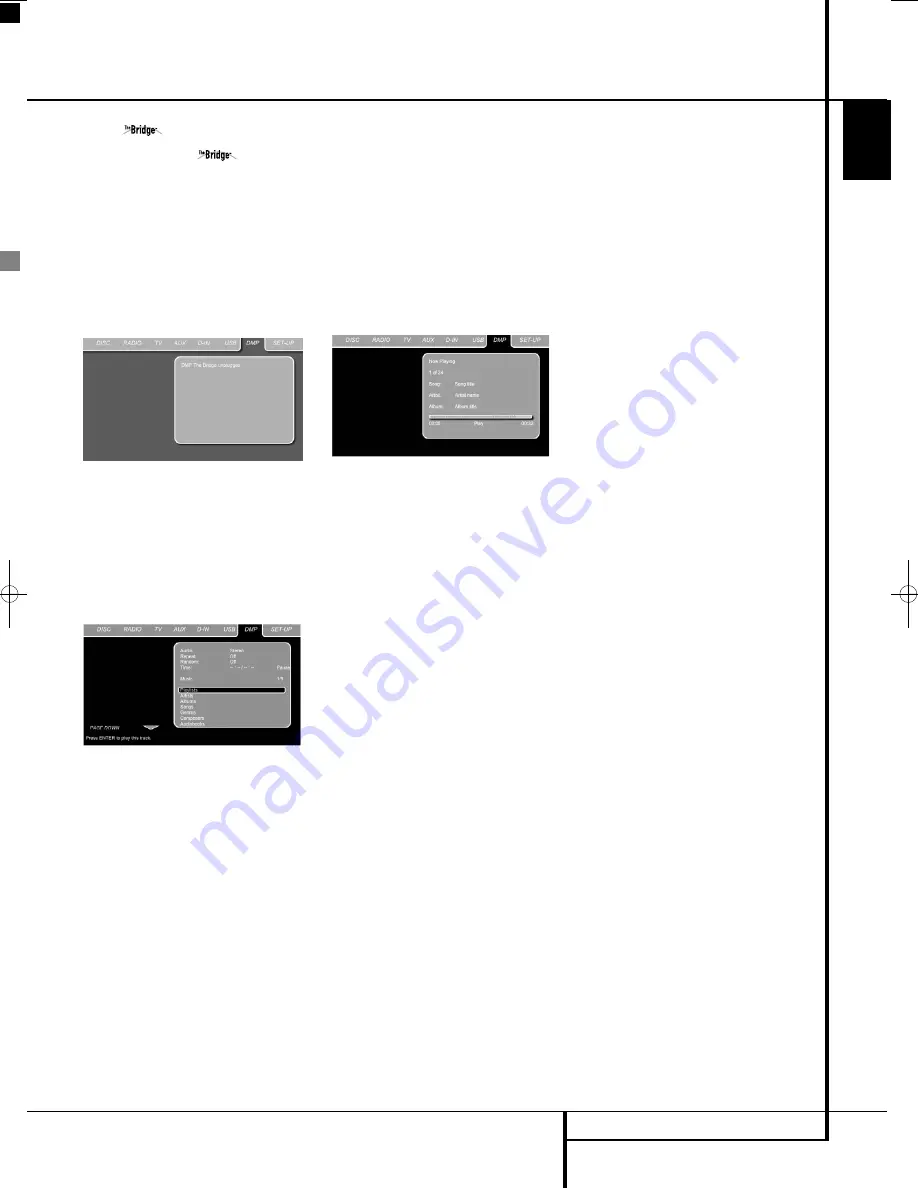
Figure 17a
Whether or not an iPod is docked in The Bridge,
the screen shown in the figure above will appear
on a video display connected to the Digital
Lounge, but you will not be able to affect the
screen without an iPod docked in The Bridge.
Once an iPod is docked in The Bridge and select-
ed as a source, the On Screen Dis play will change
to show a reflection of your iPod menu.
Figure 17b
Navigate The Bridge’s screens by using the
KLAB
Buttons
9
to highlight a line and
pressing the
Enter Button
6
to select the
line. Press the
Menu Button
B
to return to
the previous level of The Bridge’s menu system.
Audio:
Shows the audio track that is currently
playing. Options are shown on both menu lines
on the bottom of the screen. You may select
Stereo or one of the Virtual Surround effects.
Repeat:
Sets the repeat mode.
(Repeat 1, Repeat Folder).
Random:
Activates Random Playback when
possible.
Time:
Shows the elapsed time and remaining
time of a song currently playing.
NOTE:
iTunes allows you to set certain selections
to always or never remember playback position,
or to be skipped in Shuffle mode. The Digital
Lounge’s settings cannot override these iTunes
settings.
While a selection is playing, the song title, artist
and album name, if available on the iPod, will
scroll across the lower line in the front panel
Message Display
. The upper line will
display the elapsed time of the track on the left,
the play mode icon, and the time remaining on
the right.
Figure 17c
In addition, if a video display is connected to the
Digital Lounge, a screen will appear to display
information about the iPod’s status and the
track. The top line will display the play mode
icon, with the phrase “Now Playing” appearing
to the right to remind you that you are viewing
the status of the current track, as opposed to
another menu screen. Below that the Digital
Lounge displays the total number of tracks in the
current play list on the right (all materials on the
iPod are considered one of the play lists) with
the number of the current track on the left. The
song title, artist and album are displayed. At the
bottom of the screen is a graphic bar indicating
the current play position within the track, with
the elapsed and remaining times appearing
below the bar.
TV Functions
The Digital Lounge system offers several TV func-
tions that require special attention. Please make
yourself familiar with these functions by reading
the chapter below.
To switch on the TV, press the
TV Button
0
on the remote control. The Digital Lounge sys-
tem will switch on, shown by the amber Power
On indicator switching to blue. Please note that
for all the functions described below, the system
needs to be in TV mode. When TV tuner signal is
not shown on the screen, press the TV button
again.
Changing Channels
Once the TV has been selected as input, chan-
nels can be changed by pressing the number of
the TV channel using the
numeric keys
on
the remote control. For any of the channels that
are stored at preset 10 and above, first press the
first digit, quickly followed by the second digit.
Channels can also be changed with the Preset
Up
and
Down Buttons
L
. Each press of
these buttons will select the next or previous TV
channel. When you are changing a TV channel, a
mini bar will appear on the right top of the
screen, showing the selected TV channel and it's
name.
Picture in Picture (PIP) Function
With this function you can watch two video
inputs simultaneously on your Digital Lounge
display. The second video input can either be
shown in the right corner of the display, or the
display can simply be divided in two equally big
squares, each of them showing another video
input. All video inputs that are connected to the
display can be selected to run as a second video
source, however there are some exceptions. If
the HDMI, DVI, or YUV inputs have been chosen
as main video input, the second video input can
not be HDMI, DVI or YUV. Please note that only
the analog TV tuner can be used in connection
with PIP functions. The Digital (DVB-T) Tuner is
not available for PIP use, even if it has been
selected during Setup.
To activate the function, press the Picture in
Picture
(PIP) Button
on the remote con-
trol. You will see that the second source will
appear in a square on the right top of the
screen. At the same time a mini bar will appear
showing the two video inputs currently watched.
The video input shown on the top is the original
video input, and the one shown below is the
second video input. Pressing the
PIP Button
again will show both video inputs in the
same size. Pressing the
PIP Button
a third
time will de-activate the Picture in Picture
function.
TV Functions
0019CSK - Digital Lounge 232EX_240HD ENG v1(12).qxp:0019CSK - DigitalLounge 250HD UK v6 12/06/08 12:02 Side 39 (Sort/Black plad


