


3
INTRODUCTION
Introduction
Thank you for choosing Harman Kardon!
With the purchase of a Harman Kardon
AVR 300 you are about to begin many years of
listening enjoyment. The AVR 300 has been cus-
tom designed to provide all the excitement and
detail of movie sound tracks and every nuance
of musical selections. With onboard Dolby*
Digital and DTS† Decoding, the AVR 300 deliv-
ers six discrete channels of audio that take
advantage of the digital sound tracks from the
latest DVD and LD releases and Digital
Television broadcasts.
While complex digital systems are hard
at work within the AVR 300 to make all of this
happen, hookup and operation are simple.
Color-keyed connections, a programmable
remote control, and on-screen menus make the
AVR 300 easy to use. To obtain the maximum
enjoyment from your new receiver, we urge you
to take a few minutes to read through this
manual. This will ensure that connections to
speakers, source playback units and other
external devices are made properly. In addition,
a few minutes spent learning the functions of
the various controls will enable you to take
advantage of all the power the AVR 300 is
able to deliver.
If you have any questions about this product,
its installation or its operation, please contact
your retailer or custom installer. They are your
best local source of information.
Description and Features
The AVR 300 is a full-featured A/V receiver,
incorporating a wide variety of listening
options. In addition to Dolby Digital and DTS
decoding, Dolby Pro Logic* and Dolby 3
Stereo are available for compatibility with
the tens of thousands of movies and television
programs encoded with analog surround infor-
mation. In addition, specially programmed
Theater and Hall modes are available to
enhance the enjoyment of conventional
two-channel stereo recordings.
A total of four audio/video inputs, each with
both composite and S-Video, as well as three
additional audio-only inputs, are selected
through a learning remote control and an easy-
to-read front-panel display or on-screen graph-
ics through a TV monitor. Multiroom operation
is available with independent source and
volume selection.
The AVR 300’s powerful amplifier uses
traditional Harman Kardon high-current design
technologies to meet the wide dynamic range
of any program selection.
Harman Kardon invented the high-fidelity
receiver over forty-five years ago. With state-
of-the-art circuitry and time-honored circuit
designs, the AVR 300 is one of the finest
receivers ever offered by Harman Kardon.
■
Onboard Dolby Digital and
DTS Decoding
■
Coax and Optical Digital Inputs and
Outputs
■
On-Screen Displays
■
Programmable Remote Control
■
Composite and S-Video Switching
■
Complete Multiroom Control
■
6-Channel Direct Input and Preamp
Output for ALL Channels Permits Ease
of Expansion
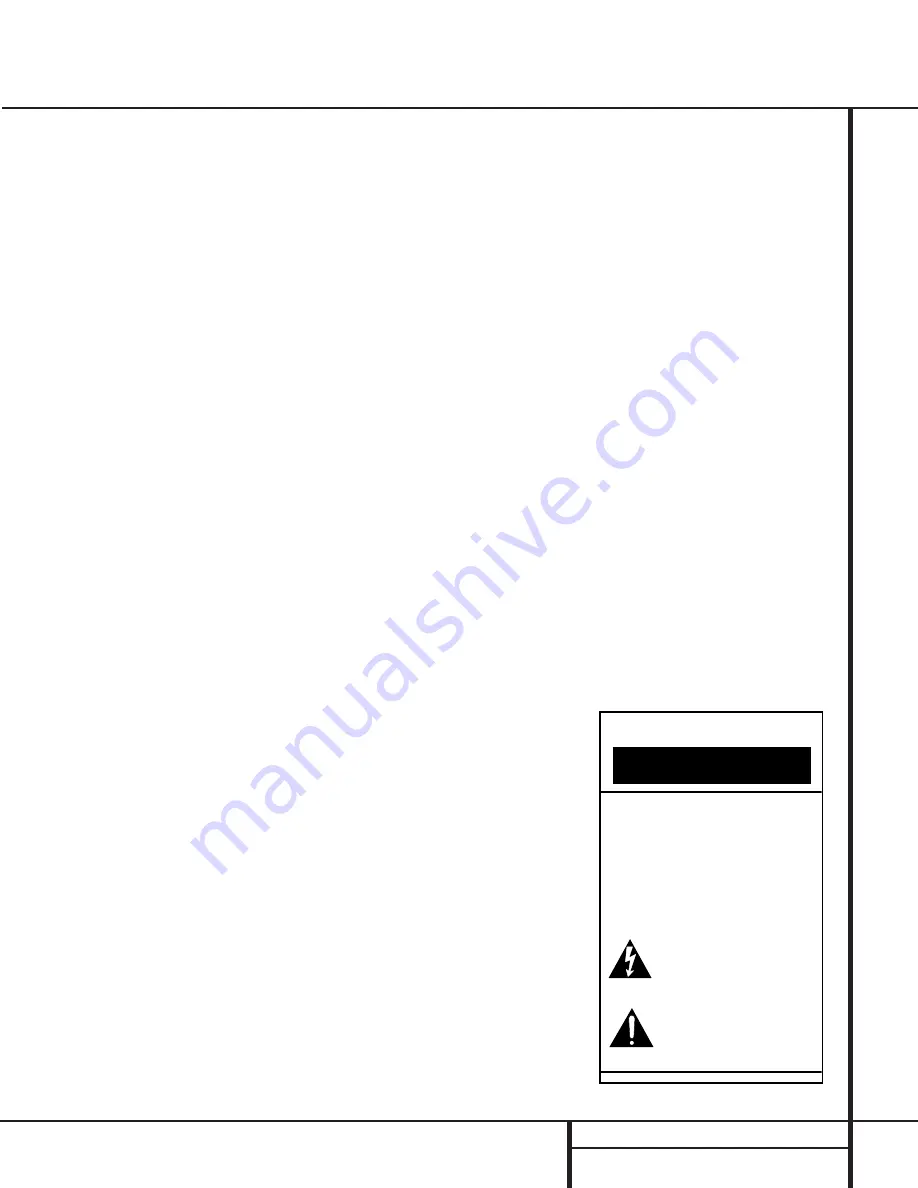
CAUTION
RISK OF ELECTRIC SHOCK
DO NOT OPEN
CAUTION: To prevent electric shock,
do not remove the grounding plug
on the power cord, or use any plug
or extension cord that does not have
a grounding plug provided.
Make certain that the
AC outlet is properly grounded.
Do not use an adapter plug
with this product.
The lightning flash with arrowhead symbol,
within an equilateral triangle, is intended to
alert the user to the presence of uninsulated
“dangerous voltage” within the product’s
enclosure that may be of sufficient magnitude to constitute a
risk of electric shock to persons.
The exclamation point within an equilateral
triangle is intended to alert the user to the
presence of important operating and
maintenance (servicing) instructions in the
literature accompanying the appliance.


