


English - 15
14 - English
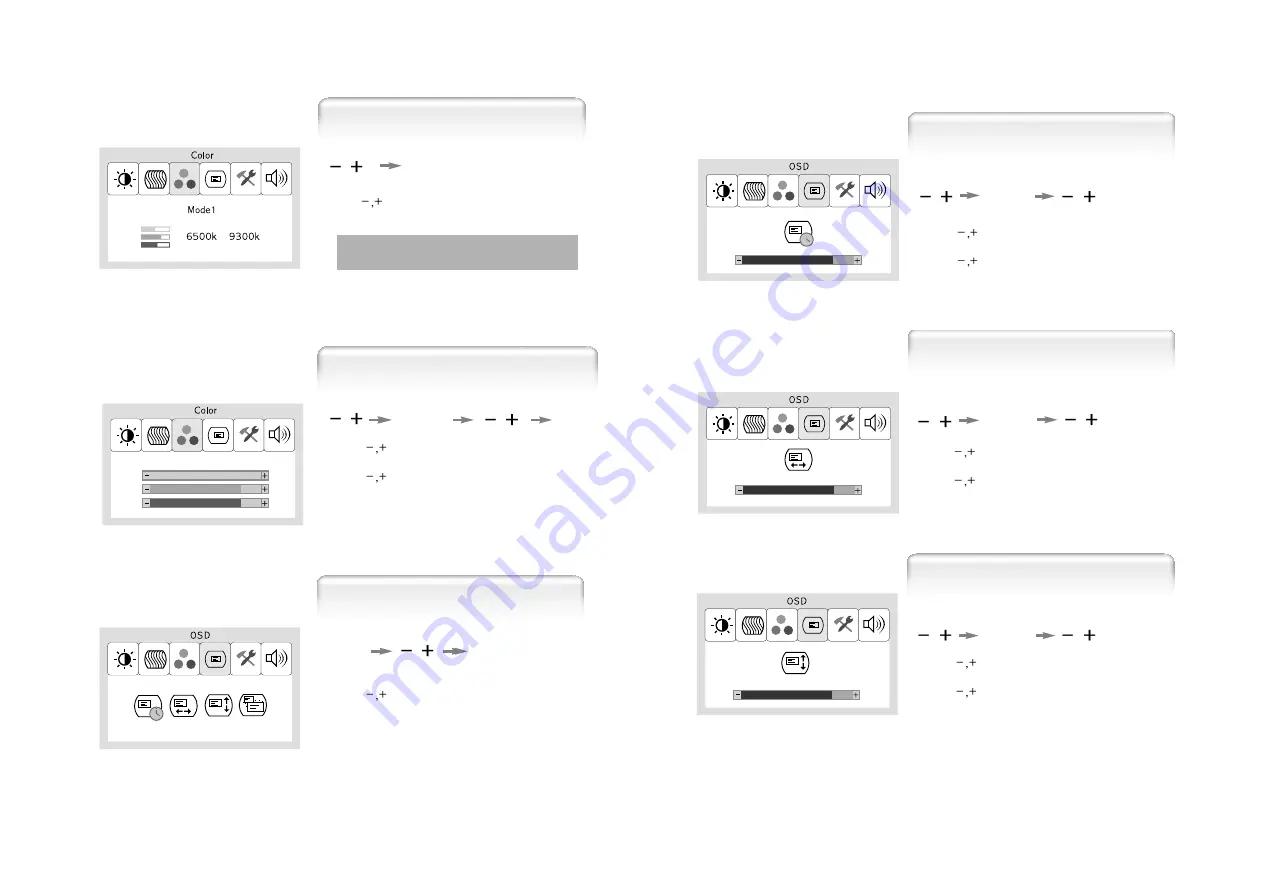
User Color
1. Use
to move User color ICON.
2. Press SELECT button to select it.
3. Use
to increase or decrease each color.
1. Use
to select the Mode 1, and Mode 2.
2. Press the Menu button to return previous state.
Mode 1 : Reddish white
Mode 2 : Bluish white
MENU
MENU
SELECT
Preset Color
1. Use
to move OSD V-Position ICON.
2. Press SELECT button to select it.
3. Use
to adjust OSD upward or downward.
1. Use
to move OSD Time ICON.
2. Press SELECT button to select it.
3. Use
to adjust OSD display time.
4. Press Menu button to return main menu.
SELECT
OSD Time
OSD V-Position
1. Use
to move OSD H-Position ICON.
2. Press SELECT button to select it.
3. Use
to adjust OSD left or right.
SELECT
OSD H-Position
SELECT
1. Press MENU button to access main menu.
2. Use
to move OSD ICON.
3. Press SELECT button into the submenu.
MENU
SELECT
OSD


