


User’s Manual
Phase
Adjustment
Select the
「
Phase Adjustment
」
option to reduce the horizontal flicker of
characters on the screen. Enter the option and adjust the level.
Exit
Exit the OSD menu function.
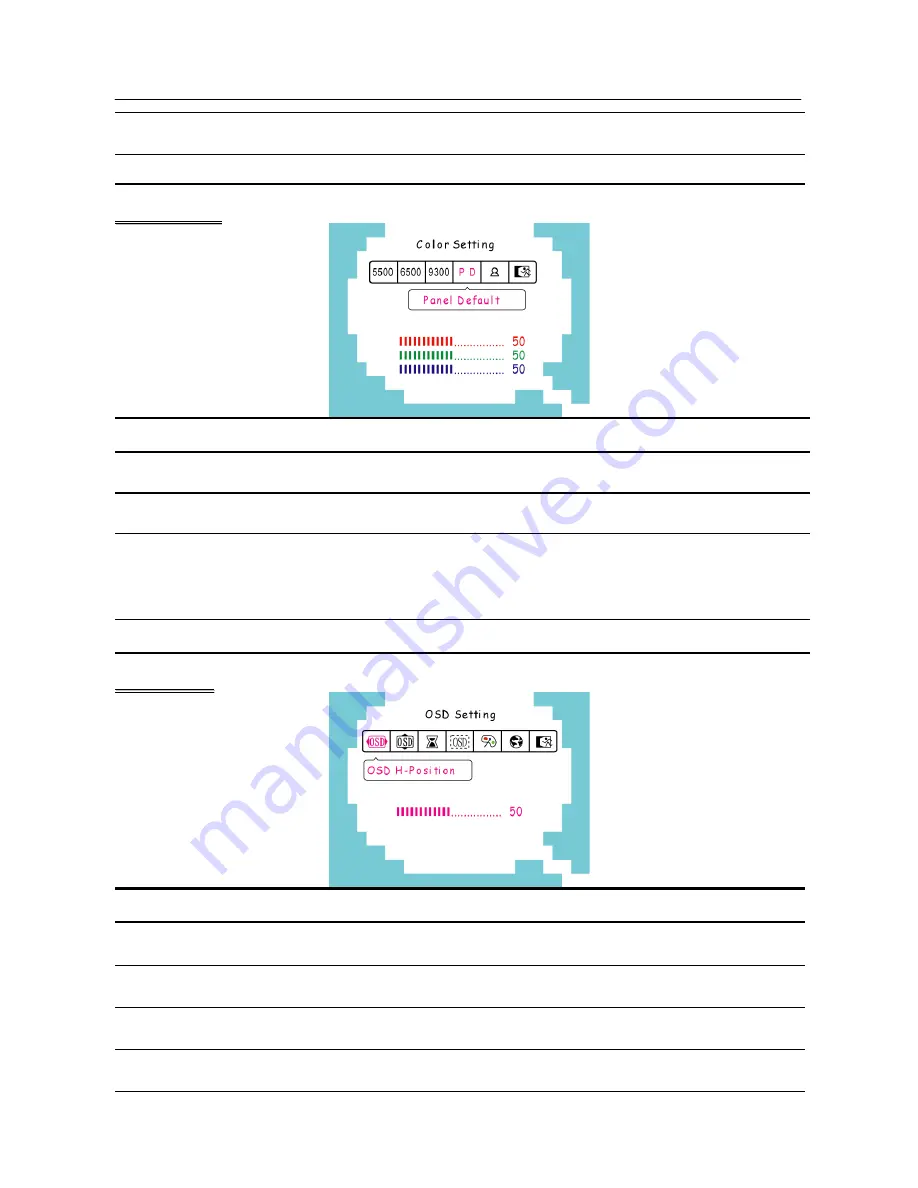
C
C
o
o
l
l
o
o
r
r
S
S
e
e
t
t
t
t
i
i
n
n
g
g
FUNCTION DESCRIPTION
5500K/6500K/
9300K
Move the cursor to one of the preset options and select it.
Panel Default
Move the cursor to the Panel Default option and select it. The color
settings will return to the default values.
User
Move the cursor to the User option and select it
1. To adjust the red, enter the
「
R
」
option and adjust the level.
2. To adjust the green, enter the
「
G
」
option and adjust the level.
3. To adjust the blue, enter the
「
B
」
option and adjust the level.
Exit
Exit the OSD menu function.
O
O
S
S
D
D
S
S
e
e
t
t
t
t
i
i
n
n
g
g
FUNCTION DESCRIPTION
OSD H-Position
Select the
「
OSD H-Position
」
option to adjust the horizontal position of
the OSD. Enter the option and adjust the level.
OSD V-position
Select the
「
OSD V-Position
」
option to adjust the vertical position of the
OSD. Enter the option and adjust the level.
OSD Time-out
Select the
「
OSD Time-out
」
option to set the OSD time out from 10 to
120 seconds. Enter the option and adjust the level.
OSD
Transparency
Select the
「
OSD Transparency
」
option to adjust the transparency of the
OSD. Enter the option and adjust the level.
15


