5
How to Make Coffee
(cont.)
11.
The indicator light will turn off
approximately two minutes after
brewing is complete. This delay
allows the last drops of coffee to
flow into carafe. Remove carafe
and turn lid half a turn to pour cof-
fee. Close lid to retain temperature.
IMPORTANT: Do not remove
carafe until ready indicator light
goes out.
12.
Unit will shut off automatically after
one brew cycle. To stop a brew
cycle, press
O
(OFF). When fin-
ished, unplug from outlet.
Making Coffee with the
Travel Mugs:
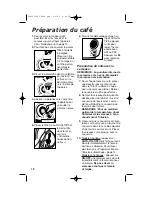
7.
For each cup of coffee being
made, place one level measuring
tablespoon of ground coffee into
filter (3 tablespoons per mug). Lower
filter cover to close.
8.
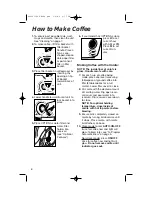
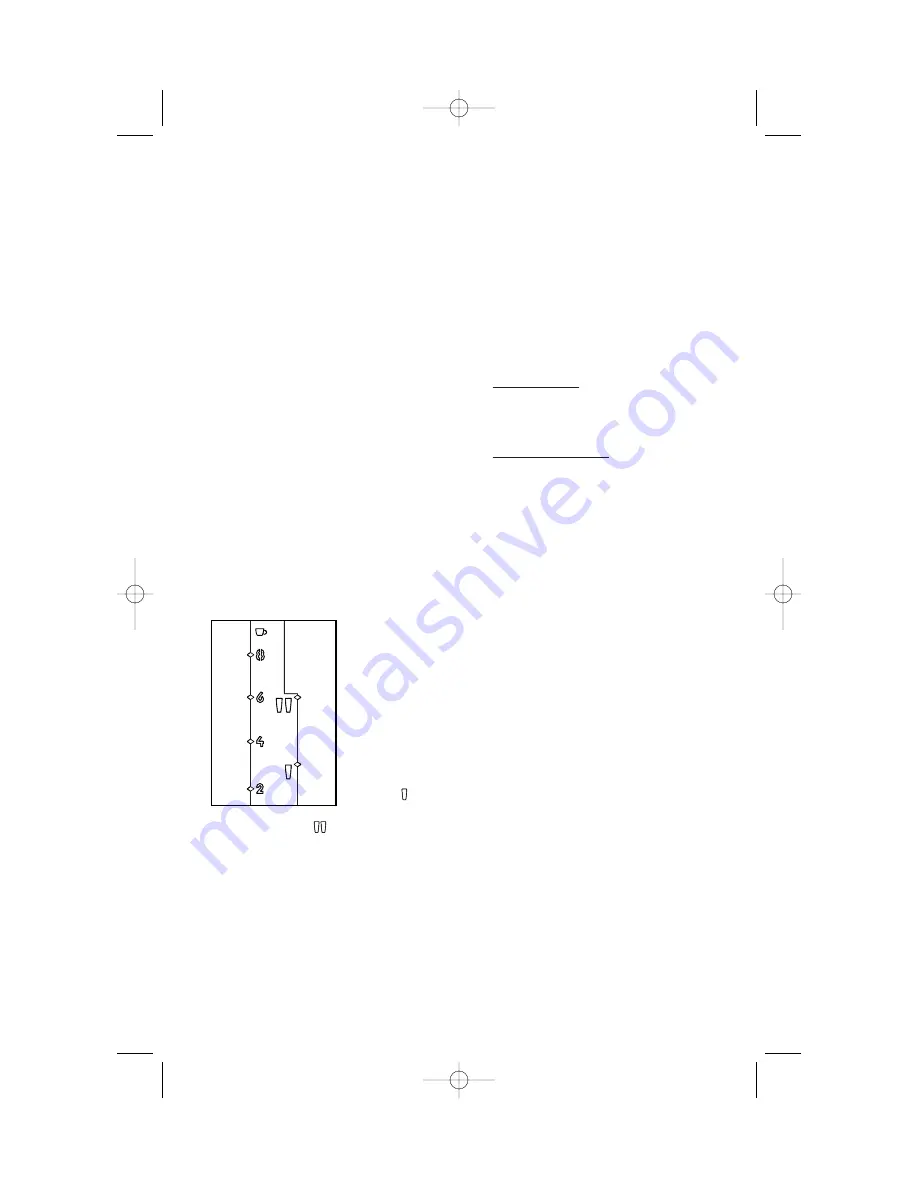
Flip open reservoir cover and fill
reservoir with
the desired
amount of cold
tap water (one
mug or two
mugs). Flip
reservoir cover
down to close.
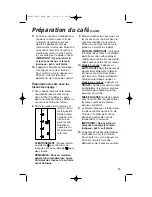
WARNING:
Do not fill
beyond for
brewing one
mug or beyond for brewing two
mugs.
NOTE: For optimal holding tempera-
ture, rinse the inside of the mugs
with warm water before brewing.
9.
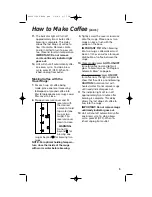
Tightly screw the covers clockwise
onto the mugs. Place one or two
mugs on base, flush with the
guides on the base.
IMPORTANT TIP:
When brewing
into two mugs, coffeemaker must
be on a flat, even surface for equal
distribution of coffee between the
mugs.
10.
Clock models: press
AUTO-ON-OFF
twice for coffee now and light will
glow. To brew later see “To Program
Automatic Brew” on page 6.
Non-clock models: press
ON/OFF
for coffee now. The light will glow to
show that the unit is on and brewing.
CAUTION:
Avoid contact with
heated water. Do not remove mugs
until ready indicator goes out.
11
The indicator light will turn off
approximately two minutes after
brewing is complete. This delay
allows the last drops of coffee to
flow into the mugs.
IMPORTANT: Do not remove mugs
until ready indicator goes out.
12.
Unit will shut off automatically after
one brew cycle. To stop a brew
cycle, press
O
(OFF). When fin-
ished, unplug from outlet.
840131500 ENv00.qxd 9/9/04 2:17 PM Page 5


