14
Installing and Using the A-1519/1520 Type II Configuration Utility
The Configuration Utility is not required for normal operation. Hamar Laser pre-configures the targets
with operating parameters that are suitable for most applications. The Configuration Utility is used for
the following functions:
•
Firmware (Microprocessor program) Updates
•
Calibration Data Table Uploading (normally done by Hamar Laser. A Calibration Station is required)
•
Configuration of Internal Dampening Mode (Averaging)
•
Configuration of Background Light Periodicity Sync Frequency (50Hz/60Hz AC power line
frequency)
•
Checking Firmware/Memory Status
•
Diagnostic Readout
Installation
1.
Place the A-1519/1520 Type II Configuration Utility CD in the CD-ROM Drive.
2.
Click
My Computer
, locate the appropriate CD-ROM icon, and open it.
3.
Click the
Unitarget Configuration Utility
folder to open it.
4.
Click the
Setup
icon to install the utility.
5.
Follow the screen prompts and select the defaults. If prompted to replace existing files, always keep
the newest files.
6.
After Setup completes, click
Start>Program Files>Hamar Laser Utilities
. Click
A-1519 Type II
Configuration Utility
to start the program.
Users Database
The Configuration Utility uses a user database to assign permission levels to multiple users. Users must
log in with a user name and password to configure the target, update firmware, etc. The person
designated as the Primary Administrator on the computer should perform the initial software setup. The
Primary Administrator has permission to add or remove users.
Initial Setup
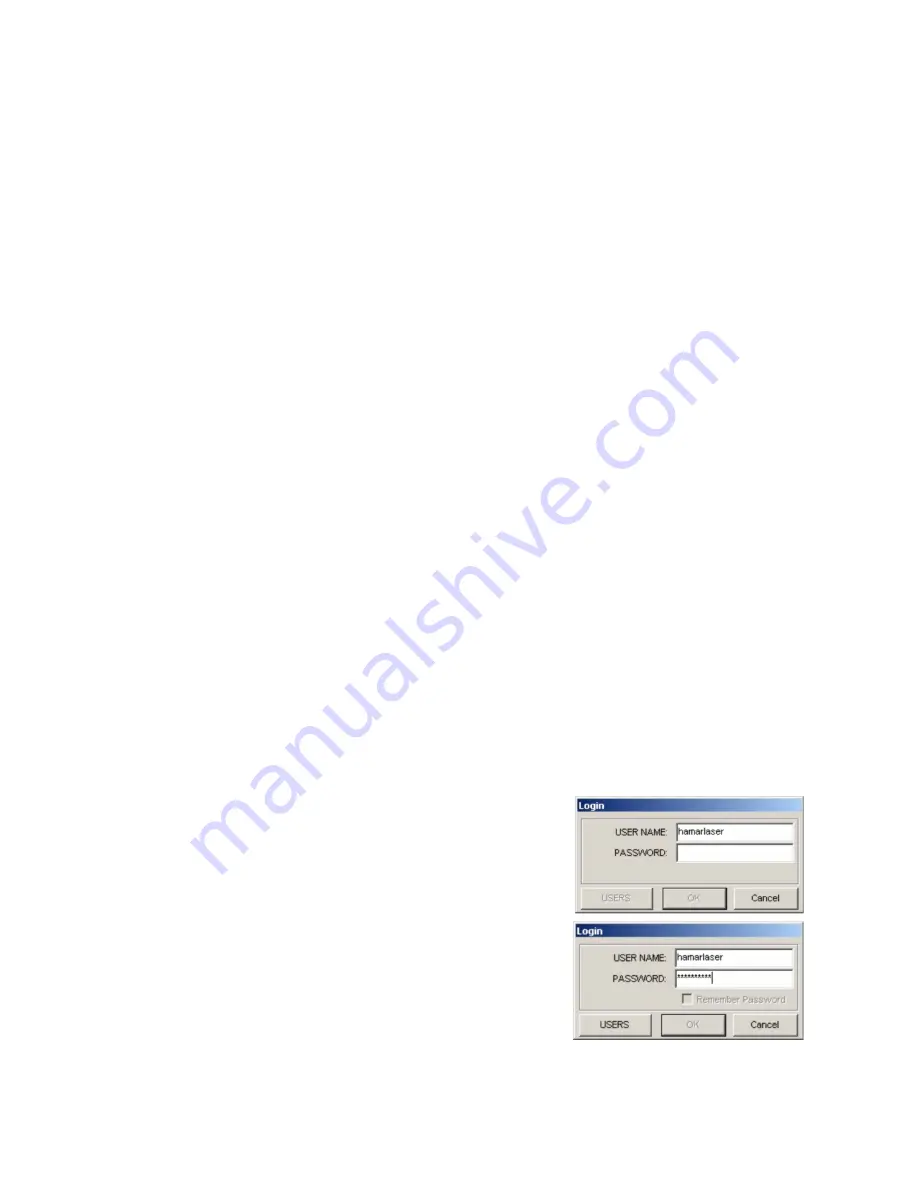
Start the Configuration Utility Application. If it is the first time the application is initialized and a user
database is not present, you will be asked to log in as a temporary user with administrator privileges. This
temporary account is used to create the user database. Once the user database is created, the temporary
account is deactivated.
Enter the following:
User Name:
hamarlaser
(not case sensitive)
Password:
hamarlaser
(case sensitive)
After entering the correct user name and password, the
Users
button is enabled (see Figure 19). Click on the
Users
button.
Figure 19 –
Initial Login Window showing access to User Database granted


