4
5
Note:
During installation under Windows XP/Vista, a message may appear regarding an
unsigned driver. This does not affect mouse or software operation. Simply ignore
and continue with the installation process.
3. Using the mouse software
• Double-click the mouse symbol in the task bar to adapt the wheel
and button settings to your personal requirements:
1. Installing the hardware
1.1 Connecting the mouse
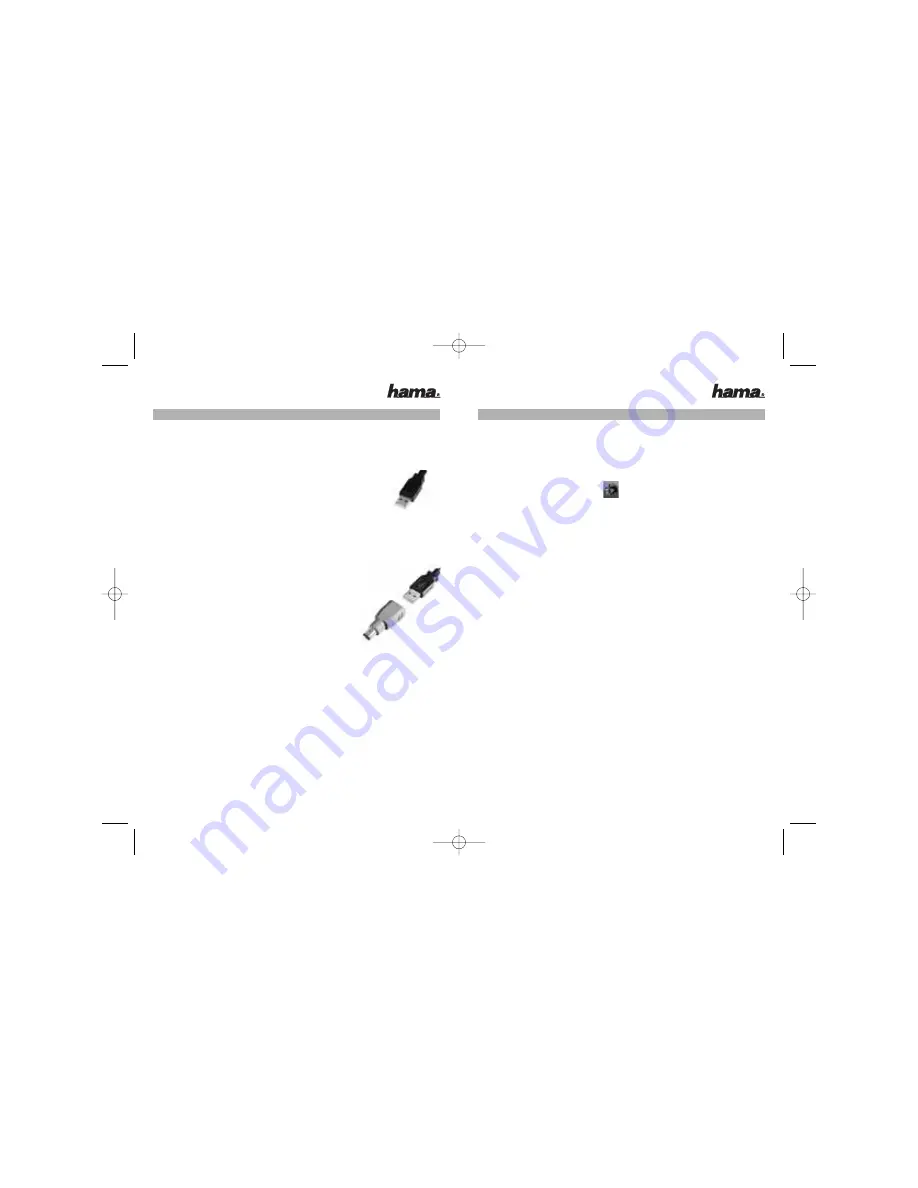
1.1.1 USB version
•
Connect the USB plug of the mouse to the PC
USB socket or a USB hub.
•
Depending on your Windows version, you may be
prompted to insert the Windows Installation CD.
Insert your Windows CD in the CD-ROM drive and
follow the instructions on the screen.
1.1.2 PS/2 version
•
If you have not already done so, shut down your
computer and switch it off*.
•
Connect the PS/2 connector of the mouse
(via the USB-PS/2 adapter) to the PS/2 mouse
connector (green) on the PC.
•
Switch on your computer and boot the system.
*Do not connect PS/2 version mouse when computer is switched on. This can
cause damage to your PC.
•
The software supplied must be installed to assign specific functions to the
3rd (wheel) button and the additional buttons at the side. (See section 2)
2. Installing the software
• Uninstall any mouse software already installed.
• The software supports Windows 98SE/2000/ME/XP/Vista.
a) Place the enclosed CD in your CD-ROM or DVD-ROM drive. Wait a moment,
installation is started automatically.
If it does not start automatically, click Start => Run, enter “X:\Setup”
(where "X” is the drive letter of your CD-ROM drive) and press Enter to
confirm.
L
L
Insturction Manual
Fig.1
Fig.2
e
00052471bda 23.04.2007 15:03 Uhr Seite 4


