

1. Installing the hardware
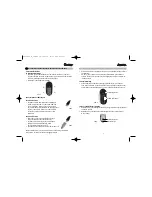
1.1 Inserting batteries
•
Remove the battery cover at the rear of the mouse and insert the
rechargeable batteries (M710/M2010) or batteries (M610) the right way
around in the battery compartment (Fig. 1). The poles are indicated there.
•
Close the battery compartment
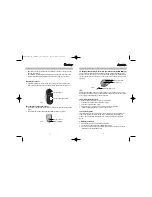
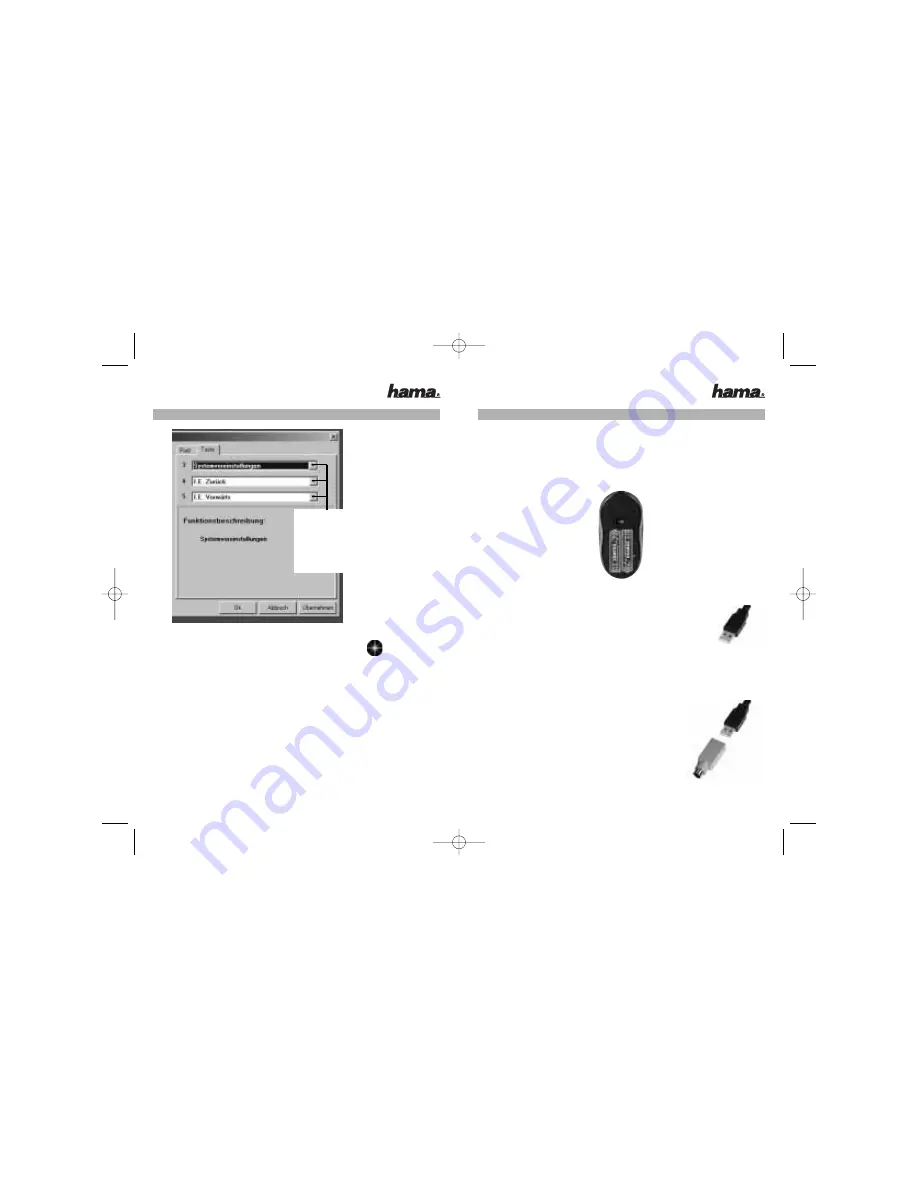
1.2 Connecting the receiver
1.21 USB version
•
Connect the USB plug of the receiver to the PC
USB socket or a USB hub.
•
Depending on your Windows version, you may be
prompted to insert the Windows Installation CD.
Insert your Windows CD in the CD-ROM drive and
follow the instructions on the screen.
1.22 PS/2 version
•
If you have not already done so, shut down your
computer and switch it off*.
•
Connect the PS/2 connector of the receiver
(via the USB-PS/2 adapter) to the PS/2 mouse
connector (green) on the PC.
•
Switch on your computer and boot the system.
*Do not connect PS/2 version mouse when computer is switched on. This can
cause damage to your PC.
L
L
M710 Wireless Optical Mouse / M2010 Wireless Laser Mouse
7
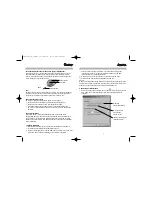
Ergänzende Hinweise für M2010 Wireless Laser Mouse
Zusätzlich zum Maus-Symbol wird ein „DPI-Switch“-Symbol in der
Taskleiste installiert. Klicken Sie auf dieses Symbol um zwischen 1600-dpi und
800-dpi-Auflösung umzuschalten.
6
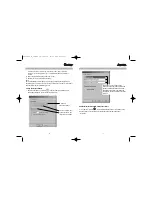
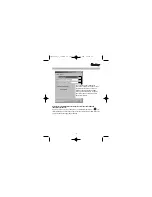
Hier können Sie der 3. (Rad-)Taste sowie
den beiden seitlichen Zusatztasten
verschiedene Funktionen zuweisen.
Die 6. Maustaste ist fest mit
der Funktion “Internet Browser öffnen”
belegt.
Fig.1
Fig.2
Fig.3
-
+
+
-
00057272_73_75bda 09.08.2005 13:57 Uhr Seite 6


