4
6. Timer, automation and scenes
6.1 Timer
To access the Timer area, click the
Schedule
button. Here you can
program the device to turn on or off at particular times.
•
Press
Add Timing
.
•
In the upper area, select the desired time; then select whether
you would like to execute the command repeatedly and, lastly,
whether the lamp should turn on or off at this time.
•
Confirm your programming by pressing
•
in the upper-right area.
Your finished programming is now displayed in your Timing area,
where you can additionally activate/deactivate it.
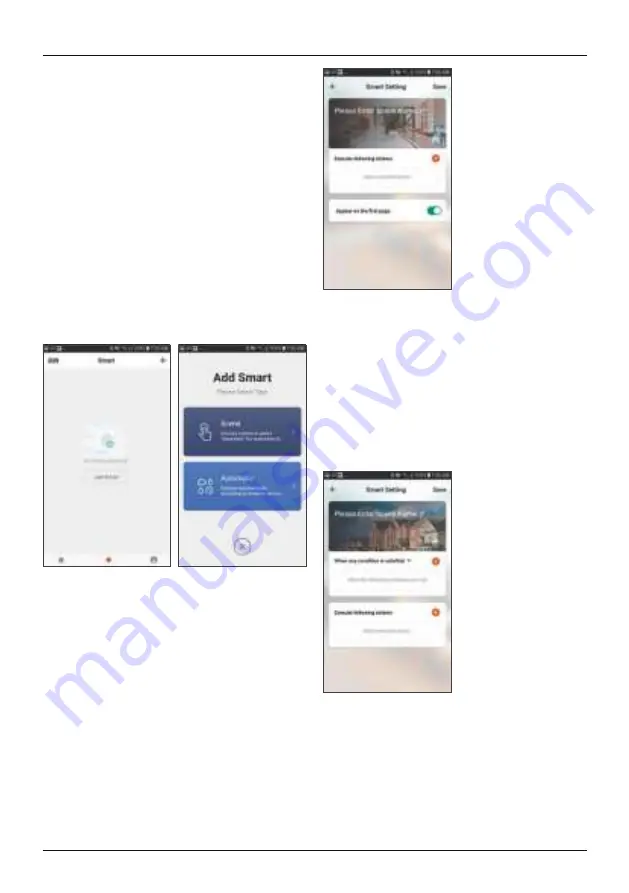
6.2 Scenes and automation
Scenes are used to control multiple devices at the same time. With
automation, tasks and settings can be automatically executed
based on conditions (for example, sunset at 19.00 hrs
¨
light
turns on).
•
Press
Smart
in the bar at the bottom and then press
+
in the
upper-right area.
•
You can now select whether you would like to create a scene or
an automation.
6.2.1 Scenes
•
Enter a name for your scene.
•
Add an action that is to be carried out. For this purpose, all
controllable devices are now listed with their functions. You can
select as many of these devices as you like and allocate actions
to them.
•
To finish the scene, press
Save
in the upper-right area.
•
The new scene is now available in your Smart area, where you
can run it.
6.2.2 Automation
•
Enter a name for your scene.
•
Add a condition that must be fulfilled in order to trigger the
automation. The condition can be a particular temperature, time
or a sensor.
•
After that, add an action that is to be carried out. For this
purpose, all controllable devices are listed with their functions.
You can select as many of these devices as you like and allocate
actions to them.
•
To finish the scene, press
Save
in the upper-right area.
•
The scene is now available in your Smart area, where you can
run it.
7. Integration in Amazon Alexa
A detailed guide on connecting your smart home lamp to Alexa
can be found at www.amazon.co.uk, under ‘Connect Smart Home
Devices to Alexa’ in the Help. Follow the instructions there.


