Daylight saving time is automatically set by specially
broadcasted signals.
This menu item allows you to disable the automatic
setting of daylight saving time. This is useful if you live
in an area or state where daylight saving is not applied,
but you receive channels from other areas where daylight
saving signals are broadcasted.
SETTING THE DAYLIGHT SAVING
1
Press
MENU.
The main menu screen will appear.
2
Press
VOL+/-
button to
select
TIME
option,
then press
CH-
button
to enter.
3
Press
CH+/-
button to
select
DAYLIGHT SAVING,
then press
VOL+/-
button
to
select
ON
for automatic
clock correction for daylight
saving time, based on
specially broadcasted signals.
Select
OFF
to disable automatic
clock correction based on the
specially broadcasted signals.
SETTING THE TIME ZONE
This function allows you to select your local time zone.
Broadcasted time information will correct the clock display
for your local time.
4
Press
VOL+/-
button to
select your viewing area
time zone:
NEWFOUNDLAND
,
ATLANTIC
,
EASTERN
,
CENTRAL
,
MOUNTAIN
,
PACIFIC
,
ALASKA
,
HAWAII
, or
SAMOA
1
Press
MENU.
The main menu screen will appear.
2
Press
VOL+/-
button to
select
TIME
option,
then press
CH-
button
to enter.
3
Press
CH+/-
button to
select
TIME ZONE
option.
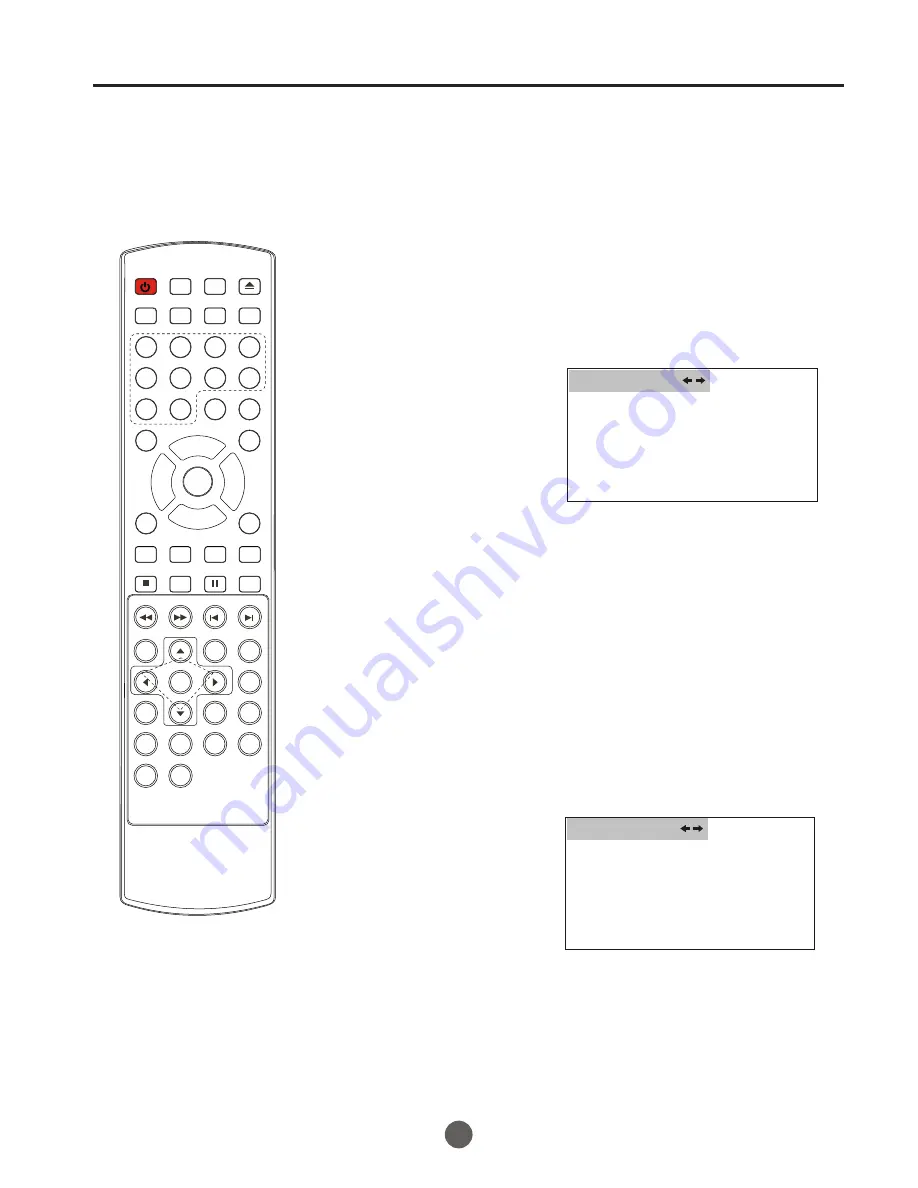
31
TIME --:-- AM
TIMER ON --:-- AM
TIMER OFF --:-- AM
DAYLIGHT SAVING ON
TIME ZONE CENTRAL
TIME
TIME --:-- AM
TIMER ON --:-- AM
TIMER OFF --:-- AM
DAYLIGHT SAVING ON
TIME ZONE CENTRAL
TIME
DTV caption menu
POWER
TV/DVD OPEN/CLOSE
Q.VIEW
INFO
MUTE
1
2
3
4
5
6
7
8
9
9
0
0
CC
P.MODE
CH+
CH-
VOL
_
MENU
OK
STOP
SETUP
PAUSE/STEP
REV
FWD
PREV
NEXT
D.MENU
REPEAT
A-B
PLAY/ENTER
SLOW
ANGLE
TITLE/PBC SEARCH
AUDIO
CLR
D.CALL
TV/AV
PROGRAM
ZOOM
10+
VOL
+
SUBTITLE
-
TV/DTV
DTV Audio
SLEEP
CH.LIST
FAV.LIST
SIZE
GUIDE
Summary of Contents for NX-565
Page 7: ......
Page 45: ...01 0090500177I ...