11
pressing the MENU button will exit the menu.
2. Use the [VOL-] or [VOL+] buttons to highlight the desired menu icon.Press [ENTER] to select it.
3. Use the [CH+] or [CH-] buttons to scroll up and down through the features.
4. Follow the instructions on thescreen.
5. Press [EXIT] to immediately exit the menu. Press once to display the on-screen menu, and press again to return
to normal view. If no buttons are pressed, the menu closes automatically after about 60 seconds.
To exit the menus:Press [EXIT] (or [MENU])
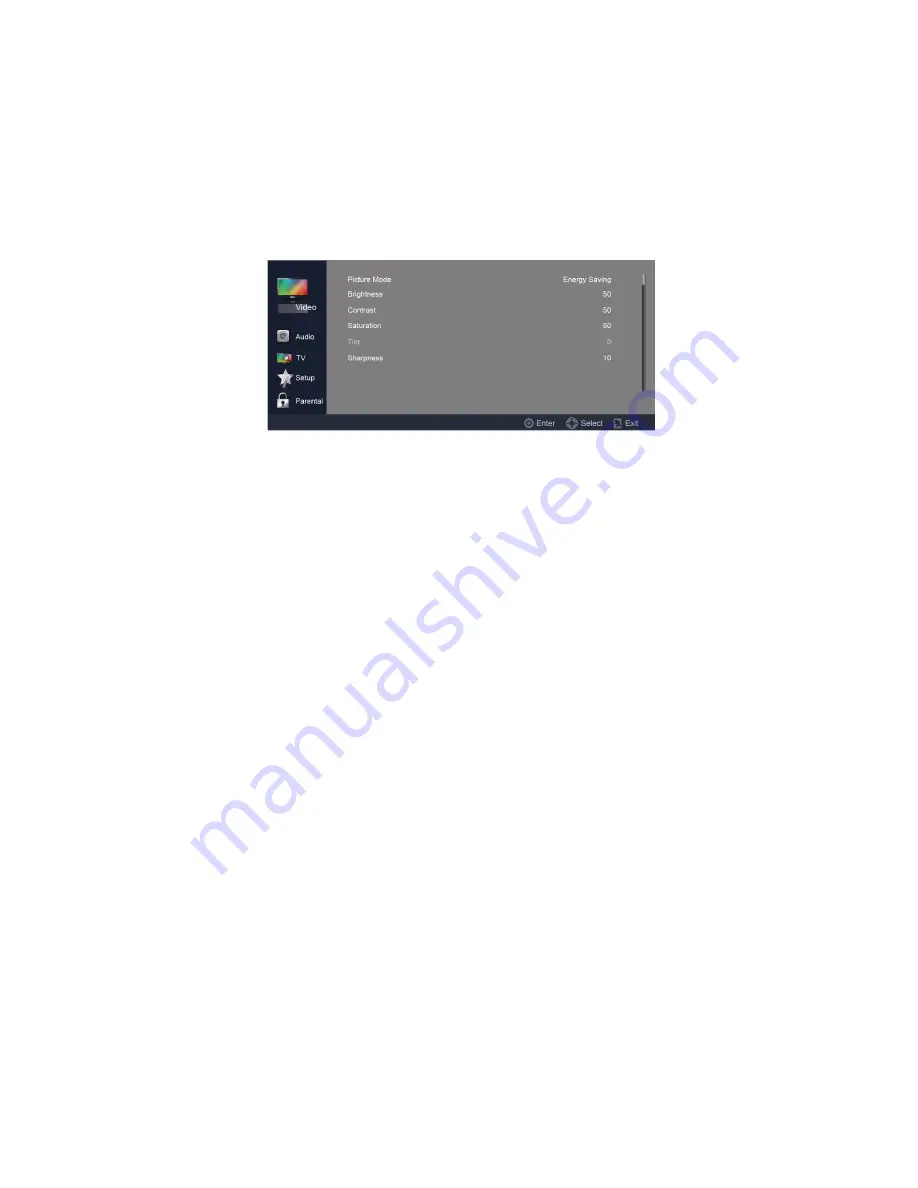
VIDEO
1. Picture Mode: Use the [CH-] or [CH+] buttons to highlight one of the following options, then press [ENTER] to
enter the sub-menu and press [VOL-] or [VOL+] to adjust.
[Energy Saving] –
Picture settings that conserve the most energy.
[Mild] –
Adjusts the brightness and contrast level, and lowers the sharpness for a soft picture viewing mode.
[Standard] –
Select for standard picture settings. Recommended for home entertainment.
[Bright Room] –
Select for enhanced picture brightness.
[User] –
Allows you to store your preferred settings.
Note: Changing the settings below will automatically change the Picture Mode to User.
2.
Brightness:
Adjust to brighten or darken the picture. Press [VOL-] to darken the picture. Press [VOL+] to
brighten the picture.
3.
Contrast:
Adjust the white level of the picture. Press [VOL-] to decrease the contrast.Press [VOL+] to increase
the contrast.
4.
Saturation:
Adjust the color saturation of the picture. Press [VOL-] to increase the color saturation. Press [VOL+]
to increase the color saturation.
5.
Tint:
Adjust the tint of the picture. Press [VOL-] to increase the red tones.Press [VOL+] to increase the green
tones.
6.
Sharpness:
Adjust to sharpen or soften the picture. Press [VOL-] to soften the picture.Press [VOL+] to sharpen
the picture.
7.
Color Temperature:
Use the [CH-] or [CH+] buttons to highlight one of the following options, then press
[ENTER] to enter the sub-menu and press [VOL-] or [VOL+] to adjust.
Summary of Contents for LE392D2320
Page 5: ...5 ...
Page 6: ...6 2 Operating Instructions 2 1 The Use of Remote Control ...
Page 7: ...7 ...
Page 23: ...23 2 3 Rear Panel Control Knobs ...
Page 26: ...26 Step3 Remove the MAIN BOARD POWER BOARD and SPEAKERS Step4 Remove the KEY BOARD ...
Page 27: ...27 Step5 Separate the BEZEL and PANEL and remove the IR BOARD Step6 Remove the BKT ...
Page 28: ...28 LE39D2380 Step1 Remove the STAND BASE Step2 Remove the REAR COVER ...
Page 30: ...30 Step5 Remove the BKT and separate the BEZEL and PANEL Step6 Remove the KEY BOARD ...
Page 31: ...31 LE42D2380 Step1 Remove the STAND BASE Step2 Remove the REAR COVER ...
Page 32: ...32 Step3 Remove the HINGE COVER Step4 Remove MAIN BOARD and POWER BOARD and SPEAKERS ...
Page 34: ...34 LE46D2380 Step1 Remove the STAND BASE Step2 Remove the REAR COVER ...
Page 36: ...36 Step5 Remove the BKT and separate the BEZEL and PANEL Step6 Remove the IR BOARD ...
Page 43: ...43 5 PCB Layout 5 1 Power Board LE32D2320 715G5508P01000002S ...
Page 44: ...44 ...
Page 45: ...45 ...
Page 46: ...46 LE39D2380 715G5193P01000002H ...
Page 47: ...47 ...


