


There are three Color Temperature modes,
"NORMAL , ,
" "WARM" "COOL ".
Select color temperature mode
of the picture
COLOR TONE
3D NR
Select model of 3D NR
"MIDDLE", "STRONG", "WEAK", "OFF".
Press ''Source''key to display the signal source menu or exit signal source menu.
6. During the operation, the selections which can not be adjusted at current mode will
be hidden automatically and the color of the selections will be changed into gray.
7. Menu Operation Instruction in this manual is explained according to TV mode. The
operations in other modes are similar to the one in TV mode. Users can take it as
reference.
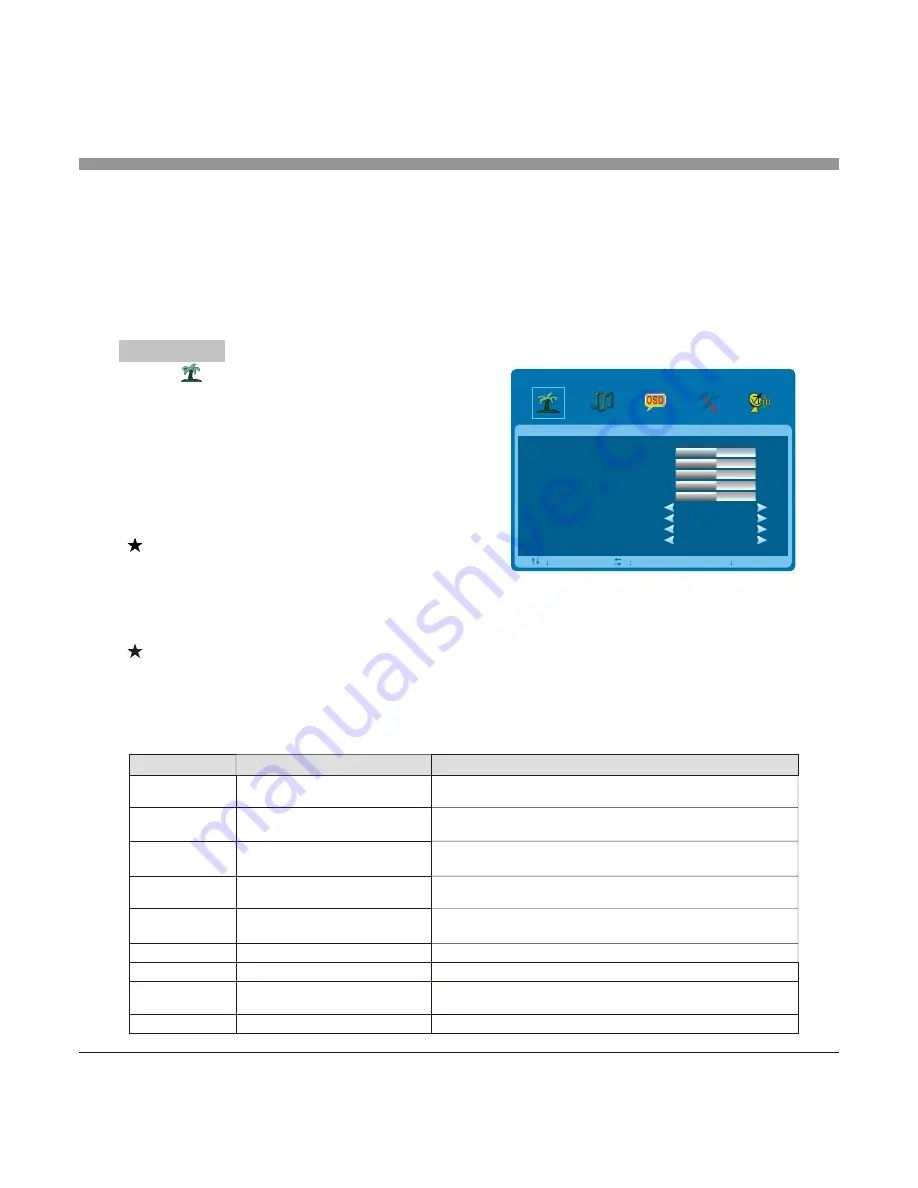
PICTURE
Select to enter the PICTURE submenu.
Press "Up/Down" key on the remote control or
"CH+/CH-" key on the front panel to choose
what you need. Press the "Left/Right" key on
the remote control or the "VOL+/VOL-" key
on the front panel to adjust analog value or
state (see below table).
Special Attention
1. The Hue function is available only for
NTSC system.
2. The value adjusted by user, such as Contrast, Brightness, Saturation, Hue, and
Sharpness will be saved automatically by the machine as personal mode.
Remote Control Shortcut Keys
SMART P: Press SMART P key on the remote control. You can switch the function
among the "STANDARD", "DYNAMIC", "SOFT", "PERSONAL" four modes .
16:9: Press 16:9 key on the remote control, you can switch the mode among the
"FULL", "MOVIE", "CAPTION", "4:3", "PANORAMA" five modes.
16
Basic Operation Instruction
5 0
5 0
5 0
5 0
5 0
C O N T R A S T
B R I G H T N E S S
H U E
S A T U R AT I O N
S H A R P N E S S
P I C T U R E M O D E
S C A L E
C O L O R T O N E
3 D N R
S T A N D A R D
F U L L
N O R M A L
M I D D L E
P I C T U R E
S E L
A D J
M E N U E X I T
Description
Function
Option
"STANDARD", "DYNAMIC", "SOFT", "PERSONAL" four modes.
Select picture mode
PICTURE MODE
Increasing analog value increases brightness;
Decreasing analog value decreases brightness(0-100).
Adjust brightness and blackness
of whole picture
BRIGHTNESS
Increasing analog value increases Contrast;
Decreasing analog value decreases Contrast(0-100).
Adjust the contrast of whole
picture
CONTRAST
Increasing analog value increases color;
Decreasing analog value decreases color (0-100).
Adjust the saturation of whole
picture
SATURATION
Increasing analog value increases green;
Decreasing analog value increases purple(0-100).
Adjust the hue of whole picture
HUE
Increasing analog value increases definition;
Decreasing analog value decreases definition (0-100).
Adjust the sharpness of whole
picture
SHARPNESS
SCALE
Select picture scale
"FULL", "MOVIE", "
CAPTION", "4:3", "PANORAMA",


