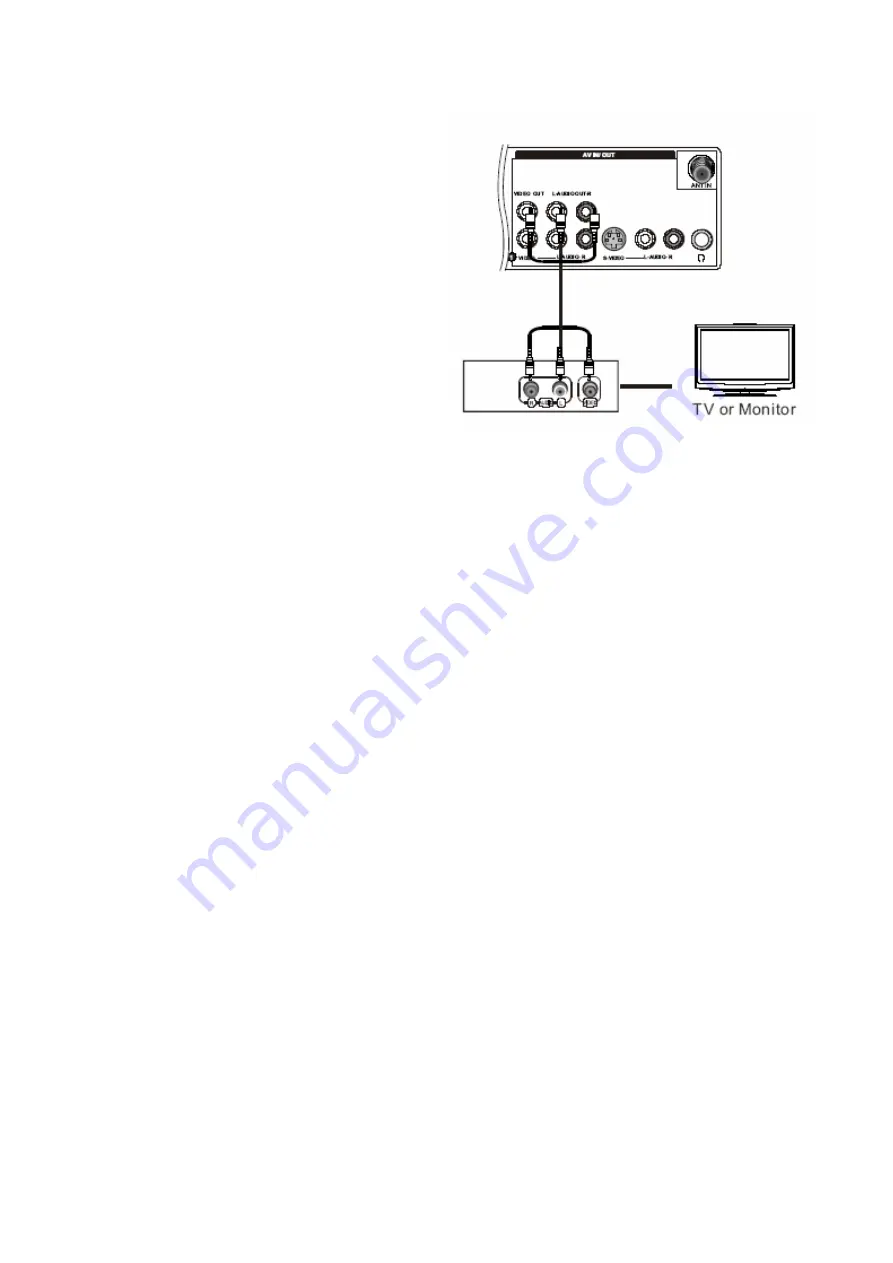
Monitor Out Setup
Connect the second TV or monitor to the TV`s AV OUT.
See the Operating Manual of the second TV or monitor
for
further details regarding that device`s input settings.
Note
YPbPr, PC, HDMI, DTV input sources cannot be used for
Monitor out.
When connecting with external audio equipments, such
as amplifiers or speakers, please turn the TV speakers
off.
4.2 HDMI CINNECTIONS
When the source device(DVD player or Set Top Box) supports HDMI
How To Connect
1. Connect the source device to HDMI port of this TV with an HDMI cable(not supplied with this product).
2. No separated audio connection is necessary.
How To Use
If the source device supports Auto HDMI function, the output resolution of the source device will be automatically
set to 1280x720p.
If the source device does not support Auto HDMI, you need to set the output resolution appropriately.
To get the best picture quality, adjust the output resolution of the source device to 1280x720p.
Select HDMI input source in input source option of Select Main source menu.
When the source device(DVD player or Set Top Box) supports DVI
How To Connect
1. Connect the source device to HDMI port of this TV with a HDMI-to-DVI cable(not supplied with this product).
2. A separated audio connection is necessary.
3. If the source device has an analog audio output connector, connect the source device audio output to DVI Audio
In port located on the
left side of HDMI port.
How To Use
If the source device supports Auto DVI function, the output resolution of the source device will be automatically
set to 1280x720p.
If the source device does not support Auto DVI, you need to set the output resolution appropriately.
To get the best picture quality, adjust the output resolution of the source device to 1280x720p.
Press the INPUT button to select HDMI input source in input source option of Select Main source menu.
Cable sample
Summary of Contents for HLC26B-B
Page 8: ...3 2 2 Connector definition Power connector CNA1 MTk5380 ...
Page 15: ......
Page 16: ......
Page 17: ......
Page 18: ......
Page 21: ...Power source Removing the table stand and installing a wall mount bracket ...
Page 31: ...3 Audio 4 Channel 5 Gamma ...
Page 32: ...6 BackLight 7 Function ...
Page 33: ...8 BLOCK DIAGRAM AND CIRCUIT DIAGRAM 8 1 BLOCK DIAGRAM 8 2 CIRCUIT DIAGRAM MTK5380 ...


