


Operation
Haier LCD HDTV
EN-12
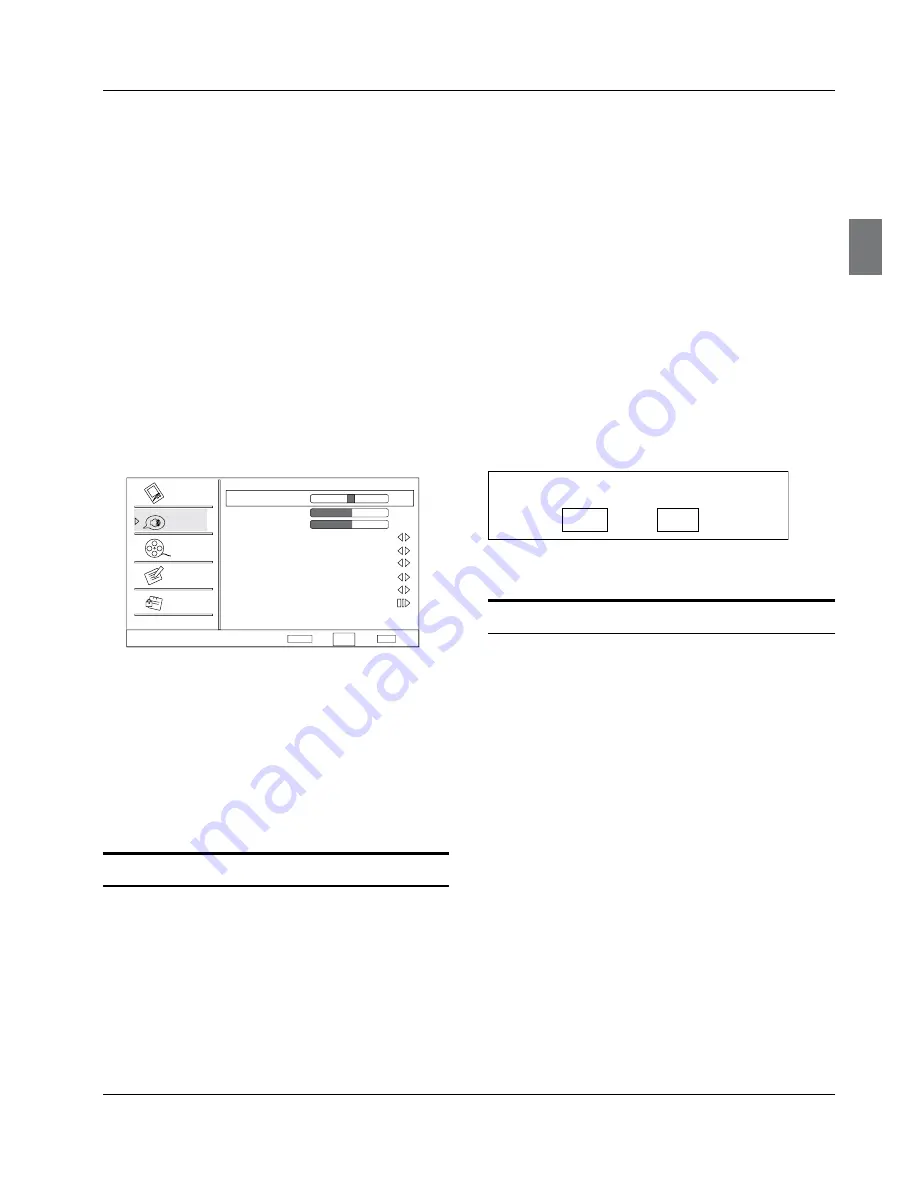
Medium, Strong, Off or Low.
Adaptive Luma Control:
•
To adjust changes in the
luminance of the picture
: Medium, Strong, Off or Low.
Flesh Tone:
•
To adjust the flesh colors: High, Off,
Low or Medium.
Blue Stretch:
•
To set Blue Stretch: On and Off.
Game Mode:
•
To set Game Mode: On and Off.
Overscan:
•
This function is active and visible in
menu only when the signal is EIA timing (480i /480p
/720p /1080i /1080p) in RGB color space in HDMI/DVI
input.
Audio Menu Options
Sound can be adjusted for any input as follows:
Press
A
MENU
button and then
CH+/-
button until the
following menu appears on the screen.
Audio
Balance
Bass
Treble
SRS TS XT On
Equalizer
Off
Speaker
Off
AVL
Off
Audio Only
0
50
50
Video
Audio
Channel
Lock
Function
Select
Back
Adjust
EXIT
ENTER
SPDIF Type Off
CH+/-
VOL+/-
Press
B
VOL+/ ENTER
button to enter the menu
and
CH+/-
button to go up and down to select the
desired option.
Press
C
VOL+/ ENTER
button to confirm and
CH+/-
button increase and decrease the level to adjust the
selected option to your preference.
Repeat step 2 and step 3 until desired audio quality
D
has been achieved.
Function
Balance:
Y
Press
CH+/-
button and
VOL+
/
ENTER
to
confirm, then press
VOL+/-
to adjust the audio
output between left and right speakers.
Bass
Y
:Press
CH+/-
button and
VOL+
/
ENTER
button
to confirm, then press
VOL+/-
to increase or
decrease the level of the lower-pitched sounds.
Treble
Y
:Press
CH+/-
button and
VOL+
/
ENTER
to confirm, then press
VOL+/-
to increase or
decrease the level of the higher-pitched sounds.
SRS TS XT
Y
: To turn the simulated surround sound on
or off.
Equalizer
Y
: To adjust the equalizer Off /Rock /Pop /Live
/Dance/ Techno /Classic and Soft.
Speaker
Y
: To adjust th
e speaker on or off.
SPDIF Type
Y
: To
adjust the SPDIF output: Off /Dolby
Digital and PCM.
AVL
Y
: This will reduces the differences in volume level
among broadcasters.
Audio Only
Y
: Press
VOL+
/
ENTER
button to confirm,
the following display will appear on the screen:
Press
VOL-
to select
OK
, then press
OK
to confirm. The
TV screen will be black and no picture , but the sound
is still normal.
Press POWER button to exit Audio Only mode
OK
Cancel
You can press
POWER
button to reveal the picture on
the screen.
SAP Broadcasts Setup
This TV can receive MTS stereo programs and SAP
(Secondary Audio Program) that accompanies the stereo
program; if the station transmits an additional sound
signal as well as the original one.
When having selected SAP button on the remote
control, this TV can only receive the signal when the TV
station transmits the proper signals.
Mono sound is automatically received if the broadcast
is only in Mono; even though Stereo or SAP has been
selected.
Select Mono if you want to listen to mono sound during
stereo/SAP broadcasting.
Stereo or SAP can be received in a Analog channel.
Use the SAP button to select your desired MTS
A
mode in a analog signal. Each time you press the
SAP button, Mono, Stereoor SAP appear. If other
languages are available on the digital signal, select
them with the SAP button.
Press EXIT button to save and return to TV viewing.
B


