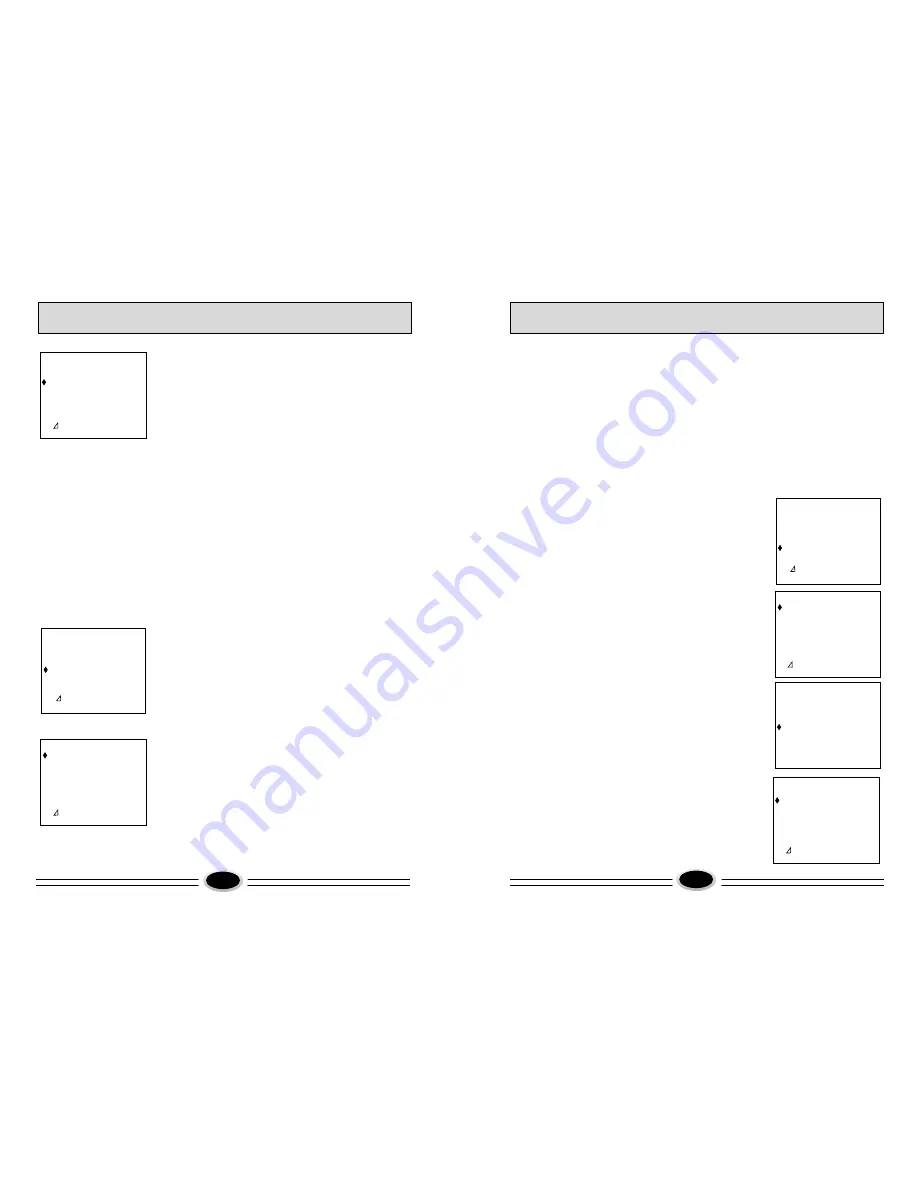
background image

9

10

Setup Menu


4.Skip
   Press the CH+/- button to select SKIP, then press the
   VOL+/- button to turn this feature on/off.

5.Fine tune
   Press the CH+/- button to select FINE TUNE, 
   then press the VOL+/- button to fine tune.

MENU
PICTURE
SOUND
FEATURE
SETUP
TUNE

V

  :

FIX


MENU

:

RETURN  

V

SETUP
POSITION              CH 5
COLOUR SYS.      AUTO
SOUND SYS.         B/G
SKIP                         OFF
FINE TUNE            155.75MHz

V

  :

ADJUST


MENU

:

RETURN  

V

OPERATION MENU

OPERATION MENU

Tune
Press the CH+/- button to select AUTO SEARCH, 
then press  the VOL+/- button to enter the auto search
 menu.

1.Auto search
After entering the AUTO SEARCH menu, press VOL+/-
button to start searching automatically.

2.Manual search
(1)Press the CH+/- button to select BAND,  then
      press the VOL+/- button to select the item you need.

(2)Press the CH+/- button to select SOUND SYS.,  then
     press the VOL+/- button to select the system you need.

(3)Press the CH+/- button to select POSITION,  then
     press the VOL+/- button to select the channel.

(4)Press the CH+/- button to select STATE  then
     press the VOL+/- button to start searching.

Note: the purple characters on the screen can not be 
          selected.

Tune Menu

MENU
PICTURE
SOUND
FEATURE
SETUP
TUNE

V

  :

FIX


MENU

:

RETURN  

V

TUNE
AUTO SEARCH
MANUAL SEARCH

V

  :

ADJUST


MENU

:

RETURN  

V

Menu
1.Press the MENU button to display the main menu. 

2.Press CH+/-button to select SETUP,  then  press 
    VOL+/-button to enter the setup menu. 

Setup
1.Position
   Press the CH+/- button to select POSITION, then 
   press the VOL+/- button to select the channel.

2.Colour system 
   Press the CH+/- button to select COLOUR SYS., then 
   press the VOL+/- button to select the colour system 
   you need.

3.Sound system
  Press the CH+/- button to select SOUND SYS., then 
   press the VOL+/- button to select the sound system 
   you need.


Menu
1.Press the MENU button to display the main menu. 

2.Press CH+/-button to select TUNE,  then  press 
    VOL+/-button  or press the TUNE button
   on the remote control to enter the TUNE menu. 


AUTO SEARCH
FREQUENCY            155.70MHz
BAND                          VHF
SOUND SYS.              B/G
POSITION                   CH 5
STATE                          STOP

 MENU

:

RETURN  

MANUAL SEARCH
FREQUENCY            155.70MHz
BAND                          VHF
SOUND SYS.              B/G
POSITION                   CH 6
STATE                          STOP

V

  :

ADJUST


MENU

:

RETURN  

V

FEATURE             
TIMER                     
CHILD LOCK
BLUE BACK          ON  
LANGUAGE           ENGLISH
ROTATION              0
LTI                            OFF
SVM                         ON 

V

  :

ADJUST


MENU

:

RETURN  

V

3.Blue back
   Press the CH+/- button to select BLUE BACK, then 
   press the VOL+/- button to turn this feature on/off.

4.Language
   Press the CH+/- button to select LANGUAGE, then 
   press the VOL+/- button to select the language you
   need.

5.Rotation
  Press the CH+/- button to select ROTATION, then 
   press the VOL+/- button to select the rotation you 
   need.

6.LTI
   Press the CH+/- button to select LTI, then press the
   VOL+/- button to turn this feature on/off.

7.SVM
   Press the CH+/- button to select SVM, then press the 
   VOL+/- button to turn this feature on/off.

Summary of Contents for D29FV6H-A8

Page 1: ...MAIN FUNCTION D29FV6H A8 Colour Television Operation Instructions 218 Programs stored Dynamic noise reduction Multi picture mode Auto correcting black balance 009050 ...

Page 2: ...AUTIONS BASIC FEATURE TECHNICAL SPECIFICATION FUNCTION BUTTONS AND EXTERNAL SOCKETS REMOTE CONTROLLER BOARD OPERATING MENU GENERAL OPERATION TELETEXT FUNCTION EXTERNAL CONNECTION TROUBLESHOOTING GUIDE 1 2 2 3 5 6 11 13 15 16 ...

Page 3: ...e or there is a severe thunder lightening storm it is recommended that the TV set be disconnected from the AC power outletandtheaerialplug removed Explanation on the display tube Should the picture tube require cleaning disconnect the power and use a dry soft cotton cloth Do not use any cleaner or abrasive cloth 1 BASIC FEATURE TECHNICAL SPECIFICATION 218 programs stored Auto correcting black bala...

Page 4: ...wn then open the battery cover of the unit 2 Place the two AA size batteries matching the and signs on each battery to the and signs of the battery compartment 3 Close the cover of the battery compartment NOTE 1 Don t drop or wet or dismantle the unit 2 If you don t intend to use the unit for a long period or the electricity of the batteries is used up remove the batteries to prevent batteries aci...

Page 5: ...U NICAM BUTTON PICTURE MODE SELECTION SOUND MODE SELECTION TUNE MENU SELECTION TV TELETEXT ENTERING EXITING TO REVEAL CONCEALED TELETEXT TELETEXT ZOOM TELETEXT PAGE HOLD TELETEXT TV MIX MODE TV TELETEXT ALTERATION TIME DISPLAY IN TV MODE SUBCODE SWITCH INVALID BUTTON INVALID BUTTON REMOTE CONTROLLER BOARD 5 V PICTURE CONTRAST 42 COLOUR 30 BRIGHTNESS 21 TINT SHARPNESS 30 PICTURE NR LOW WHITE TEMP 0...

Page 6: ...he SOUND then press VOL button or press the SOUND button on the remote control to enter the sound menu Sound 1 Treble Press the CH button to select TREBLE then press the VOL button to adjust the treble level 2 Bass Press the CH button to select BASS then press the VOL button to adjust the bass level 3 Dbe bass Press the CH button to select DBE BASS then press the VOL button to select MEDIUM STRONG...

Page 7: ... 2 Press CH button to select SETUP then press VOL button to enter the setup menu Setup 1 Position Press the CH button to select POSITION then press the VOL button to select the channel 2 Colour system Press the CH button to select COLOUR SYS then press the VOL button to select the colour system you need 3 Sound system Press the CH button to select SOUND SYS then press the VOL button to select the ...

Page 8: ...ave designed in 4 commonly used picture settings to allow fast picture level selection depending on what type of TV program is showing Each mode is selected in turn by pressing the P STD button on the remote controller The 4 modes are STANDARD DYNAMIC MILD and CUSTOM 6 Preset Sound Modes Our engineers have designed in 4 commonly used sound modes to allow the best possible sound to be selected quic...

Page 9: ...e teletext page automatically updating This feature is very useful where there are several teletext pages on the same page number 5 Size Pressing the button changes between full screen top half bottom and half full screen This feature is very useful as it magnifies the image making the characters easier to read 6 Reveal Pressing the button will reveal hidden text This feature is used to reveal inf...

Page 10: ... Side AV2 IN terminal and back AV2 terminal can share to use don t input signal at the same time 2 Please select MONO sound mode white Audio input terminal when it is Mono audio input 3 When DVD video broadcasts connect to interlace DVD video signal YUV terminal according to broadcaster equipment YCbCr Connect video audio output You can use VCR to record the audio video signal that output from TV ...

Page 11: ...ntenna Direction station and connection of the antenna Interference from electric appliance Automobile Motor Vehicle Fluorescence lamp etc Volume Sound mute The power plug isn t plugged in AC outlet The main power isn t turned on The setting up of contrast brig htness and volume Adjust color control Adjust channel again Moving the TV set or using magnetic electric appli ance near TV Which will lea...

Reviews: