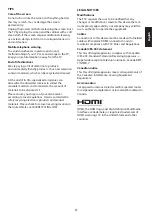
7
English
PREPARATION
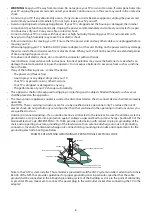
IMPORTANT:
Do not appl
y
pressure to the screen displa
y
area which
m
a
y
co
m
pro
m
ise the integrit
y
of the displa
y
.
The
m
anufacturer’s warrant
y
does not cover user abuse
or i
m
proper installations.
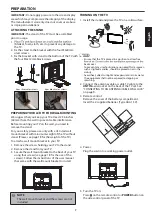
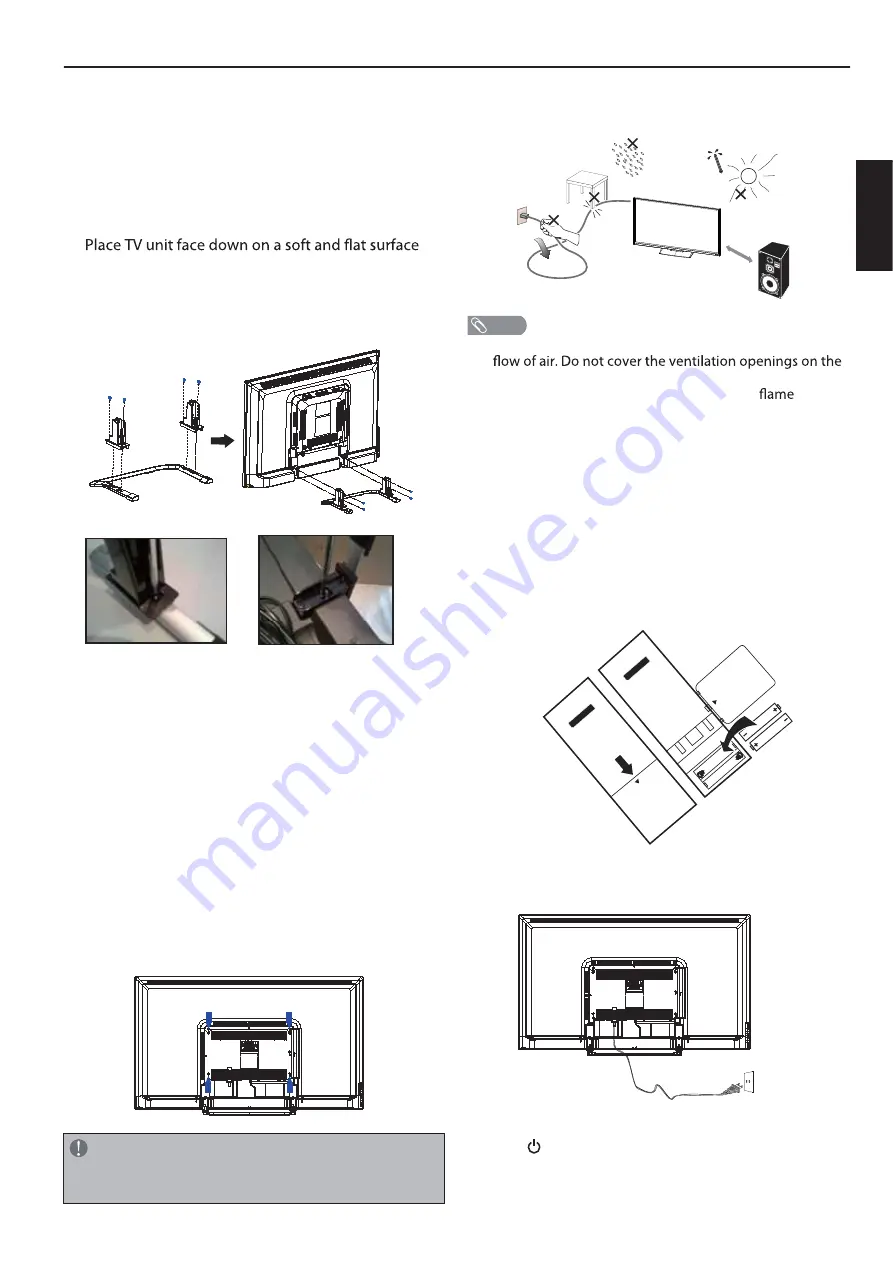
ATTACHING THE STAND
IMPORTANT:
The stand of the TV
m
ust be asse
m
bled
prior to usage.
1.
(blanket, foa
m
, cloth, etc.) to prevent an
y
da
m
age to
the TV.
PREPARING YOUR LCD TV FOR WALL MOUNTING
We suggest that
y
ou keep
y
our TV at least 2.36 inches
(60
mm
) fro
m
the wall to prevent cable interference.
Before
m
ounting
y
our TV on the wall,
y
ou need to
re
m
ove the stand.
For
y
our safet
y
, please use onl
y
with a UL listed wall
m
ount bracket with
m
ini
m
u
m
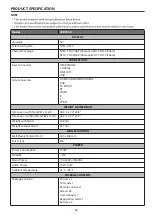
weight of the TV without
stand. (Please see page 18 for the weight of the TV.)
To attach a wall
m
ount bracket to
y
our TV:
1. Re
m
ove the screws holding
y
our TV to the stand.
2. Re
m
ove the stand fro
m
y
our TV.
3. Secure the wall
m
ount bracket to the back of
y
our TV
using four screws (see page 18 for the size of the
screws). Follow the instructions of the user
m
anual
that ca
m
e with the wall
m
ount bracket to install.
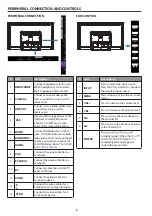
TURNING ON THE TV
1. Install the stand and place the TV on a solid surface.
t
Ensure that the TV is placed in a position to allow free
back cover.
t
To prevent an
y
unsafe situations, no naked
sources,
such as lighted candles, should be placed on or in the
vicinit
y
.
t
Avoid heat, direct sunlight and e
x
posure to rain or water.
The equip
m
ent shall not be e
x
posed to dripping or
splashing.
2. Connect the antenna cable or cable TV cable to the
ANT IN
aerial socket
on the back of the TV set. See
"CONNECTING TO AN ANTENNA/CABLE WALL JACK"
on page 9.
3. Re
m
ote control:
Re
m
ove the cover of the batter
y
co
m
part
m
ent.
Insert the 2 supplied batteries (T
y
pe AAA 1.5V).
4. Power:
Plug the cord into a working power outlet.
5. Turn the TV on:
Press on the re
m
ote control or
POWER
button on
the side control panel of the TV.
NOTE
The wall
m
ount bracket and the screws are not
included.
Min
1 m
NOTE
H
TR
-A1
8M
HT
R-
A1
8M
4pcs black color screws
4pcs silver color screws
2.
3. Fi
x
the bracket with stand to the botto
m
of the TV with
the four M4
x
12
mm
black screws.
Fi
x
the stand to the bracket with the four M4
x
8
mm
silver screws.
Summary of Contents for 50D3505B
Page 1: ...50D3505 ...
Page 2: ......
Page 24: ...Manuel d utilisation MODÈLES 50D3505 ...
Page 25: ......
Page 48: ...Manual de usuario MODELOS 50D3505 ...
Page 49: ......

