23
Installation
3.3.4 Connections (bottom of instrument)
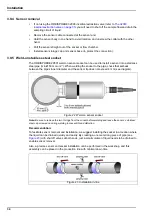
Cable protection shield
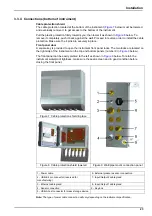
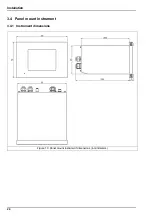
The cable protection located at the bottom of the instrument (
below) must be lowered,
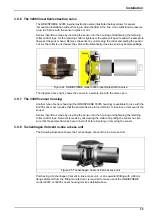
and eventually removed, to get access to the bottom of the instrument.
Pull the plastic protection firmly towards you, then lower it as shown in
below. To
remove it completely, push it back against the wall. Proceed in reverse order to install the cable
protection. Make sure the 4 pins are securely in place.
Front panel door
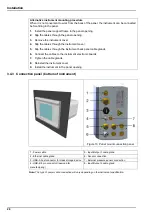
A square key is provided to open the instrument front panel locks. The two locks are located on
the right side of the instrument on the top and bottom panels (number 9 in
below).
The front panel can be easily pivoted to the left as shown in
below. To retain the
instrument waterproof tightness, make sure the seal is clean and in good condition before
closing the front panel.
Note:
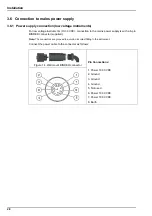
The type of power cable connection will vary depending on the instrument specification.
Figure 7 Cable protection shield in place
Figure 8 Cable protection shield lowered
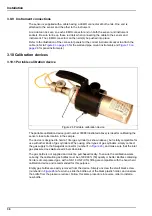
Figure 9 Wall/pipe mount connection panel
1 - Power cable
6 - External pressure sensor connection
2 - USB-B 4 pin connector (reserved for
manufacturing)
7 - Input/Output 2 cable gland
3 - Ethernet cable gland
8 - Input/Output 1 cable gland
4 - Sensor connection
9 - Keylock
5 - USB-A host connector for mass storage device
Summary of Contents for ORBISPHERE K1200
Page 5: ...4 Table of Contents...
Page 13: ...12 General Information...
Page 39: ...38 Installation...
Page 45: ...44 User Interface...
Page 46: ...45 Section 5 View Menu Figure 34 View menu...
Page 49: ...48 View Menu...
Page 59: ...58 Calibration Menu...
Page 60: ...59 Section 8 Inputs Outputs Menu Figure 40 Inputs Outputs menu...
Page 62: ...61 Inputs Outputs Menu 8 4 Analog outputs Figure 41 Analog outputs menu...
Page 69: ...68 Inputs Outputs Menu...
Page 86: ...85 Section 11 Products Menu Figure 44 Products menu...
Page 89: ...88 Global Configuration Menu...
Page 90: ...89 Section 13 Services Menu Figure 46 Services menu Part 1...
Page 91: ...90 Services Menu Figure 47 Services menu Part 2...


