background image

Shut down instructions:

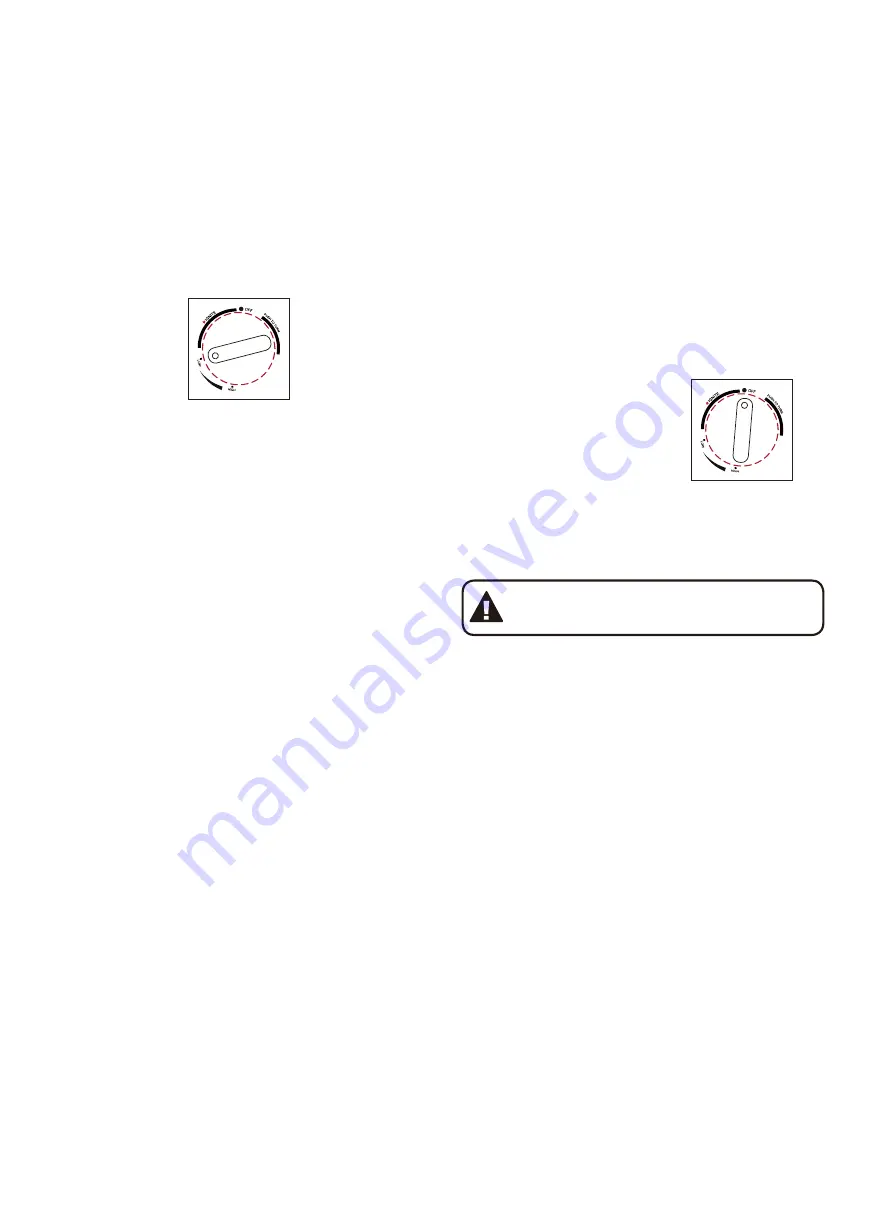
1.Push in and turn control knob clockwise

to OFF position.

2.Turn LPG cylinder gas valve clockwise to

OFF position when heater is not in use.

Note:

 After use, some discolouration of the 

emitter screen is nomal.

The event of gas leakage:

1.Turn the

control knob

to OFF position.

2.Turn LPG

cylinder valve

to OFF position.

3.Wait 5 minutes to allow gas to dissipate.

4.If odor continues, immediately call

gas supplier.

Warning:

 Heater will be hot after use.

Handle with extreme care.

OPERATING PROCEDURE

Note: The burner may be noisy when initially 

turned on, To eliminate excessive noise from 

the burner, turn the control knob to the LOW 

position. Then, turn the knob to the level of 

heat desired.

When heater is ON:

Emitter  grid  will  become  bright  red  due  to 

intense  heat.  The  colour  is  more  visible  at 

night.  Burner  will  display  tongues  of  blue 

flame.  These  flames  should  not  produce 

thick black smoke, indicating an obstruction 

of airflow through the burners.

Operation pressure checked:

If the flame is very small, this is because the 

supply pressure is not enough. Please refill 

gas cylinder.

Re-light:

1. Turn the control knob to OFF position.

2. Wait five (5) minutes before attempting to

relight pilot.

3. Repeat steps beginning with step 3 of the

lighting instruction above.

10

Summary of Contents for 1351 86809

Page 1: ...Relax 1 1351_86809 1351_86810 1351_86811 EN FR ES IT...

Page 2: ...NTAKT PT SERVI O P S VENDA INFORMA ES VIDEO CONTATO PL SERWIS TECHNICZNY INFORMACJE WIDEO KONTAKT NE AFTER SALES SERVICE INFORMATIE VIDEO CONTACT HE 445X35mm 420X420X75mm 280X550mm 76X517mm 115X514 mm...

Page 3: ...as and the type of cylinder specified by the manufac turer Warning Do not obstruct the ventilation holes of the cylinder housing Warning In case of violent wind particular attention must be taken agai...

Page 4: ...1351_86809 1351_86810 1351_86811 SRPH32 800g h G30 800g h G30 800g h G30 786g h G31 4...

Page 5: ...rder to properly assemble your product Make sure all the plastic protection rip off before assembling Do not force parts together as this can result in personal injury or damage to the product When ap...

Page 6: ...for the country of destination The regulator illustrated on the manual is for United Kingdom the regulator in your country maybe different with the one on the illustration Flexible gas rubber pipe sh...

Page 7: ...e gas hose regulator and regulator LPG cylinder connection 3 Inspect the connections and look for bubbles 4 If no bubbles appear the connection is safe If bubbles appear there is leak loosen and re ti...

Page 8: ...plant fibres plas tic or other materials that are capable of being ignited and burned Always make sure that adequate fresh air ventilation is provided Follow the spacing tolerances shown in the follo...

Page 9: ...tay lit then a Push in gas control knob and turn counter clockwise to the LOW position b keep depressing the control knob put long stem lighter into the ignition hole on the emitter screen to light th...

Page 10: ...oisy when initially turned on To eliminate excessive noise from the burner turn the control knob to the LOW position Then turn the knob to the level of heat desired When heater is ON Emitter grid will...

Page 11: ...water if any carbon deposits develop Check the tubing or the flexible hose at least once per month and each time the cylinder is changed If it shows signs of cracking splitting or other deterioration...

Page 12: ...TROUBLESHOOTING 12...

Page 13: ...re stock e selon les r gles en vigueurs ATTENTION Uniquement utiliser le type de gaz et le type de bouteilles sp cifi s par le fabricant ATTENTION Ne pas boucher les trous de ventilation du cylindre A...

Page 14: ...1351_86809 1351_86810 1351_86811 SRPH32 800g h G30 800g h G30 800g h G30 786g h G31 14...

Page 15: ...ace dure et plate qui n a pas de fissures Pour viter d endommager un sol mou ou un tapis ne pas assembler ou d placer le produit sur ce type de sol Suivre les tapes dans l ordre pour assembler le prod...

Page 16: ...u est de 1 70m et ne devrait pas exc der 2 0m Le tuyau doit tre visible sur toute sa longueur pour pouvoir l inspecter apr s l installation Connexion de la bouteille de GPL Avant d effectuer la connex...

Page 17: ...connexions de la bouteille de GPL 3 Inspectez les connexions et cherchez les bulles 4 S il n y a pas de bulles alors les connexions sont s curis es Si des bulles se forment alors il y a une fuite dess...

Page 18: ...ine de bois les fibres de plantes le plastique et d autres mat riaux qui peuvent tre brul s Toujours s assurer qu une ventilation d air ad quat soit pr sente Toujours respecter la distance de s curit...

Page 19: ...PROCEDURE D ALLUMAGE L instruction d allumage doit tre respect e Une dangereuse situation peut se produire si elle n est pas strictement suivie BASSE BASSE br leur BASSE BASSE 19...

Page 20: ...vec pr caution MODE DE FONCTIONNEMENT Remarque Le br leur peut tre bruyant en d but d allumage pour liminer l exc dent de bruit placer le bouton sur la position LOW Ensuite tournez le bouton sur le ni...

Page 21: ...cules La suie peut s enflammer et cr er un feu Nettoyez le d me du chauffage avec de l eau savonneuse et chaude s il y a de la suie V rifiez les tuyaux et le tube en plastique au moins une fois par mo...

Page 22: ...s allume pas Pression du gaz insu sante La bouteille de gaz est presque vide La vanne de contr le est teinte Ouvrir la vanne de contr le Le thermocouple est cass Appelez le service d assistance Le tu...

Page 23: ...gas debe ser almacenado de acuerdo con la normativa vigente ADVERTENCIA Utilice s lo el tipo de gas y el tipo de cilindro especificado por el fabricante ADVERTENCIA No obstruya los agujeros de ventila...

Page 24: ...1351_86809 1351_86810 1351_86811 SRPH32 800g h G30 800g h G30 800g h G30 786g h G31 24...

Page 25: ...da os en suelos blandos o alfombras no monte ni mueva el aparato sobre suelo blando o alfombra Siga todos los pasos para montar correctamente su producto Aseg rese de retirar toda la protecci n de pl...

Page 26: ...ongitud para su inspecci n despu s de la instalaci n Peligro Debe tener el regulador y el cilindro adecuados para que el aparato funcione de forma segura y eficiente El uso de un regulador incorrecto...

Page 27: ...or de gas y en la conexi n del regulador cilindro de GLP 3 Inspeccione las conexiones y busque burbujas 4 Si no aparecen burbujas la conexi n es segura Si aparecen burbujas hay fugas afloje y vuelva a...

Page 28: ...fibras vegetales pl stico u otros materiales que son capaces de encenderse y quemarse Siempre aseg rese de que se proporcione una ventilaci n adecuada de aire fresco Siga las tolerancias de espaciado...

Page 29: ...l sentido de las manecillas del reloj a la posici n BAJO b Mantenga oprimida la perilla ponga un encendedor de cuello largo en el hoyo de ignici n en la pantalla de emisi n Para encender el quemador c...

Page 30: ...mador puede ser ruidoso cuando se enciende inicialmente para eliminar el ruido excesivo del quemador gire el mando de control a la posici n BAJA A continuaci n gire la perilla al nivel de calor desead...

Page 31: ...rbono pueden crear un riesgo de incendio Limpie la c pula del calentador con agua jabonosa caliente si se desarrollan dep sitos de carb n Revise el tubo o la manguera flexible al menos una vez al mes...

Page 32: ...SOLUCI N DE PROBLEMAS 32...

Page 33: ...a bottiglia di gas deve essere immagazzinata conformemente alla regolazione in vigore ATTENZIONE Bisogna solo utilizzare il tipo di gas e di bombola specificato dal fabbricante ATTENZIONE Non si devon...

Page 34: ...800g h G30 800g h G30 SRPH32 800g h G30 786g h G31...

Page 35: ...anneggiare un pavimento mollo o un tappeto non montare o spostare il prodotto su questo tipo di suolo Bisogna seguire le tappe in ordine per montare il prodotto correttamente Non forzare il montaggio...

Page 36: ...egolatore per poter sostenere la pressione e la temperatura Il tubo misura 1 70m e non dovrebbe superare 2 0m Il tubo deve essere visibile completamente per poter inspezionarlo dopo l installazione Bi...

Page 37: ...ssioni della bottiglia di GPL 3 Inspezionare le connessioni e guardare se ci sono bolle 4 Se non ci sono bolle allora le connessioni sono sicure Se ci sono bolle allora ci sono perdite allargare e ris...

Page 38: ...a e altri materiali che possono essere bruciati Sempre assicurarsi che ci sia una ventilazione d aria adeguata Bisogna sempre rispettare la distanza di sicurezza illustrata nel disegno a destra Il ris...

Page 39: ...manopola e girare nel senso antiorario sulla posizione LOW b Premere la manopola mettere un accendi gas nel buco di accensione fatto apposta sulla griglia di emissione per accendere il fornello c Ripe...

Page 40: ...di gas Attenzione Il riscaldamento sar caldo dopo l utilizzazione Manipolare con attenzione FUNZIONAMENTO Nota Il fornello pu essere rumoroso all inizio dell accensione per diminuire il rumore bisogna...

Page 41: ...e i buchi con un scovolino L aria compressa pu aiutare a togliere le piccole particelle La fuliggine pu prendere e accendere un fuoco Bisogna pulire la cupola del riscaldamento con acqua calda e sapon...

Page 42: ...si accende La pressione del gas non sufficiente La bombola del gas quasi vuota La valvola di controllo chiusa Aprire la valvola di controllo Il thermocouple rott o Chiamare il servizio assistenza Il t...

Page 43: ...43...

Page 44: ...1 8 6 A B C D E F 2 3 4 5 G 7 44...

Page 45: ...2 5 x 1 8 x 1 Fx4 M6x20 5 8 F 1 6 x 1 7 x 1 G x 2 6 G 7 45...

Page 46: ...3 3 x 1 4 x 1 Dx4 M6x14 4 D 3 4 E Ex6 M5x12 46...

Page 47: ...5 Ax12 M6x10 Bx12 6MM Cx12 M6 1 2 C B A 1 x1 2 x4 6 Ax3 M6x10 Bx3 6MM A B 47...

Page 48: ...7 8 48 EN Fill the sand into the hole till full FR Remplir la base avec du sable ES Llenar la base con arena IT Riempire la base con sabbia...

Page 49: ...10 9 49...

Reviews: