ST, DS - Spindle Centerline to Z Axis Parallelism Correction
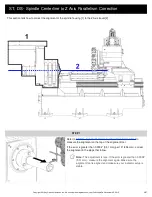
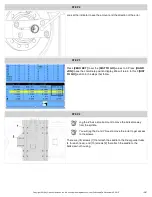
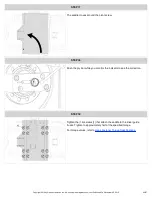
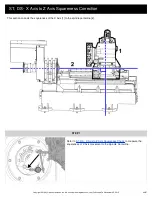
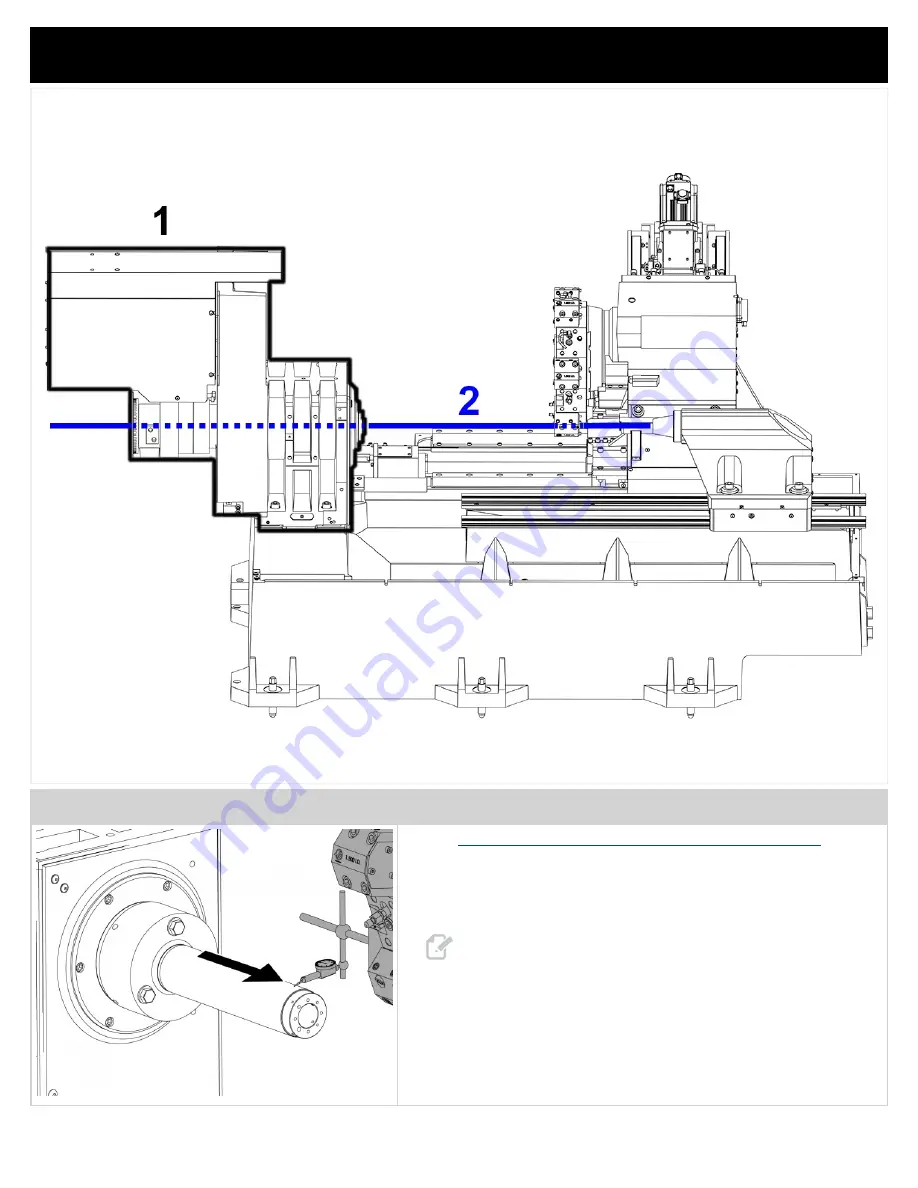
This section tells how to correct the alignment of the spindle housing [1] to the Z Axis travel [2].
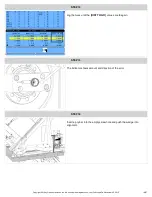
STEP 1
Refer to
ST, DS - Spindle Centerline to Z Axis Parallelism Check
to
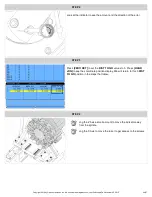
measure the alignment on the top of the alignment tool.
If the error is greater than 0.0004" (0.01 mm) per 10" (254 mm), correct
the alignment in the steps that follow.
Note:
This adjustment is rare. If the error is greater than 0.0004"
(0.01 mm), measure the alignment again. Make sure the
alignment tool is aligned and make sure your indicator setup is
stable.
Copyright 2018 by Haas Automation, Inc. No unauthorized reproduction | Last Published On November 05, 2015
3/67

