4-31
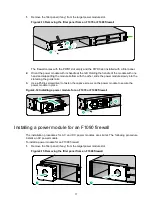
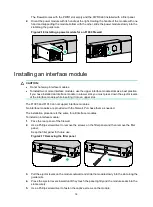
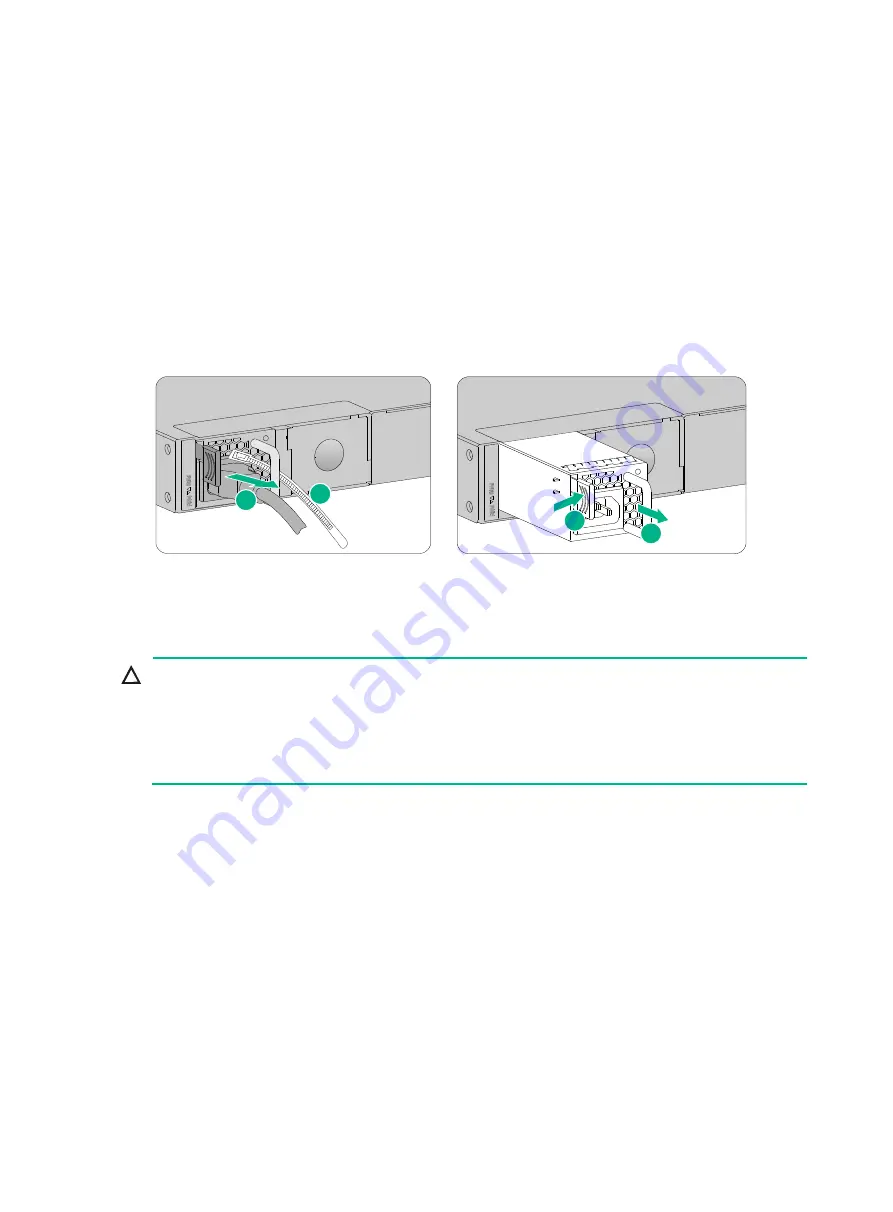
To replace a power module for an F1090 firewall:
1.
Face the rear panel of the firewall.
2.
Remove the cable tie from the power cord and then remove the power cord connector from the
power module.
3.
Hold the power module handle with one hand, press the latch towards the handle, and then pull
the power module part way out of the slot. Supporting the power module bottom with one hand,
slowly pull the power module out of the slot along the guide rails with the other.
4.
Put the removed power module in an antistatic bag or on the workbench.
5.
Install a new power module. For the installation procedure, see "
If you are not to install a new power module, install a filler panel in the slot to ensure good
ventilation in the firewall.
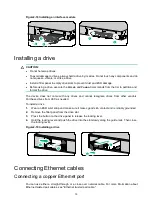
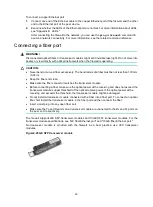
Figure4-2 Removing a power module from an F1090 firewall
Replacing an interface module
CAUTION:
•
Do not hot swap interface modules. Power off the firewall before you replace an interface
module.
•
To install two or more interface modules, use the upper interface module slots as a best practice.
If you have installed an interface module in a lower slot, you must press down the ejector levers
of the interface module while inserting it into an upper slot.
The F1005 and F1010 firewalls do not support interface modules.
To replace an interface module:
1.
Power off the firewall.
2.
Use a Phillips screwdriver to loosen the captive screws of the interface module.
3.
Holding the ejector levers of the interface module with both hands, pull the ejector levers
outward, and pull the interface module part way out of the slot along the slide rails. Supporting
the bottom of the interface module with one hand, gently pull the interface module out of the slot
with the other.
4.
Put the removed interface module (with the circuit board facing upward) on an antistatic
workbench or into an antistatic bag.
5.
Install a new interface module. For the installation procedure, see "
If you are not to install a new interface module, install a filler panel in the slot to ensure good
ventilation in the firewall.
3
3
1
2

