■
+ii41ilctrJt®il'ldU
1
l1P
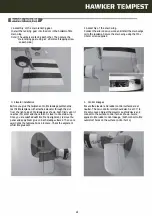
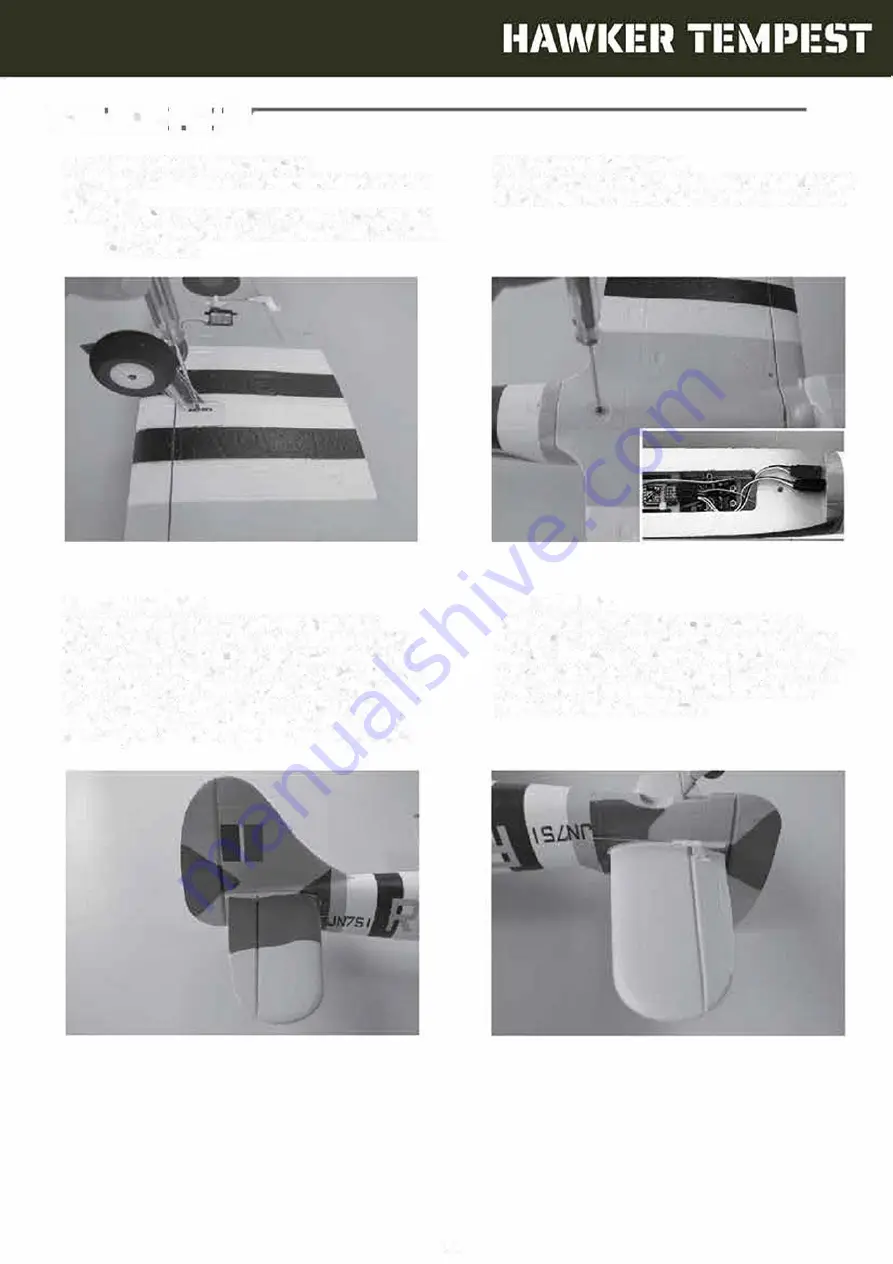
!.Assembly of the main landing gear.
Install the landing gear Into the slots in the bottom of the
main wing.
Note: (The wheels are facing each other. Then secure the
main landing gear using a 2 x 8mm self-tapping screw
on each side.)
3. Elevator installation.
Before you glue the tailplane onto the fuselage permanently,
test fit the tailplane with attached elevator through the slot
from the right side of the fuselage as shown. Push firmly until it
reaches it's center and check that it is level to the main wing.
Once you are satisfied with the fit and alignment, remove the
panel and apply foam glue on both mating surfaces. Then once
again slide the tailplane baek into place. Check the alignment
whilst the glue sets.
4
2.Assembly of the main wing.
connect the aileron servo wires and install the main wings
onto the fuselage. Secure the main wing using the M4 x
45mm screw supplied.
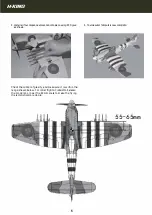
4. COntrol llnkages
Ensure the elevator and rudder control surfaces are at
neutral. The servo control arms should also be at
90°
to
the servo cases. Adjust the elevator pushrod clevis and
connect to the surface control horn as shown. Same
applies to the rudder contrOl linkage. (both connect to the
outermost holes on the surface control horns.)
Summary of Contents for HAWKER TEMPEST
Page 1: ......


