background image


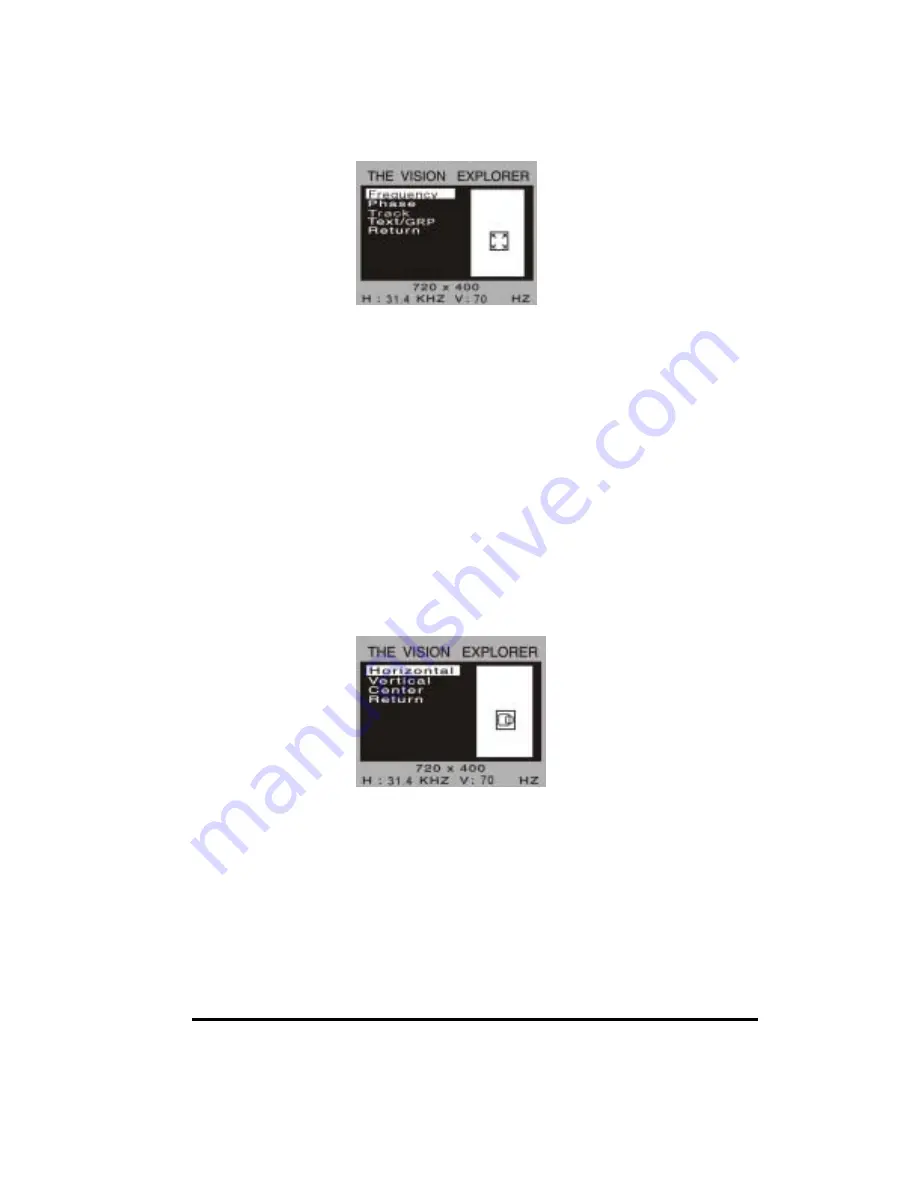
OSD Menu - Quality 


FREQUENCY   


This item is used to decrease the vertical interference.


1.  Select one display pattern from your computer. 

2. Use 

+

 and 


buttons on the LCD monitor to decrease the vertical interference to get 

the optimal display.


PHASE 


This item is used to decrease the horizontal interference. 

1. 

Select one display pattern from your computer. 

2. Use 

+

 and 


buttons on the LCD monitor to decrease the horizontal interference to 

get the optimal display.


TRACK 

Adjust the track using + and  

 buttons.


TEXT / GRP 

Select “Text” or “Graphics” display in special mode. 


POSITION 


OSD Menu – Position 


HORIZONTAL  


Pressing 

+

 moves the display image to the right; Pressing 

 moves the display image to the 

left. 


VERTICAL  

Pressing 

+


moves the display image upward; Pressing 


moves the display image 

downward. 


CENTER 

Pr or – buttons to automatically centers and sizes the screen image.  


LANGUAGE


Summary of Contents for P12ES-LW

Page 1: ...ons If you will not use it for an indefinite period time When the power cord or plug is damaged or frayed If the product does not operate normally when the operating instructions are followed Adjust only those controls that are covered by the operating instructions Improper adjustment of other controls may result in damage and will often require extensive work by a qualified technician to restore ...

Page 2: ... in a residential installation This equipment generates uses and can radiate radio frequency energy and if not installed and used in accordance with the instructions may cause harmful interference to radio communications However there is no guarantee that interference will not occur in a particular installation If this equipment does cause harmful interference to radio or television reception whic...

Page 3: ...nterference caused by unauthorized modification of this equipment It is the responsibility of the user to correct such interference Caution To meet FCC limits for a Class B computing device a shielded signal cable should be used Canadian Department Of Communications Compliance Statement This equipment does not exceed Class B limits per radio noise emissions for a digital apparatus set out in the R...

Page 4: ...tor are following items 12 1 TFT liquid crystal monitor D sub 15 pin signal cable Power Adapter Power cord User s manual Audio cable option Video signal cable option Product Features High contrast color TFT LCD display support resolution up to SVGA 800x600 Compatible with IBM VGA and VESA Power management system conforms to VESA DPMS standard Universal power adapter Support DDC1 2B for Plug Play c...

Page 5: ...ust the decreasing value of the selected OSD control option 2 used to select input sources VGA or Video signal when the OSD main menu function is off for model with video in function only Rear View 1 Power Connector This is for connecting the power adapter 2 Signal Connector This can be connected with the D sub 15 pin signal connector 4 Audio In This can be connected to the audio out connector of ...

Page 6: ...g and buttons SATURATION for model with video in function only Adjust the video image color saturation using and buttons HUE for model with video in function only Adjust the video image hue using or buttons COLOR Adjust the values of color gain RED GREEN or BLUE using and buttons OSD Menu Color AUTOTUNE Press buttons to make LCD monitor adjust the related parameters automatically for optimal displ...

Page 7: ...rom your computer 2 Use and buttons on the LCD monitor to decrease the horizontal interference to get the optimal display TRACK Adjust the track using and buttons TEXT GRP Select Text or Graphics display in special mode POSITION OSD Menu Position HORIZONTAL Pressing moves the display image to the right Pressing moves the display image to the left VERTICAL Pressing moves the display image upward Pr...

Page 8: ...rn off the power and check the monitor s power cord and signal cable for proper connection The characters on the screen are dim Refer to the Controls and Adjustments section to adjust the brightness The screen is blank During operation the monitor screen may automatically turn off as a result of Power Saving feature Press any key to see if the screen comes back Refer to the Controls and Adjustment...

Page 9: ...00 VGA 31 469 70 087 4 720X400 VESA85 37 927 85 039 5 640X480 VGA 31 469 59 940 6 640X480 VESA72 37 861 72 809 7 640X480 VESA75 37 500 75 000 8 640X480 VESA85 43 269 85 008 9 800X600 SVGA 35 156 56 250 10 800X600 SVGA 37 879 60 317 11 800X600 VESA72 48 077 72 188 12 800X600 VESA75 46 875 75 000 13 800X600 SVGA 53 674 85 061 9 ...

Page 10: ...0o V Display Color 262K Input Signal Video R G B Analog 0 7V peak to peak Sync TTL Positive or Negative Signal Connector 15 Pin D Sub Front Control Power on off with LED Menu Select up down Adjustment Plug Play DDC1 2B Audio System option 1W Per channel Video in option S and RCA connectors Power Adapter Input AC 100 240V 50 60Hz Output DC 12V 2 5A min Operating Conditions Temperature 5o C 35o C 41...

Page 11: ...Dimensions HxWxD 310 x 312 x 146mm Weight Net 3 3Kg Certifications C UL FCC CE Specifications are subject to change without notice WARNING Do not disassemble the monitor Contact your dealer if needed 11 ...

Reviews: