3
sure the load is centered on the carrier.
• Use the aluminum cargo carrier on flat and level surfaces capable of supporting the aluminum cargo carrier and its
maximum load. Pulling or pushing a load on a slanted or uneven surface can result in loss of control.
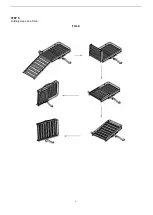
• Prior to transporting a load, make sure the Ramp of the carrier is folded and secured. The load itself must also be
properly secured to the carrier.
• Store idle the aluminum cargo carrier. When the aluminum cargo carrier is not in use, store it in a secure place out of
the reach of children. Inspect it for good working condition prior to storage and before re-use.
WARNING: Flammable cargo can ignite from exposure to heat. Be aware of the
possible fire risk and property damage resulting from the vehicle’s exhaust system pointing at or
running near the cargo in the carrier. Do not use if this condition exists.
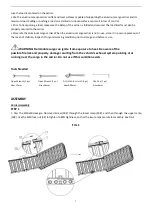
Tools Needed
Open Wrench (1 pc.) Open Wrench (1 pc.)
Adjustable wrench
(1 pc)
Hex Key
(1 pc)
Size=17mm
Size=24mm Size=0-30mm Size=6mm
ASSEMBLY
Carrier Assembly
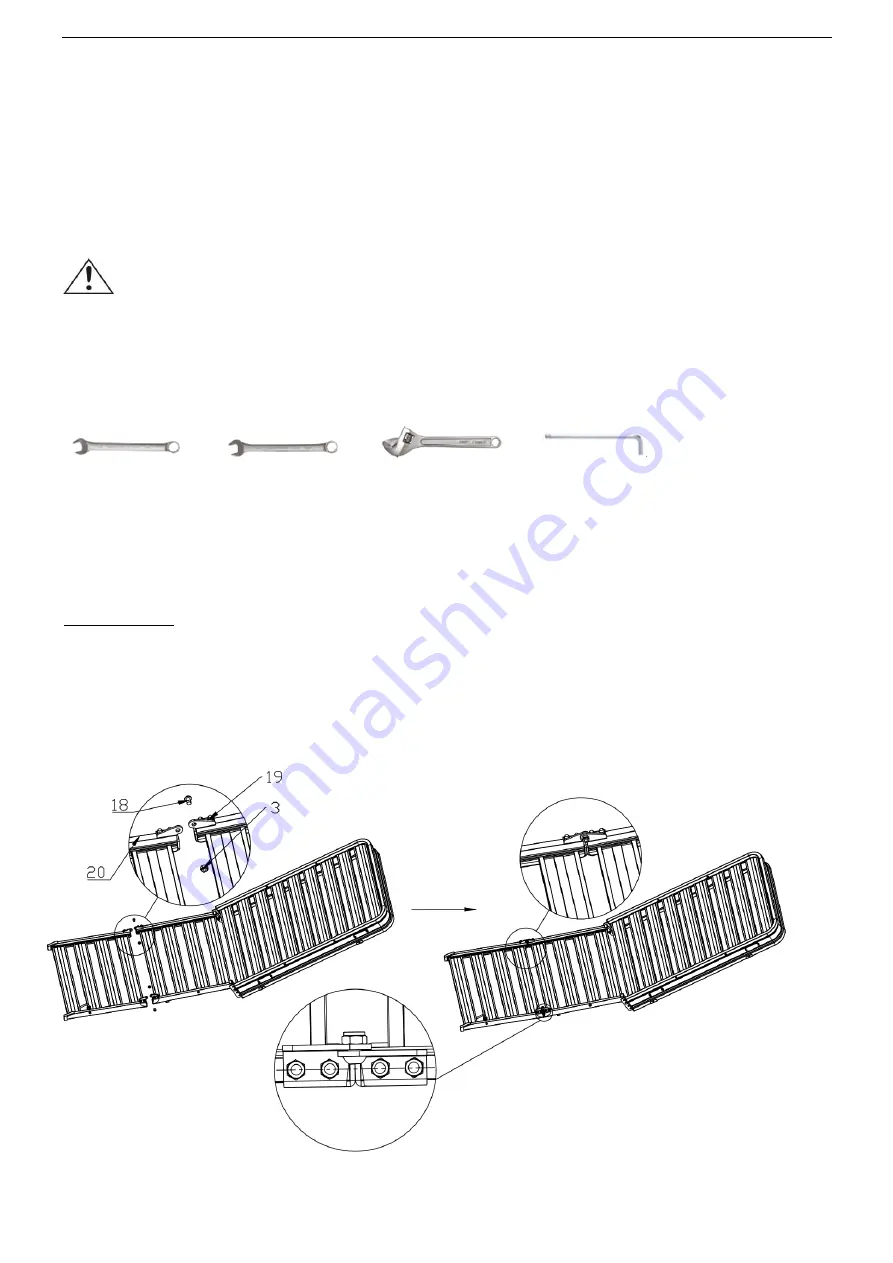
STEP 1
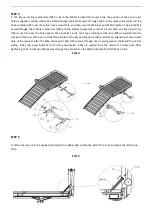
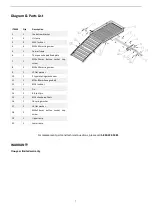
1. Pass the M10x20 Hexagon Flat Head Screw (18#) through the lower ramp (20#), and then through the upper ramp
(19#). Use the M10 lock nut (3#) to tighten to 80% tightness,
so that the two ramps can rotate smoothly. See FIG 1
FIG. 1


