


ENGLISH
15
SETTINGS
____________________________________________________________________________________
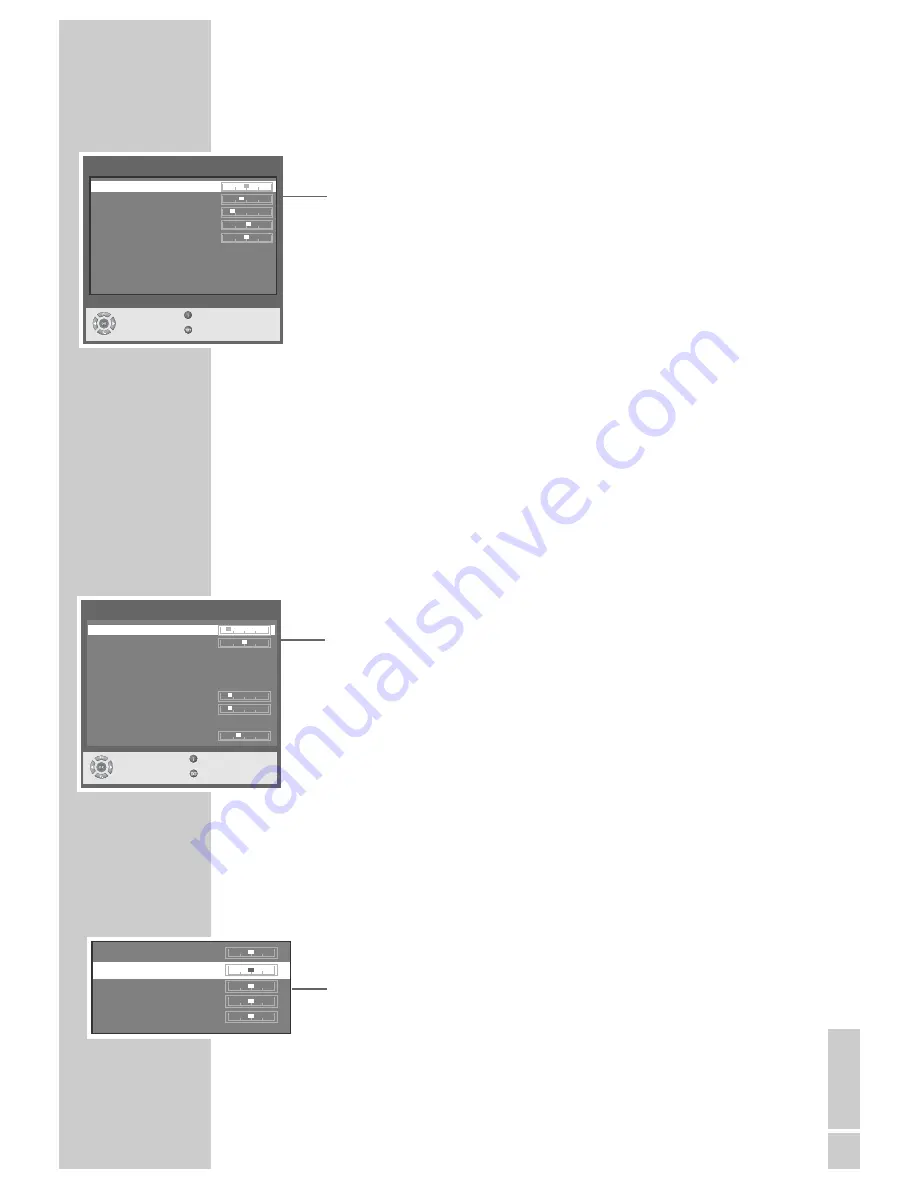
Picture settings
1
Open the »Picture« menu by pressing »
z
z
« (red).
2
Select the function item by pressing »
P+
« or »
P-
«:
– »Contrast«
– »Brightness«
– »Sharpness«
– »Color«
– »Tint«, to change the colour balance
– »DNC«, dynamic noise suppression, improves the picture if the signal is
weak
– »Photo CD«, picture optimisation for freeze-frames
3
Press »
Ǹ
« or »
Ƿ
« to set the value or switch the function on and off.
– The setting is saved automatically.
Note:
When using a PC only the »Contrast« and »Brightness« can be changed.
4
Press »
TXT
« to finish the setting.
Audio settings
1
Open the »Sound« menu by pressing »
F
F
« (blue).
2
Select the function item by pressing »
P+
« or »
P-
«:
– »Volume«, the current set volume is displayed
– »Balance«, the current balance setting between the left and right speaker
is displayed
– »Equalizer«, choose between flat, pop, classic, vocal, rock, jazz and user
– »User Equalizer«, for custom sound settings using the equaliser
– »Option«, choose between stereo and stereo enlarged. Stereo enlarged
widens the sound output for stereo programmes, and improves the sound
with mono reception.
– »Volume Line Out«, the volume level at the »LINE OUT R L« socket
– »Max. Startup Volume«, the volume when switching on the device
– »AVC«, this function guarantees a uniform volume when you switch from
one channel to another
– »Volume adjustment«, this function balances the volume between television
programmes and external video and audio sources.
Note:
To implement the settings in the »User Equalizer« menu, select the line and
press »
OK
« to activate the menu.
3
Press »
Ǹ
« or »
Ƿ
« to set the value or switch the function on/off.
– The setting is saved automatically.
4
Press »
TXT
« to finish the setting.
Picture
Contrast :
78
Brightness :
62
Sharpness :
Color :
16
DNC :
8
Photo CD :
8
Off
Select
Back
and open
Exit
< 120 Hz :
500 Hz :
1,5 kHz :
5 kHz
:
> 10 kHz :
Sound
Volume :
Balance :
Equalizer :
Pop
User Equalizer
Option :
Stereo
Volume Line Out :
Max. Startup Volume :
AVC :
Off
Volume Adjustment :
Select
Back
and open
Exit