


17
- Press the
or
button to select the items, and press the
or
button to
Adjust. See details in the following sub-options.
- Press the
ENTER
button to confirm and press the
LCD MENU
button to
Return to previous menu or press the
EXIT
button to exit.
Storage To
Press the
or
button to select the channel number you want to save to.
System
Press the
or
button to select the TV sound system.
Current CH
Press the
or
button to select the current channel.
Search
Press the
or
button to search backward/forward,
Press the
LCD MENU
or
EXIT
to stop the program searching.
Fine-Tune
Press the
or
button to fine tuning when the signal level of the current
channel is weak.
Skip
Press the
or
button to turn on/off the switch of skip. When it’s set to ON,
the current channel will be skipped when you switch channels by pressing the
CH+
or
CH-
buttons.
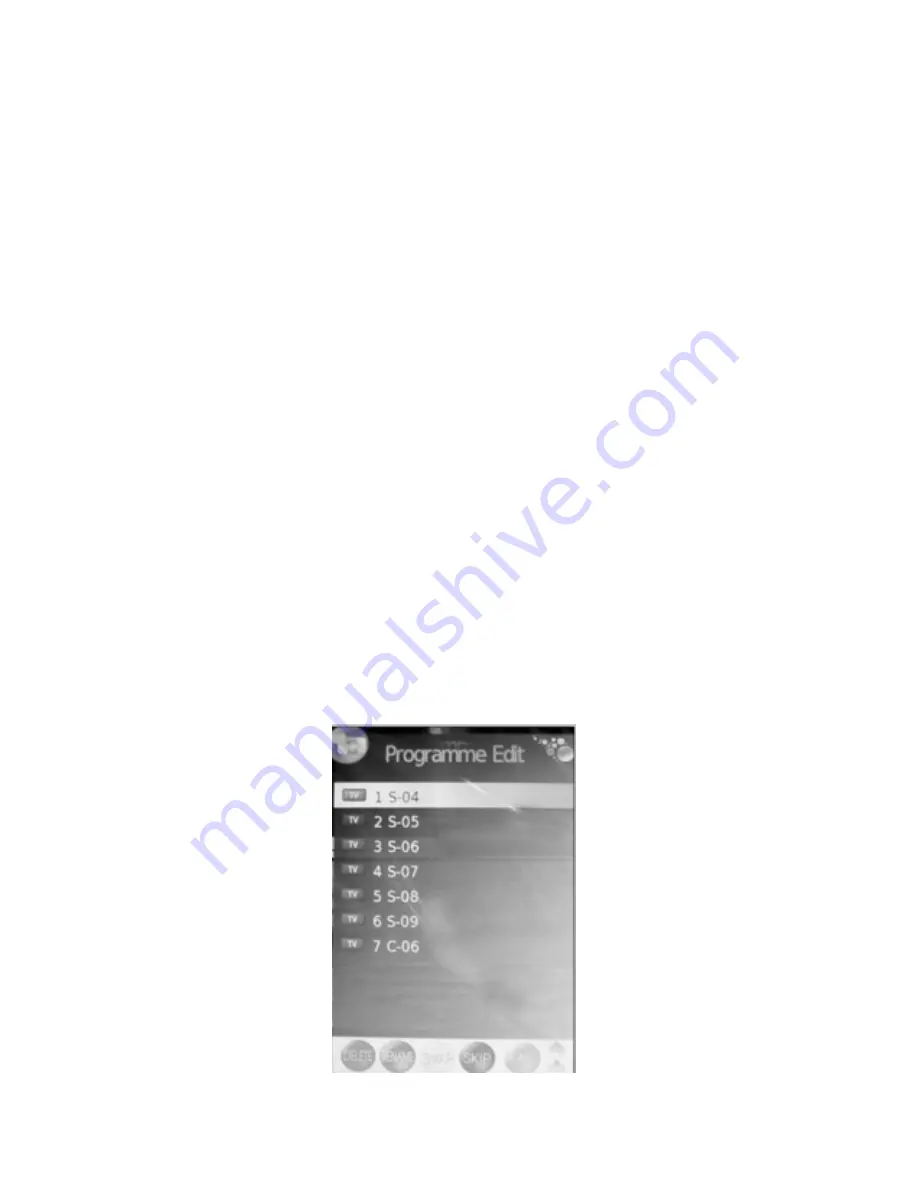
Program Edit


