


22
Step 2, Select the preset number and enter the name;
Step 3, Control the lens and the PTZ to the specified position;
Step 4, Click the “Settings” to complete the configuration. Click the “Call” icon to turn
the camera to the position corresponding to the preset position, and click the
“Delete” icon to delete the preset.
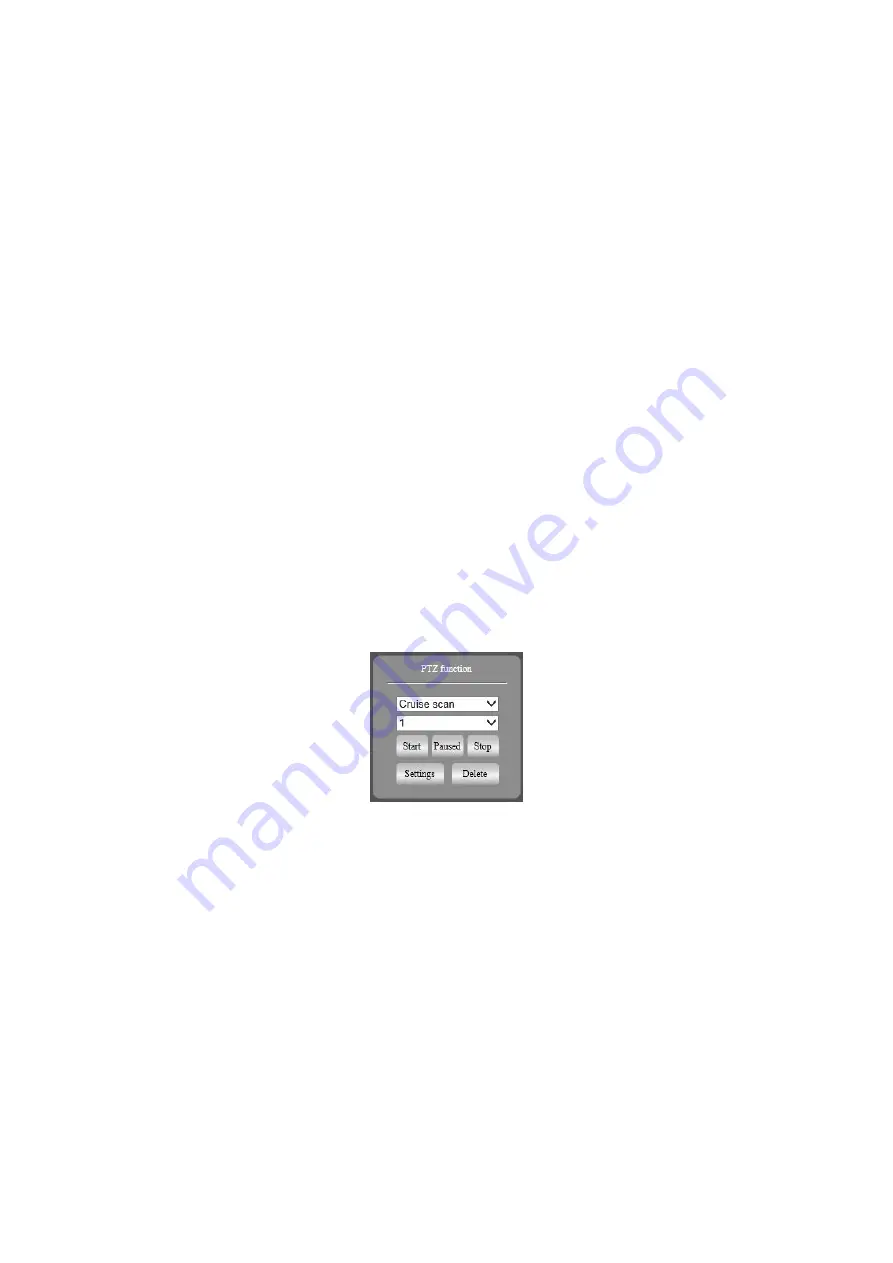
Cruise scan
After setting the cruise group, the cruise will start, and the device will automatically
rotate back and forth according to the preset position.
Step 1, Click the PTZ tab and select Cruise scan from the drop-down list, as shown in
Figure 4-7.
Step 2, Select the cruise path number.
Step 3, Click the “Settings” button to add the existing presets and set the dwell time.
Step 4, Click the "Start" button and the device starts cruising. Click the "Stop" button
or directly control the PTZ side
To stop, you can stop cruising. Click the "Delete" button to delete the cruise.
Figure 4-7 Cruise scan
Horizontal scan
After setting up the horizontal scan, turn on the horizontal scan and the device will
automatically scan back and forth between the set left and right borders at a certain
speed.
Step 1, Click the PTZ tab and select Horizontal scan from the drop-down list.
Step 2, Control the pan/tilt to a certain location and click the “Left” button to
complete the setting of the left border.
Step 3, Control the pan/tilt to another location and click the “Right” button to
complete the setting of the right border.
Summary of Contents for GD-TI-AT30105K
Page 1: ...1 ...
Page 10: ...10 Figure 1 4 Lateral View Figure 1 5 Front and side view of PTZ ...
Page 34: ...34 ...


