ENGLISH
12
INITIAL SETUP
----------------------------------------------------------------------------------------------------------------------
Switching on the Blu-ray player
If you connect the device to the mains, it
switches to standby.
1
Plug the power cord into the wall socket.
– The power indicator turns on.
2
Press »
9
«.
– The power indicator turns off.
– Display: »
HELLO
«.
3
Switch on the LED/LCD-TV, select the input
setting on the LED/LCD-TV that matches the
connection method you used to connect the
Blu-ray player.
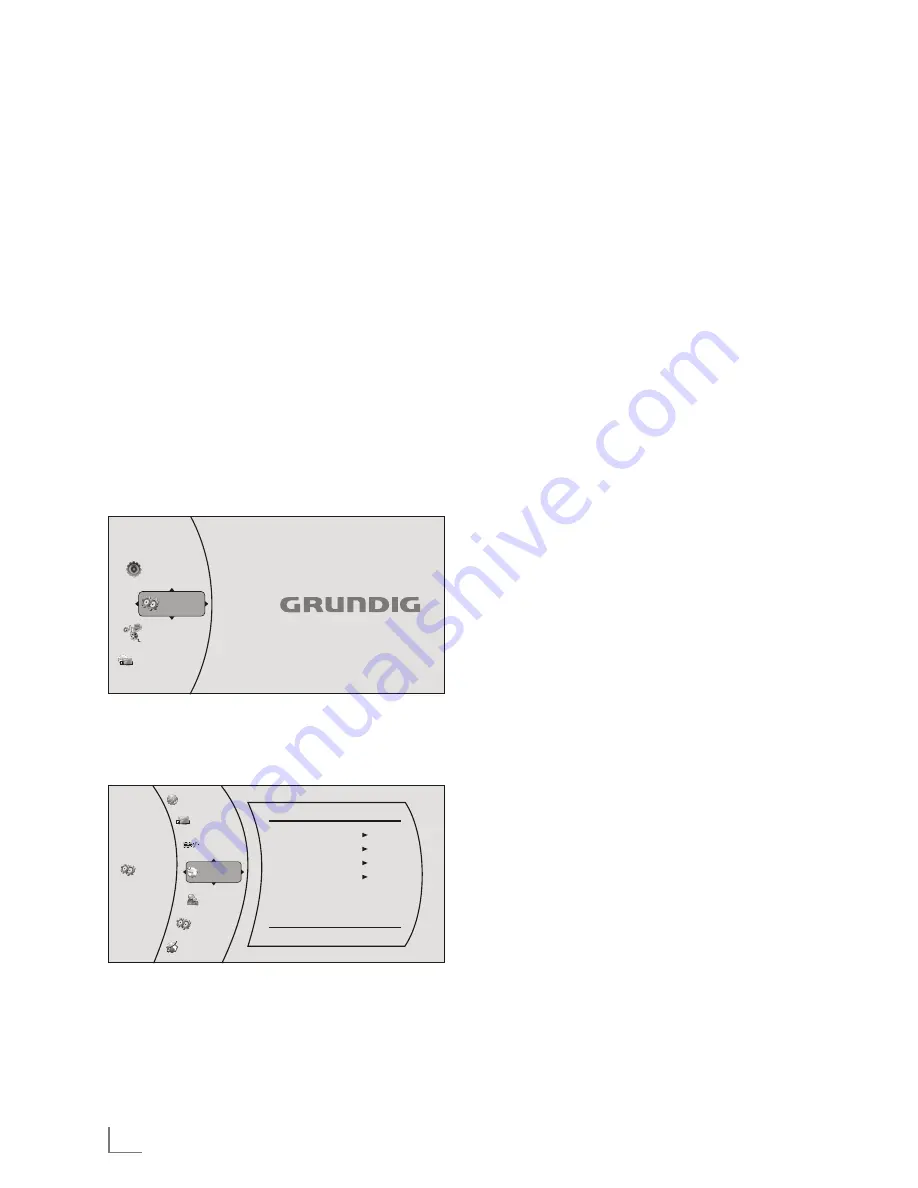
Menu navigation
When you switch on the device, the main menu
of the device automatically appears on the
screen.
6HWWLQJV
0HGLD
1HW)XVLRQ
4XLFN6HWXS
1HW)XVLRQ
1
Use the cursor buttons »
A
«, »
S
«, »
s
« or
»
a
« to move through the menu.
2
Confirm your selection by pressing »
ENTER
«.
6HWWLQJV
3DUHQWDO
6\VWHP
/DQJXDJH
26'
0HQX
$XGLR
6XEWLWOH
(QJOLVK
$XWR
$XWR
1RQH
'LVSOD\
$XGLR
/DQJXDJH
1HWZRUN
%'/LYH
3
Press »
RETURN
« to return to the main menu.
First installation by using the
Quick Setup
Use the »Quick Setup« function to make the ini-
tial settings.
If you need more settings, refer to the chapter
"First installation by using the functions in the
main menu", see next page.
1
Press »
SETUP
« to open the main menu.
2
In the main menu select »Quick Setup« by us-
ing »
A
« or »
S
« and press »
ENTER
« to con-
firm.
–
Display: »Would you like to do Quick Setup?
Yes - No« appears.
3
Select »Yes« by using »
a
« or »
s
« and press
»
ENTER
« to confirm.
–
Display: »OSD Language Settings« menu
appears.
4
Select your language by using »
A
« or »
S
«
and press »
ENTER
« to confirm.
–
Display: »Resolution« menu appears.
5
Depending on the type of the TV connected to
the device, select resolution by using »
A
« or
»
S
« and press »
ENTER
« to confirm.
–
Display: »TV Aspect« menu appears.
6
Depending on the type of the TV connected to
the device, select TV Aspect by using »
A
« or
»
S
« and press »
ENTER
« to confirm.
–
Display: »Quick Setup Complete! Exit« ap-
pears.
7
Press »
ENTER
« to exit the Quick Setup.
Summary of Contents for GBP 7000 3D
Page 1: ...OX UD 3OD HU 3 1...
Page 39: ...ZZZ JUXQGLJ FRP...
Page 40: ...OX UD 3OD HU 3...
Page 81: ...ZZZ JUXQGLJ FRP...


