Grundig DTR 2540 User Manual Download Page 12

12

Searching for stations

The automatic search looks for receivable stations among the avail-
able bouquets of digital stations.

1

Switch on the digital receiver by pressing »

Ǽ

« on the receiver.

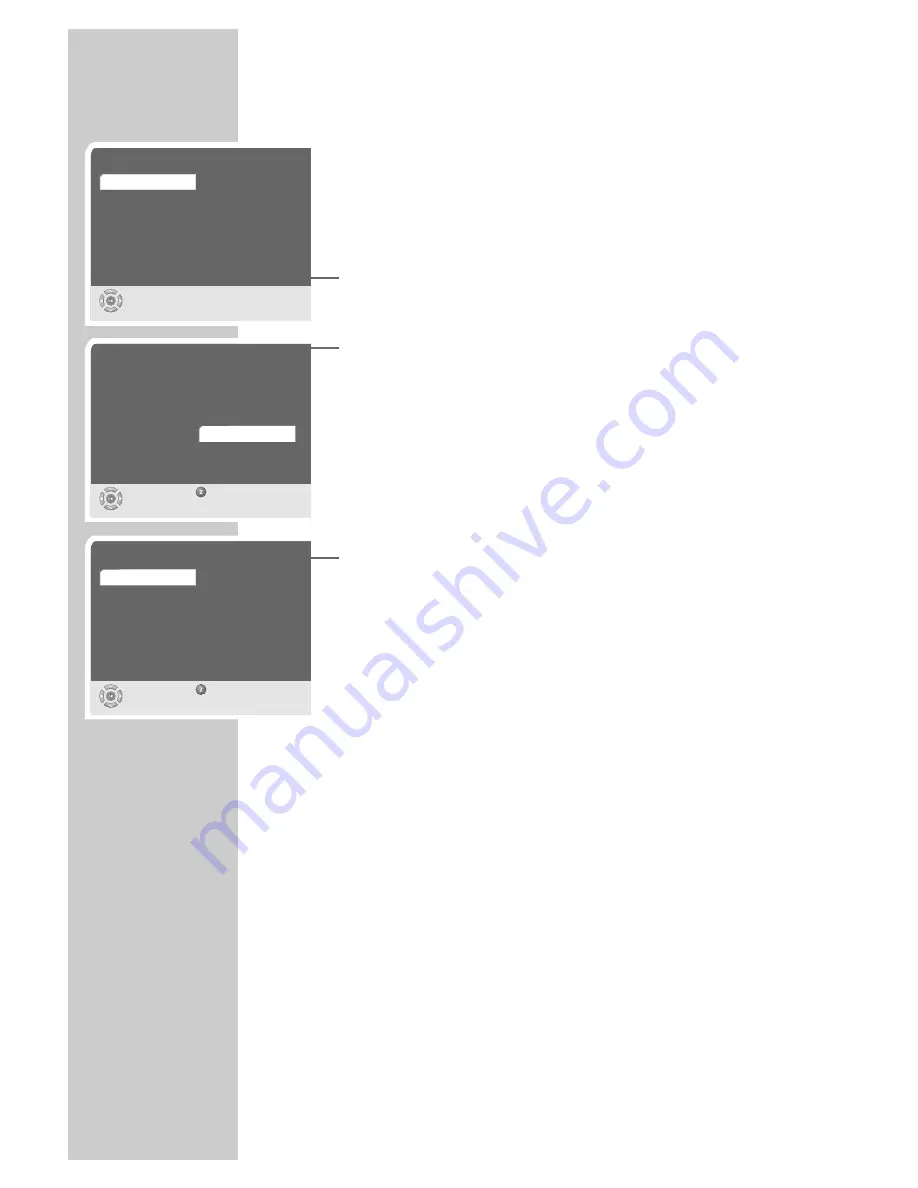
– The »Sprache« (Language) menu appears when the device is

first switched on.

2

Select your language using »

P-

« or »

P+

« and press »

OK

« to

confirm.
– The »Country« menu appears.

3

Press »

P-

« or »

P+

« to select the country and press »

OK

« to

confirm.
– The »Antenna supply« menu appears.

Caution!

Only switch on the antenna voltage if the antenna is an active
indoor antenna with a signal amplifier with no power supply 
of its own from a mains adapter or similar source. Otherwise
you may cause a short circuit and irreversibly damage your
antenna.

4

Press »

P-

« or »

P+

« to switch the antenna voltage on or off and

then press »

OK

« to confirm.

Caution!

If the message »Short circuit or overload at the antenna input«
appears, switch off the digital receiver immediately using the
power switch and rectify the problem. The antenna has an
excessive current consumption (max. 30 mA) or a short circuit.

– The »Search result« page appears and the station search

begins.

– The search is complete when the »Status« line contains the

message »Finished«.

5

Press »

i

« and then »

OK

« to save the settings.

6

Press »

Ǹ

« or »

Ƿ

« to select »Yes« (the stations are sorted before

being transferred to the station list) or »No« (the stations are
transferred unsorted to the station list) and press »

OK

« to 

confirm.
– After sorting, the receiver switches to preset channel 1.
– You can change the order of preset stations as required and

delete stations you do not need (see page 13 “Editing the 
station list”).

SETTINGS

_________________________________________________

Country

Select

Back

and confirm

Germany

Spain

Austria

Finland

Australia

Sweden

France

Italy

Antenna supply

Select

Back

and confirm

Off

On

Sprache

Auswählen
und bestätigen

Deutsch

Español

English

Suomi

Svenska

Polski

Français

Italiano

ǵ

Summary of Contents for DTR 2540

Page 1: ...DIGITAL TERRESTRIAL RECEIVER DTR 2540 DEUTSCH ENGLISH FRAN AIS SVENSKA SUOMI...

Page 2: ...onnecting a digital multi channel amplifier 10 Connecting the power cord 10 Inserting batteries in the remote control 11 19 Settings 11 The menu 12 Searching for stations 13 Editing the station list 1...

Page 3: ...eleting stations automatically 28 29 Timer functions 30 31 Special settings 30 Resetting the digital receiver to its original state 30 Updating the digital receiver software 31 Selecting the remote co...

Page 4: ...a TV guide or on the Internet Special features of your digital receiver The DTR 2540 digital receiver can receive and process all unen crypted digital stations This digital receiver has a built in dig...

Page 5: ...e in dry rooms If you do use it outdoors please ensure that it is protected from moisture such as rain or splashing water Do not place any vessels such as vases on the digital receiver These may be kn...

Page 6: ...subtitles REC Lights up during timer recordings i Opens and closes the main menu P P Switch channels up and down one by one In the menus move the cursor up down select and change individual entries Ch...

Page 7: ...DEO OUT Video signal output socket FBAS for television or AV receiver DIGITAL Audio output sockets for digital audio signal AUDIO OUT cinch optical for digital multi channel amplifier EURO AV 2 VCR Eu...

Page 8: ...ch channels up and down P one by one OK Opens the station list TXT Switches between teletext and TV modes TV G Calls up the TV guide TV Switches to TV mode RADIO Switches to radio mode Opens the Recor...

Page 9: ...the digital receiver and the corresponding Euro AV socket e g EURO AV SCART on the television Connecting a video recorder 1 Plug a standard Euro AV Scart cable into the EURO AV2 VCR socket on the digi...

Page 10: ...ly plug the device into the mains socket after you have connected the external devices and the antenna Inserting batteries in the remote control 1 Open the battery compartment by removing the lid 2 In...

Page 11: ...al receiver Its menu system controls the dialogue between you and the digital receiver Press i to open the main menu Press P or P to navigate the menu and select items The selected item is highlighted...

Page 12: ...he antenna input appears switch off the digital receiver immediately using the power switch and rectify the problem The antenna has an excessive current consumption max 30 mA or a short circuit The Se...

Page 13: ...nfirm 3 Press z to delete the stations The highlighted stations are deleted Moving stations 1 Press P or P to select the station to move and press OK to confirm The station is highlighted in orange 2...

Page 14: ...or to confirm You can switch between the station list and your favourites by pressing A B You can store up to 100 stations in the favourites list You can change the order of the stations or delete one...

Page 15: ...r P and press OK to confirm 3 Select Time Zone with OK and then use P or P to enter the time difference in 30 minute increments Note The Current time item is for information only and cannot be selecte...

Page 16: ...3 setting If you have a 16 9 format television or flat screen select the 16 9 setting 1 In the main menu select Installation with P or P and press OK to confirm 2 Select Video output with P or P and p...

Page 17: ...conversion and press OK to confirm 5 Press i and then OK to save the settings Selecting the transparency of the OSD You can adjust the transparency of the OSD menu 1 In the main menu select Installat...

Page 18: ...al receiver or amplifier Digital output shows you the selected audio format at the digital output and cannot be selected Sound settings Here you can select the audio mode such as stereo mono left and...

Page 19: ...t by pressing P or P and press OK to confirm 2 Press or to set the level and press OK to confirm Ending the settings 1 Press i and then OK to end the settings SETTINGS ________________________________...

Page 20: ...nels with no stations assigned are ignored Note Every time you switch stations the current channel number the name of the station the time and the titles start and finish times of the current and foll...

Page 21: ...list press and press P or P to select the list you want 3 Press or to scroll through the lists 4 Press P or P to select the station and press OK to call it up 5 Press i to quit the station list Switc...

Page 22: ...r P and press OK to confirm 2 Select Subtitles with P or P and press OK to confirm The Subtitles menu appears 3 Select Subtitles with P or P and press OK to confirm 4 Press P or P to show or hide the...

Page 23: ...de The teletext is superimposed on the television picture 7 To switch off teletext press TXT again Additional functions Page hold A multiple page may contain several sub pages which are auto matically...

Page 24: ...100 Opening a sub page directly If the selected teletext page contains additional pages the number of the current sub page and the total number of pages are dis played 2 Press to scroll back a page 3...

Page 25: ...nu select Installation with P or P and press OK to confirm 2 Select Channel search with P or P and press OK to confirm 3 Select Antenna supply with P or P and then press OK Caution If the message Shor...

Page 26: ...s to start the search The progress of the search is shown in the transponder info line for example TP 10 41 means 10 transponders of 41 completed The search is complete when the Status line contains t...

Page 27: ...eleting stations automatically You can delete stations from the station list and favourites list auto matically 1 In the main menu select Installation with P or P and press OK to confirm 2 Select Spec...

Page 28: ...e with OK 4 Use 0 9 to enter the switch off time 5 Press OK to confirm the switch off time 6 Select Status with P or P and press OK to confirm 7 Press P or P to select On switch off timer activated or...

Page 29: ...press OK to confirm 11 Press P or P to select On timer activated or Off timer deactivated and press OK to confirm 12 Press i and then OK to save the settings The digital receiver switches to the sele...

Page 30: ...be in standby mode 1 In the main menu select Installation with P or P and press OK to confirm 2 Select Special functions with P or P and press OK to confirm 3 Select Software Update by pressing OK 4 P...

Page 31: ...control with P or P and press OK to confirm 4 Press P or P to select the remote control level Receiver 1 or Receiver 2 and press OK to confirm If you now want to use the digital receiver with remote c...

Page 32: ...onfirm 2 Select Info with P or P and press OK to confirm 3 Select System information with P or P and press OK to confirm It contains information on the product designation the hard ware version and th...

Page 33: ...tation selected Teletext VPS Is sent if present in the received signal Software download OTA Over the air via the RS 232 socket Mains supply 220 240 V 50 60 Hz Power consumption In operation max 12 W...

Page 34: ...incorrect settings in the Device connections menu The sound is muted the Euro AV cable is incorrectly connected or the receiver volume is set to low The antenna is not properly connected or positioned...

Page 35: ...must be protected by a 5A fuse either in the plug or at the distribution board If this type of plug becomes defective ensure that the fuse is removed before disposal to eliminate potential shock hazar...

Reviews: