Grundig DTR 1560 MICRO User Manual Download Page 15

ENGLISH

15

Adjusting the volume

You cannot change the volume in menu mode.

1

Adjust the volume by pressing »

Ǹ

« or »

Ƿ

«.

– A volume scale is shown on the television screen.

Muting the sound

1

Press »

d

« on the remote control to mute the sound.

2

Press »

d

« on the remote control to switch the sound on again.

– You can hear the sound at the volume previously set. 

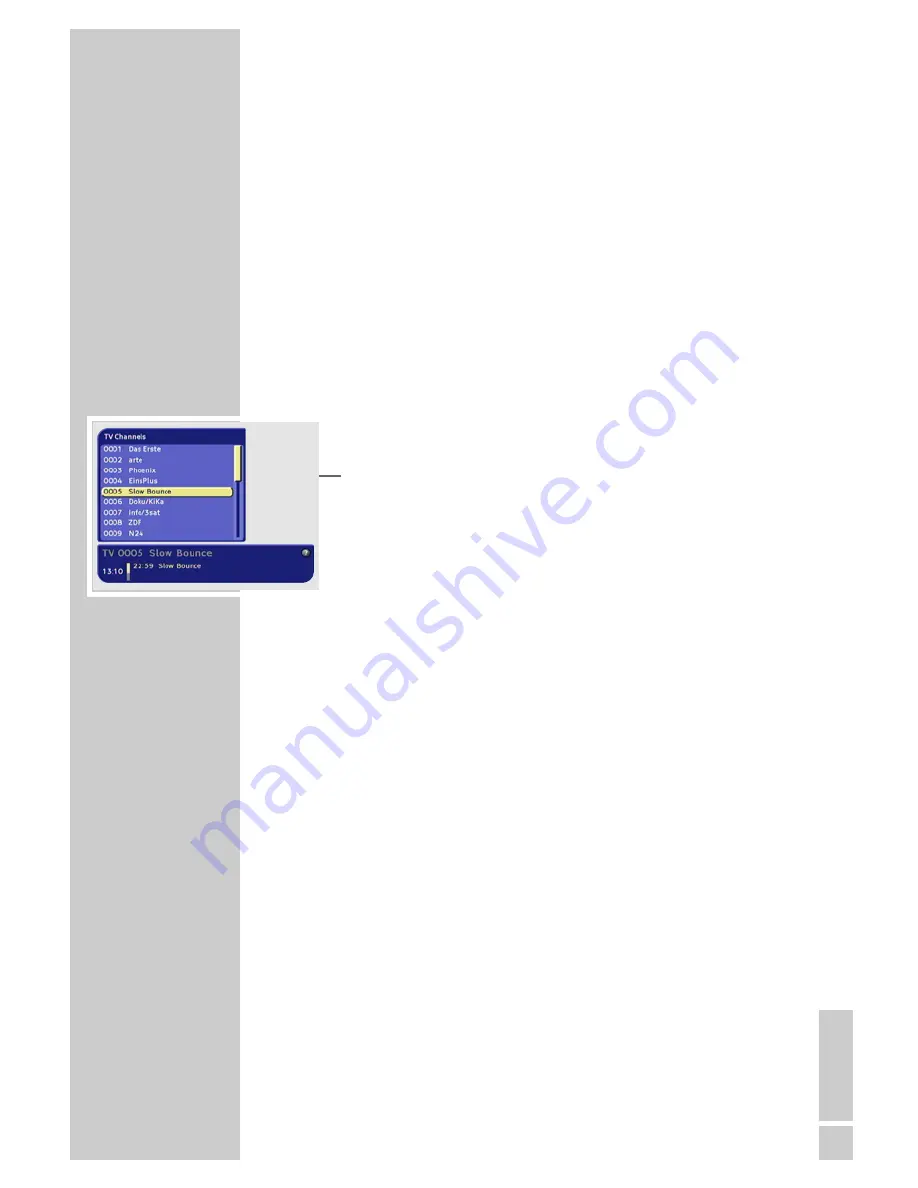
Selecting stations from lists

You can select stations from various lists (e.g. TV stations, TV
favourites).

1

Press »

OK

« to open the station list.

– The most recently activated station list appears.

2

Press »

A/B

« to switch the station list.

3

Press »

Ǹ

« or »

Ƿ

« to scroll through the lists.

4

Press »

P-

« or »

P+

« to select the station and press »

OK

« to call

it up.

5

Press »

Z

« to quit the station list.

Switching from the current station to the previous
one

The digital receiver remembers the station which was last selected,
provided it was selected for at least one second.

1

Press »

A/B

« to switch from the current station to the previous

one.

2

Press »

A/B

« to switch back to the current station.

Note:

You can only switch over when no menu is shown on the screen.

BASIC FUNCTIONS

______________________________________

Summary of Contents for DTR 1560 MICRO

Page 1: ...DIGITAL TERRESTRIAL RECEIVER DTR 1560 MICRO DEUTSCH ENGLISH FRAN AIS SVENSKA SUOMI ESPANOL...

Page 2: ...ting the television 8 Connecting the infrared receiver 9 Connecting the mains adapter 9 Inserting batteries in the remote control 10 13 Basic settings 10 The menu 11 12 Searching for stations 13 Editi...

Page 3: ...ns 24 Automatic station search 25 Manual station search 26 Timer functions 27 Safety 28 Special settings 28 Resetting the receiver to its original state 28 Updating the digital receiver software 29 32...

Page 4: ...broadcasters or look in a TV guide or on the Internet Special features of your digital receiver The DTR 1560 MICRO digital receiver can receive and process all unencrypted digital stations This digita...

Page 5: ...he digital receiver to any moisture The digital receiver is designed for use in dry rooms If you do use it outdoors please ensure that it is protected from moisture such as rain or splashing water Thu...

Page 6: ...r The infrared receiver receives the infrared signals of the remote control and forwards the commands by wire to the receiver Position the infrared receiver so that it can receive the remote control c...

Page 7: ...t and the favourites list TXT Switches from television mode to teletext mode TV G Calls up the TV guide TV Switches to TV mode A B Switches between the two most recently selected channels RADIO Switch...

Page 8: ...y have to try it out at different positions until you get the best reception Connecting the television 1 Plug the digital receiver into the corresponding Euro AV socket e g EURO AV SCART of the televi...

Page 9: ...ttery compartment by removing the lid 2 Insert the batteries Mignon type for example UM 3 or AA 2x 1 5 V Observe the polarity marked on the base of the battery compartment 3 Close the battery compartm...

Page 10: ...eceiver Its menu system controls the dialogue between you and the digital receiver Press i to open the main menu Press P or P to navigate in the menu and select the desired symbol The selected symbol...

Page 11: ...nna with P or P Caution Only switch on the antenna voltage if the antenna is an active indoor antenna with a signal amplifier with no power supply of its own from a mains adapter or similar source Oth...

Page 12: ...to end initial installation The stations that have been found are stored 12 Press OK to go to the first channel position You can change the order of the preset stations as required and delete station...

Page 13: ...Yes delete station or No do not delete station with or and confirm with OK Moving stations 1 Press P or P to select the station to move and press to confirm The station name is indented 2 Select desir...

Page 14: ...rent and following programmes are shown on the screen If you press and hold down you will receive detailed infor mation about the current programme If you press you will receive information about the...

Page 15: ...pen the station list The most recently activated station list appears 2 Press A B to switch the station list 3 Press or to scroll through the lists 4 Press P or P to select the station and press OK to...

Page 16: ...broadcasters do not supply any information 2 Press P P or to select the programmes Notes You can use the colour buttons to switch directly to the morning afternoon or evening programmes 3 Press to se...

Page 17: ...page 6 Press F to scroll forwards 10 pages 7 Press to scroll backwards 10 pages 8 Press TXT to activate mix mode The teletext is superimposed on the television picture 9 To switch off teletext press T...

Page 18: ...and bottom edges of the screen The picture is cropped on the left and right 4 3 Letterbox 14 9 and 4 3 Letterbox 16 9 for widescreen playback with black bars at the top and bottom of the television s...

Page 19: ...the setting Language settings 1 Press i to open the main menu The main menu is displayed 2 Select Box Settings by pressing P or P and press OK to confirm The Box Settings menu appears 3 Select Languag...

Page 20: ...itle Language with P or P 2 Press or to select the language Selecting the second subtitle language If the subtitles are not broadcast in the language selected in Subtitle Language the Subtitle Languag...

Page 21: ...isplayed when you switch stations Select None if you do not want the info banner to appear 1 Select the Info Banner Duration display duration with P or P 2 Press or to select the duration Automatic in...

Page 22: ...nd press OK to confirm Note Additional operations are explained in the following sections Automatic or manual time zone You can set the time difference to Greenwich meantime yourself or let the receiv...

Page 23: ...amage your anten na 1 Select Active Antenna with P or P 2 Press or to switch the power supply on or off Stereo two channel mono If the device receives two channel sound programmes e g a film with the...

Page 24: ...start and end frequency Select the All option in Channels to search for if you would also like to receive encoded stations 3 Select Start Scan with P or P and press OK to start the search A message w...

Page 25: ...the number buttons 5 Select Bandwidth with P or P 6 Select the wavelength with or Note Select the All option in Channels to search for if you would also like to receive encoded stations 7 Select Start...

Page 26: ...confirm 7 Use 0 to 9 to enter the start and end time in four digits 8 Press or to select the cycle and press OK to confirm 9 Press OK to store the timer The timer is saved to the timer list You can d...

Page 27: ...code is entered 1 Select Menu Lock with P or P 2 Press or to switch the menu lock on or off Parental lock You can set a minimum age for certain programmes here 1 Select Parental Lock with P or P 2 Sel...

Page 28: ...eive software updates The receiver checks for software updates every night between 01 00 and 05 00 If there is an update the receiver will automati cally update its software You can also search for up...

Page 29: ...ver unit but also on the channel which is currently active Remember this when aligning your antenna using the signal level display 3 Press i to quit the menu Displaying device information 1 In the mai...

Page 30: ...n selected Teletext VPS Teletext decoder installed supports the teletext of the tele vision set Software download OTA Over the air Mains supply DC 12 V with mains adapter 230 V 50 Hz Power consumption...

Page 31: ...incorrect settings in the Video output TV menu The sound is muted the Euro AV cable is incorrectly connected or the receiver volume is set to low The antenna is not properly connected or positioned No...

Page 32: ...be protected by a 5A fuse either in the plug or at the distribution board If this type of plug becomes defective ensure that the fuse is removed before disposal to eliminate potential shock hazard If...

Reviews: