


ENGLISH
7
OVERVIEW
____________________________________________
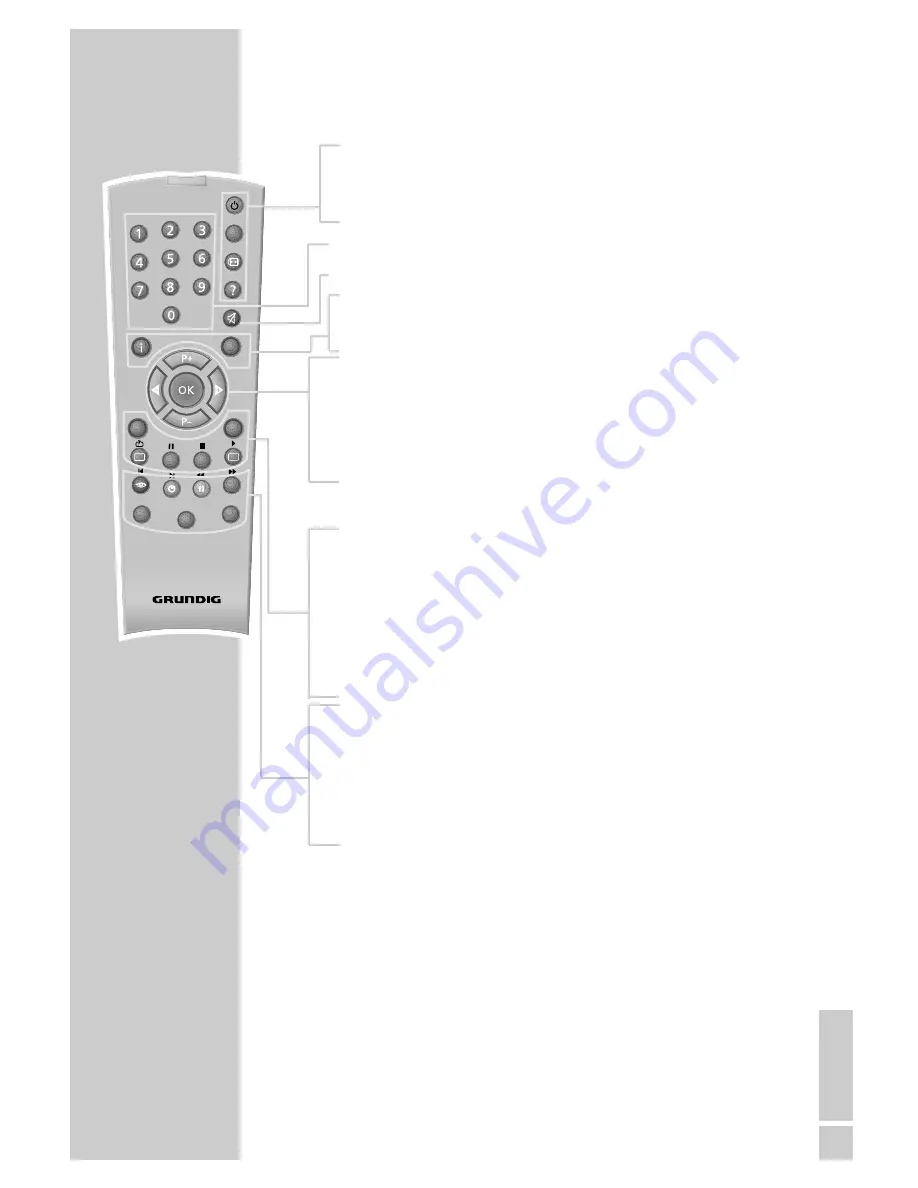
The remote control
Ǽ
Switches the digital receiver to standby, and from
standby to the channel last selected.
?
Displays programme information.
1 … 0
Select stations.
d
Switches the sound to mute and on again.
i
Opens the main menu.
z
Exits the current menu level.
Ǹ
Adjust the volume.
Ƿ
P+
Switch channels up and down one by one.
P-
OK
Calls up the station list.
Press
A/B
to switch between the station list and the
favourites list.
TXT
Switches from television mode to teletext mode.
TV-G
Calls up the TV guide.
TV
Switches to TV mode.
A/B
Switches between the two most recently selected
channels.
RADIO
Switches to radio mode.
Ȅ
Displays the time.
ǷǷ
Switches between audio channels.
F
Calls up options (not available for all stations).
DR, TV
Switches to operating a GRUNDIG digital receiver,
DVD
GRUNDIG television or GRUNDIG DVD player.
Keep the appropriate button (»
DR
«, »
TV
«, »
DVD
«)
pressed down. Then press the appropriate button.
Note:
The functions available depend on the model of the
device you are using.
Just try it out.
Tele Pilot 766 S
DR
DVD
TV
z
TXT
PIP
A/B
MHP
d
TV-G
Radio
TV


