MCD-VOYAGER User Manual
Ground Control
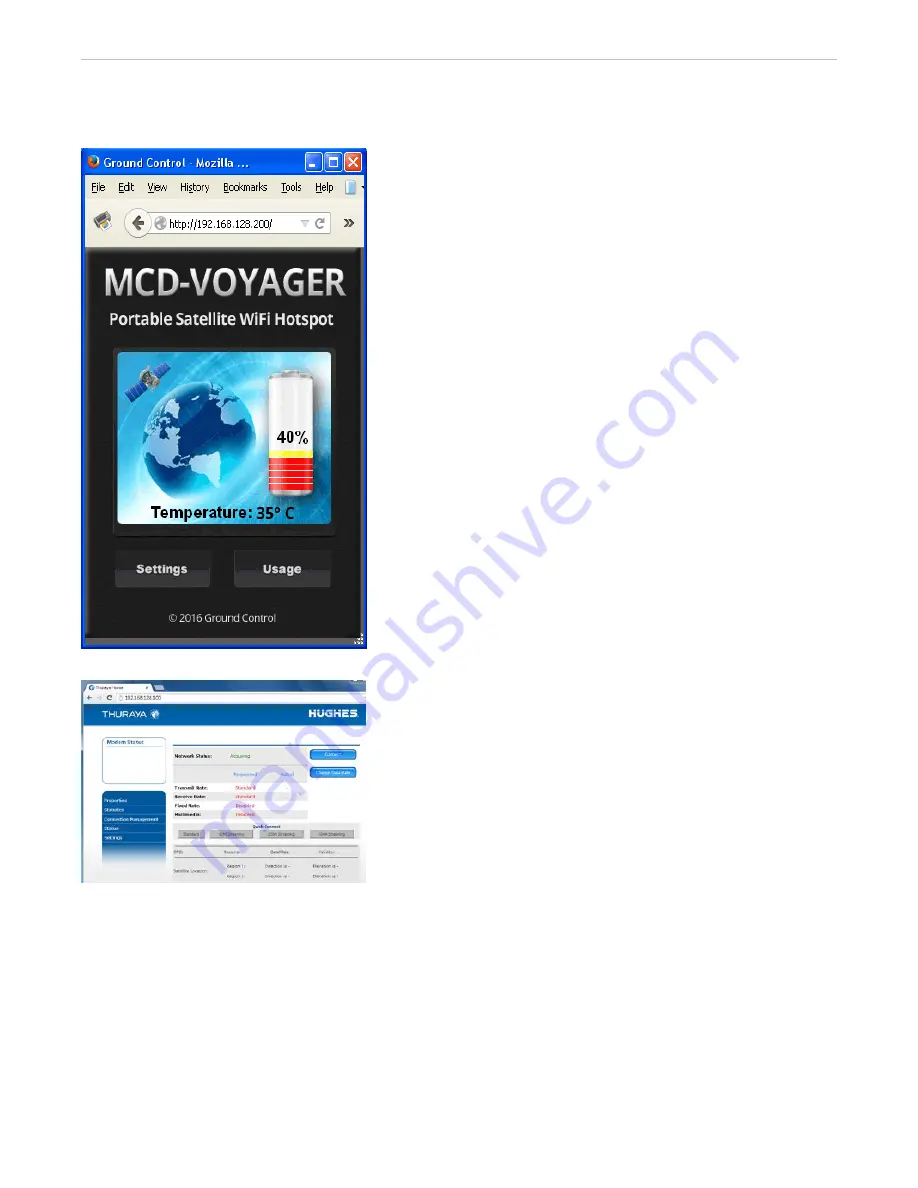
Accessing the MCD-VOYAGER Web Interface
From any connected browser, type in
192.168.128.200 and
press Enter. The MCD-VOYAGER main interface screen will
appear. This screen will show you the state of the battery
and give you access to changes settings of the system as
well as access usage totals.
Click on the
Settings Button to be taken to the main
interface window of the Thuraya Voyager. Here you can
set any parameter of the system.
Click on
Usage to see how much data has been
transferred. You may reset totals so that you can track
your current session.
Bookmark 192.168.128.200 from any connected browser
so that you can monitor battery levels quickly at any time.
From any connected browser, type in
192.168.128.100
and press Enter. The Voyager web interface screen
becomes available. These screens will allow a number of
parameter changes such as SSID broadcast name,
enabling/disabling WiFi, MAC filtering, usage totals, along
with a number of other status and parameter screens. For
more information regarding the terminal, please refer to
the Voyager User Manual.
Using the LAN Port
An Ethernet cable may connect to the waterproof jack on the external LAN port of the MCD-
VOYAGER. Twist off the weather cap and connect a standard Ethernet cable. The MCD-VOYAGER is
normally set to DHCP (Dynamic Routing), which means it will automatically issue an IP address to
any computer that connects to it. The LAN Port does provide PoE (Power Over Ethernet) for
devices that require this feature. A standard Ethernet cable is all that is needed. A crossover cable
is not required.
13


