T1227/28/29 Magnetic Chuck (Mfd. Since 09/17)
-5-
Clamping Workpiece
Before any operation can be safely performed,
the workpiece must be properly positioned and
clamped on the chuck. While the magnetic field
is effective at keeping the workpiece from lifting
off the table during use, it may not be sufficient
to keep the workpiece from sliding. To keep the
workpiece from sliding, use the work stop.
To use work stops:
1. DISCONNECT MACHINE FROM POWER!
2. Turn ON/OFF selector to OFF.
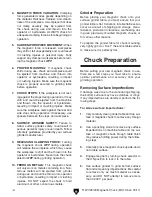
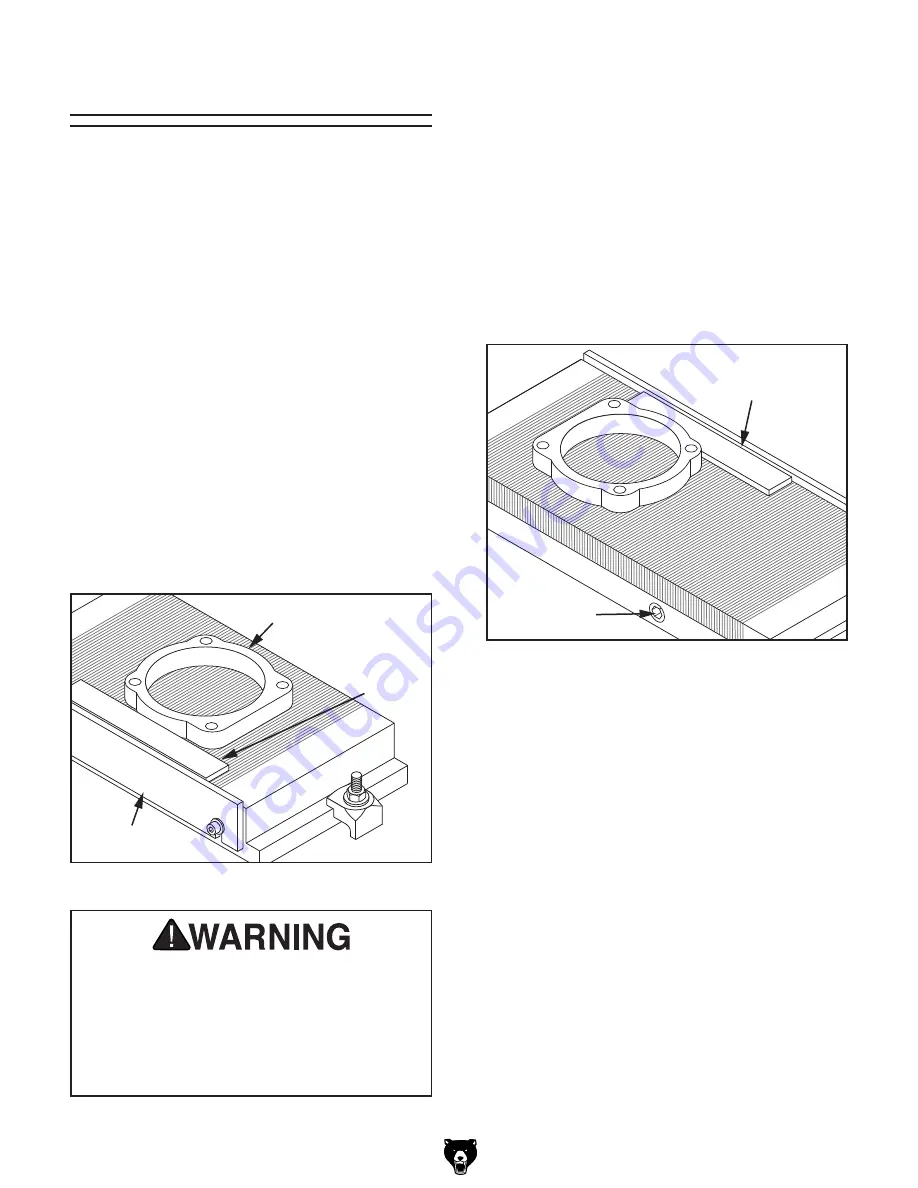
3. Loosen cap screws securing work stops, lift
work stop high enough so it is above surface
of magnetic chuck, but below workpiece sur-
face, as shown in
Figure 4, then re-tighten
cap screws.
4. Position workpiece so it is near center of
chuck, as shown in
Figure 4.
Hex Bolts
Hex Bolts (2 of 4) Stops
Workpiece
Workpiece
Spacer
Turn to
ON Position
Workpiece & Spacers
Snug Against Stops
Work Stop
Figure 4. Positioning work stop and spacer.
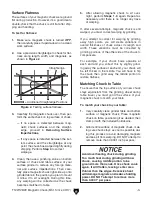
Non-striped areas at the ends of the chuck
DO NOT produce a significant magnetic field
and WILL NOT securely clamp workpiece.
Placing a workpiece in these areas could
result in workpiece being ejected from chuck
and thrown into operator or bystanders
during use!
5. Place a spacer strip of steel bar (it must
be thinner than workpiece) as necessary
between workpiece and work stop to provide
bracing against slippage.
Note:
Spacer strip also aids in proper work-
piece alignments to magnetic chuck and
grinder.
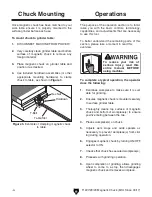
6. Make sure workpiece is snug against spacer
strip and spacer is snug against stop, then
turn ON/OFF selector to
ON position, as
shown in
Figure 5, to engage magnet.
Hex Bolts
Hex Bolts (2 of 4) Stops
Workpiece
Workpiece
Spacer
Turn to
ON Position
Workpiece & Spacers
Snug Against Stops
Work Stop
Figure 5. Positioning work stop and spacer.
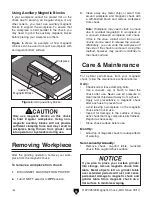
7. Make sure workpiece is secured by pulling
upward on it with moderate to strong force. If
it releases, turn magnetic chuck
OFF, make
sure mating surfaces are clean, then repeat
Step 6.
— If you are unable to secure workpiece with
magnetic chuck, you will need to use an
alternative mounting method.
Summary of Contents for T1227
Page 8: ......


