Model t10458 (Mfg. Since 10/11)
-13-
attaching neck to
ukulele body
the neck comes from the factory ready to fit the
ukulele body. it must be installed on body before
the fingerboard is attached. at the base of the
neck, a peg has been installed to properly position
it with the ukulele body.
1. Drill a hole in the neck block where you
marked it earlier in construction (see
figure
4 on page 6).
2. using a pencil, draw a centerline down the
length of the neck and the body of the uku-
lele. this mark can be sanded off or erased
later.
3. align the centerlines and ensure that the fit of
the neck to the body is flush.
— if the centerlines Do line up straight,
proceed to
step 4.
— if the centerlines Do not line up
straight, drill the hole on the body slightly
larger or saw the length of the peg to
improve the fit.
to attach the neck to the body:
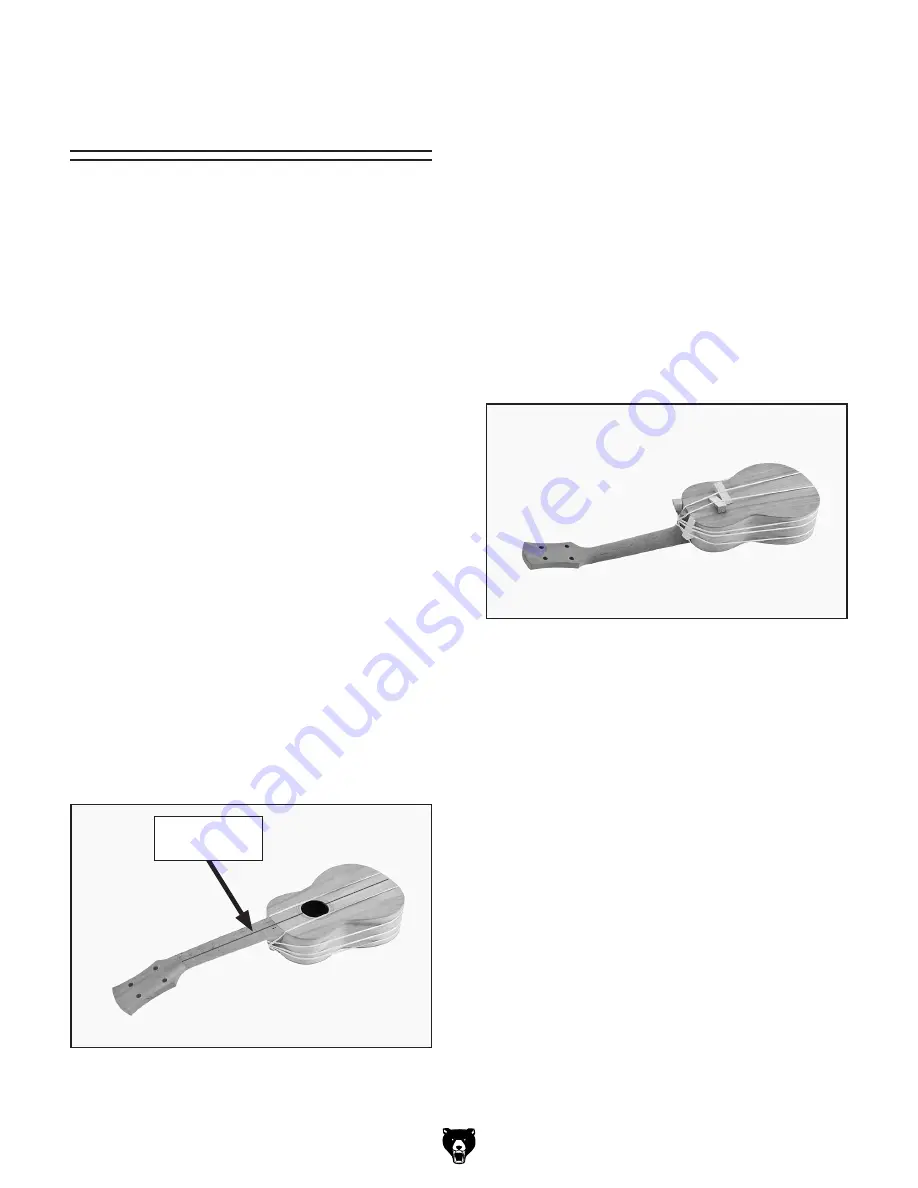
5. glue the neck to the body. use band clamps
or rubber bands to ensure a tight fit, as shown
in
figure 25, and let the glue dry for at least
24 hours before attaching the fingerboard.
figure 25. gluing the neck to the body using
rubber bands and wedges to secure it in place.
— if the ukulele iS flat, proceed to
step 5.
— if the ukulele iS not flat, slightly sand
the neck as necessary to correct the
issue. an index stone or piece of plate
glass can be used as a flat sanding sur-
face for your sandpaper.
note: A consistent flatness of the neck and
the body ensure the fingerboard can be
installed properly.
4. using a long straightedge, verify the ukulele
is flat along the neck and sound board, as
shown in
figure 24.
figure 24. location to check alignment of body
and neck.
Check With
Straightedge


