background image

COPYRIGHT © MAY, 2002 BY GRIZZLY INDUSTRIAL, INC.  REVISED OCTOBER, 2018 (ES)


WARNING: NO PORTION OF THIS MANUAL MAY BE REPRODUCED IN ANY SHAPE

 OR FORM WITHOUT THE WRITTEN APPROVAL OF GRIZZLY INDUSTRIAL, INC.

#0443  PRINTED IN TAIWAN

V2.10.18

MODEL G1066R/G1066Z/G1079R

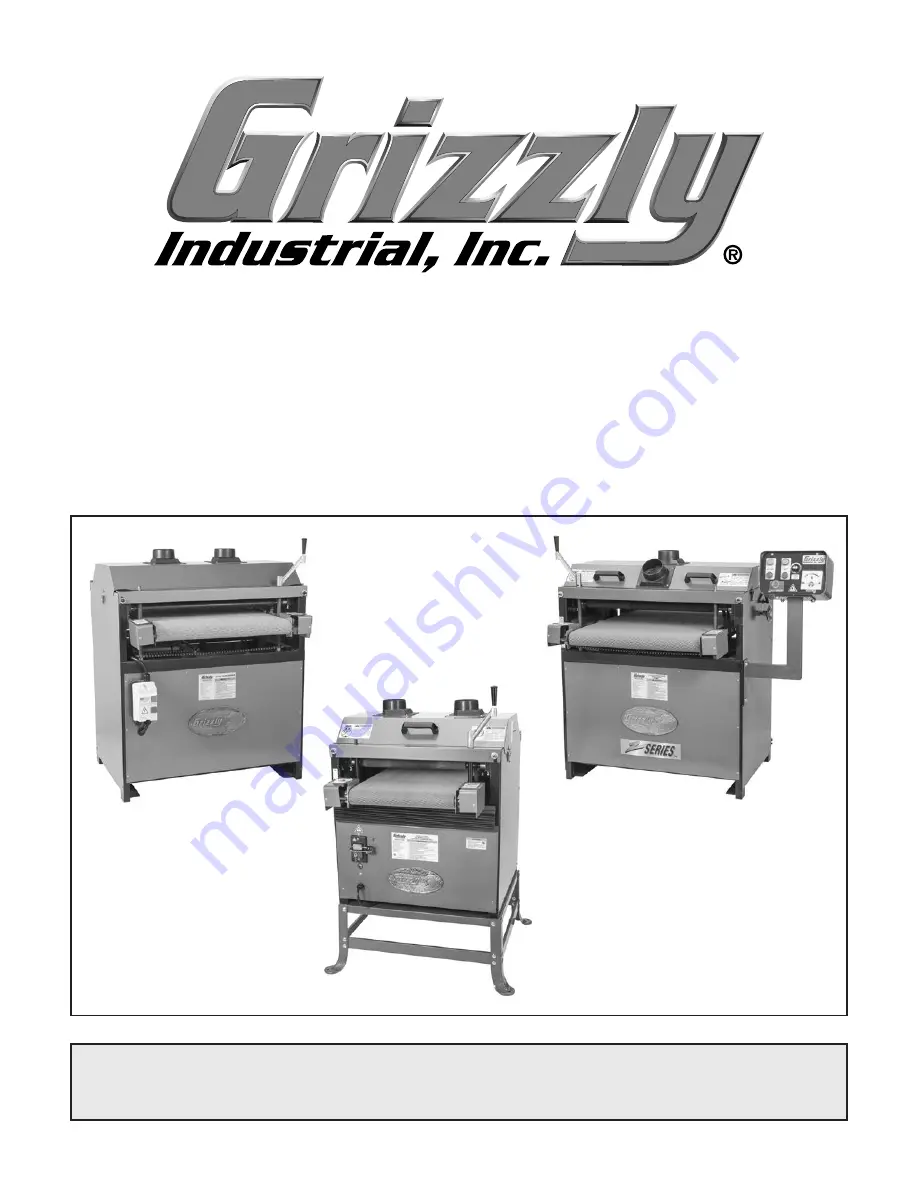
DRUM SANDER

OWNER'S MANUAL

(For models manufactured since 02/11)

Model G1066R

Model G1066Z

Model G1079R

Summary of Contents for G1066R

Page 1: ...PORTION OF THIS MANUAL MAY BE REPRODUCED IN ANY SHAPE OR FORM WITHOUT THE WRITTEN APPROVAL OF GRIZZLY INDUSTRIAL INC 0443 PRINTED IN TAIWAN V2 10 18 MODEL G1066R G1066Z G1079R DRUM SANDER OWNER S MAN...

Page 2: ...g grinding tool integrity and the usage of personal protective equipment The manufacturer will not be held liable for injury or property damage from negligence improper training machine modifications...

Page 3: ...f Cut 31 Setting Conveyor Speed G1066Z 32 Monitoring Sanding Load G1066Z 32 Installing Replacing Sandpaper G1066R G1079R 33 Installing Replacing Sandpaper G1066Z 34 SECTION 5 ACCESSORIES 35 SECTION 6...

Page 4: ...for us to provide proper tech support and it helps us determine if updated documenta tion is available for your machine Manufacture Date Serial Number Manual Accuracy We stand behind our machines If y...

Page 5: ...atures shown below to better understand the instructions in this manual Top Cover 4 Dust Ports Rear Access Panel Front Access Panel To reduce your risk of serious injury read this entire manual BEFORE...

Page 6: ...tter understand the instructions in this manual To reduce your risk of serious injury read this entire manual BEFORE using machine Top Cover 4 Dust Ports Rear Access Panel Front Access Panel Micro Adj...

Page 7: ...res shown below to better understand the instructions in this manual To reduce your risk of serious injury read this entire manual BEFORE using machine Top Cover 4 Dust Ports Rear Access Panel Front A...

Page 8: ...e according to workpiece thickness D Conveyor Table w Belt Infeed End Height adjustable table with conveyor belt that feeds workpieces toward sanding drums Figure 46 G1066R front controls C D Figure 4...

Page 9: ...springs outward F Table Height Crank Handle Rotate to raise or lower conveyor table according to workpiece thickness G Depth of Cut Scale Indicates distance between conveyor table and sanding drums H...

Page 10: ...een conveyor table and sanding drums F Conveyor Table w Belt Infeed End Height adjustable table with conveyor belt that feeds workpieces toward sanding drums Figure 52 G1079R front controls D F E G Te...

Page 11: ...ht 442 lbs Length x Width x Height 41 x 38 x 43 in Must Ship Upright Yes Electrical Power Requirement 220V Single Phase 60 Hz Prewired Voltage 220V Full Load Current Rating 26A Minimum Circuit Size 30...

Page 12: ...ze 6 in Construction Conveyor Belt Rubber Body Steel Paint Type Finish Powder Coated Other Related Information Floor To Table Height 31 in Sanding Belt Tension Spring Loaded Number of Pressure Rollers...

Page 13: ...on Metal Skids Content Machine Weight 489 lbs Length x Width x Height 41 x 38 x 43 in Must Ship Upright Yes Electrical Power Requirement 220V Single Phase 60 Hz Prewired Voltage 220V Full Load Current...

Page 14: ...dy Steel Paint Type Finish Powder Coated Other Related Information Floor To Table Height 33 in Sanding Belt Tension Hook Loop Number of Pressure Rollers 3 Pressure Roller Type Rubber Pressure Roller S...

Page 15: ...rd Box Content Machine Weight 304 lbs Length x Width x Height 41 x 30 x 34 in Must Ship Upright Yes Electrical Power Requirement 220V Single Phase 60 Hz Prewired Voltage 220V Full Load Current Rating...

Page 16: ...Conveyor Belt Rubber Body Steel Base Steel Paint Type Finish Powder Coated Other Related Information Floor To Table Height 34 in Sanding Belt Tension Spring Loaded Number of Pressure Rollers 3 Pressur...

Page 17: ...op kid proof DANGEROUS ENVIRONMENTS Do not use machinery in areas that are wet cluttered or have poor lighting Operating machinery in these areas greatly increases the risk of accidents and injury MEN...

Page 18: ...with moving parts or flying debris Make sure they are properly installed undamaged and working correctly BEFORE operating machine FORCING MACHINERY Do not force machine It will do the job safer and b...

Page 19: ...tal products WORKPIECE INSPECTION Nails staples knots or other imperfections in workpiece can be dislodged and thrown from sander at high rate of speed into operator or bystanders or cause dam age to...

Page 20: ...on and make sure it is connected to a power supply circuit that meets the specified circuit requirements For your own safety and protection of property consult an electrician if you are unsure about w...

Page 21: ...in doubt about whether the tool is properly grounded If you ever notice that a cord or plug is damaged or worn discon nect it from power and immediately replace it with a new one Grounding Instruction...

Page 22: ...rious injury hazards to untrained users Read through this entire manu al to become familiar with the controls and opera tions before starting the machine Wear safety glasses during the entire setup pr...

Page 23: ...ting the machine Space Allocation Consider the largest size of workpiece that will be processed through this machine and provide enough space around the machine for adequate operator material handling...

Page 24: ...ing and reduces vibration that may occur during operation resulting in a machine that runs slightly quieter and feels more solid If the machine will be installed in a commercial or workplace setting o...

Page 25: ...n 3 Attach crank handle see Figure 58 to leadscrew shaft and secure with 2 pre installed set screws Crank handle may be attached to leadscrew on left right front or rear of machine depending on operat...

Page 26: ...s and 4 amount of other open lines throughout the system Explaining how to cal culate these variables is beyond the scope of this manual Consult an expert or purchase a good dust collection how to boo...

Page 27: ...turn machine OFF A correctly oper ating machine will run smoothly with little or no vibration or rubbing noises If machine runs smoothly congratulations the Test Run is complete If machine does not ru...

Page 28: ...Tightening Belts The final step in the setup process must be done after approximately 16 hours of operation During this first 16 hours the belt s will stretch and seat into the pulley grooves After t...

Page 29: ...a substitute for disconnecting power from the machine when adjusting or servicing Shaft Padlock Children or untrained people can be seriously injured by this machine This risk increases with unsupervi...

Page 30: ...ies workpiece has necessary outfeed clearance and support If workpiece is overly long and difficult to handle operator uses a roller support stand or an assistant to assist with feeding 3 Adjusts tabl...

Page 31: ...tly created by all types of sand ing operations even if a dust collector is used Additionally the life of the machine and sanding belts may be greatly reduced or immediately damaged from sanding impro...

Page 32: ...s This can cause boards to kickback causing serious personal injury Edge sanding boards also can cause damage to the conveyor belt and sandpaper When sanding workpieces with a bow or crown place the h...

Page 33: ...ore than one board at a time Minor variations in thickness can cause one board to be propelled by the rapidly spin ning sanding drum and ejected from the machine NEVER stand directly in front of the o...

Page 34: ...veyor speed control to 0 and then turn conveyor motor ON 2 Slowly turn conveyor speed control see Figure 69 clockwise to increase conveyor speed If conveyor speed is too high turn control counterclock...

Page 35: ...pirals sandpaper onto drum ensur ing that there are no bubbles or overlapping edges Tip Try to leave a uniform 3 16 gap between spirals as you wind sandpaper around drum This will allow sandpaper to m...

Page 36: ...gure 74 8 Hold loose end of sandpaper against right side of drum and wrap with strapping tape to secure Double check drum to make sure there are no bubbles or overlapping edges and gapping is correct...

Page 37: ...ng and glue removal T23881 80 Grit Use for removing planer marks and initial finish sanding T23882 100 Grit Use for removing planer marks and initial finish sanding T23883 120 Grit Use for finish sand...

Page 38: ...Window T20451 Kirova Clear Safety Glasses T20452 Kirova Anti Reflective S Glasses T20456 DAKURA Safety Glasses Figure 79 Assortment of basic eye protection T20502 T20503 T20452 T20451 T20456 Figure 7...

Page 39: ...em before continuing operations Worn or damaged sandpaper rolls Loose mounting bolts Any other unsafe condition Weekly Maintenance Clean vacuum dust buildup from underneath top cover Clean vacuum dust...

Page 40: ...slipping or pulleys misaligned 8 Motor overheated 9 Motor bearings at fault 10 Run capacitor at fault 11 Centrifugal switch at fault 12 Motor at fault 1 Ensure workpiece is suitable for sanding Page 2...

Page 41: ...aise pressure rollers Page 42 3 Raise rear pressure roller Page 42 Sanding grains easily rub off roll 1 Sandpaper roll has been stored in an incorrect environment 2 Sandpaper roll has been smashed or...

Page 42: ...to Step 3 3 Repeat Step 2 on outfeed rear sanding drum If distances are within 1 8 of one another no adjustment is necessary If distances are not within 1 8 of one another outfeed sanding drum needs...

Page 43: ...t on This Page for instructions 1 Loosen lock nuts see Figure 84 on bearing block on side of drum requiring adjustment Figure 84 Bearing block components Adjusting Sanding Drums Parallel to Feed Belt...

Page 44: ...helps avoid kickback and keeps the workpiece from slip ping However as pressure increases on the workpiece snipe also increases snipe is normal with all brands of drum sanders If snipe becomes a probl...

Page 45: ...side it must be adjusted Conveyor Belt To provide increased operator control the Model G1066Z features height adjustment controls for the feed roller These controls are located on the underside of the...

Page 46: ...justable and should be set approximately 1 32 above the bottom of the drum for optimum effectiveness Item s Needed Qty Open End or Socket Wrench 10mm 1 2x4 Gauge Block 2 x 4 x 24 2 To adjust a dust sc...

Page 47: ...w V belts often stretch and loosen up during the first 16 hours of use After this period they should be inspected and re tensioned if neces sary Replace V belts if you notice fraying crack ing glazing...

Page 48: ...et screw that secures the pulley to the shaft sliding the pulley in out and retightening the set screw to lock the pulley in place To align the pulleys 1 DISCONNECT MACHINE FROM POWER 2 Remove right a...

Page 49: ...center hole of bearing see Figure 91 Lever bearing until it turns perpendicular to the housing Once bearing is turned 90 to housing it should slide free with little effort The housing is designed wit...

Page 50: ...urrent at the time of printing but may not match your machine If you find this to be the case use the wiring diagram inside the motor junction box CAPACITORS INVERTERS Some capacitors and power invert...

Page 51: ...READ ELECTRICAL SAFETY ON PAGE 33 Figure 96 G1066R drum motor connections Figure 95 G1066R feed motor connections and capacitor G1066R Electrical Components Figure 94 G1066R magnetic switch connection...

Page 52: ...mended Feed Motor Run Capacitor 12uF 350VAC Motor Junction Box Ground Drum Motor Motor Junction Box GND MAGNETIC SWITCH ASSEMBLY A B AMP RA 20 RESET 96 98 1 2 T1 2 T3 6 N014 3 4 T2 4 L1 1 L3 5 L2 3 5...

Page 53: ...Since 02 11 51 READ ELECTRICAL SAFETY ON PAGE 33 Figure 98 G1066Z feed motor connections and capacitors G1066Z Electrical Components Figure 100 G1066Z control panel connections Figure 99 G1066Z contro...

Page 54: ...HD CB 10 NHD CB 01 NHD CB 01 NHD CB 01 GND Drum Motor Motor Junction Box Feed Motor L1 1 L2 3 L3 5 T1 2 T2 4 T3 6 MA 09 7 8 GND GND G X Y Ground Hot Hot 220 VAC L6 30 PLUG MA 30 21 22 RA 30 Circuit Bo...

Page 55: ...CAL SAFETY ON PAGE 33 Figure 103 G1079R drum motor connections Figure 102 G1079R feed motor connections and run capacitor G1079R Electrical Components Figure 101 G1079R switch and circuit breaker conn...

Page 56: ...Hot Hot Ground 6 20 Plug As Recommended 220 VAC O N O F F DRUM MOTOR FEED MOTOR THERMAL CIRCUIT BREAKER viewed from behind ON OFF SWITCH viewed from behind Ground G Ground R Capacitor 12uF 350VAC Gro...

Page 57: ...N 9 PARTS 13 1 204 205 139 140 14 101 204 205 12 11 10 15 8 1 8 8 8 8 7 1 7 5 6 5 6 6 9 5 7 1 7 7 1 7 2 3 4 4 102 17 19 2 3 5 6 16 91 90 18 2 24 20 22 22 24 2 23 29 116 29 102 29 33 30 34 37 106 107 1...

Page 58: ...de to visit our Parts Store G1066R Conveyor Belt Table 53 137 66 62 64 54 65 62 64 61 60 51 58 137 50 35V2 51 60 61 38 62 64 35V2 36 35V2 35V2 60 61 62 64 60 61 58 69 59 59 51 50 137 137 58 49 46 48 4...

Page 59: ...Mechanism 70 70 70 71 71 72 73 62 73 62 73 62 73 62 76 76 77 77 78 78 78 78 81 107 106 89 125 55 89 125 115 88 99 92 92 107 106 89 125 55 89 125 115 88 73 98 73 93 94 95 88 93 93 94 62 62 95 105 82 82...

Page 60: ...CITOR 50M 350V 1 3 4 X 3 3 8 79 P1066R079 PILLOW BLOCK BEARING UCP205 20 5 P1066R020 5 CAPACITOR COVER 81 P1066R081 BEARING BLOCK 20 6 P1066R020 6 JUNCTION BOX 82 P1066R082 BEARING BLOCK PLATE TAPPED...

Page 61: ...150 P1066R150 DEPTH SCALE 203 P1066R203 ELECTRICITY LABEL 151 P1066R151 SCALE POINTER 204 P1066R204 FEED ONE PIECE LABEL 152 P1066R152 FLAT WASHER 1 4 205 P1066R205 DON T STAND BEHIND LABEL 153 P1066R...

Page 62: ...6 281 102 8 1 8 1 5 6 8 8 1 8 1 7 1 7 8 1 8 1 8 8 1 8 1 5 6 7 1 7 8 9 34 37 1 2 3 2 3 106 106 107 5 6 15 10 118 119 120 143 4 281 102 148 29 29 29 2 22 22 2 29 287 277 288 32 19 29 16 23 24 18 22 28...

Page 63: ...t our Parts Store G1066Z Conveyor Belt Table 52 72 66 64 74 69 51 61 60 137 58 58 59 35 35 36 51 61 60 137 58 58 50 65 64 74 64 55 38 271 270 274 269 62 63 35 35 51 60 61 74 67 68 137 59 58 58 64 51 6...

Page 64: ...70 71 88 74 73 95 94 93 86 85 86 85 81 82 286 279 71 70 70 73 74 73 74 88 88 73 74 88 73 74 93 93 93 95 94 81 275 86 85 86 85 97 98 81 86 85 97 88 86 85 86 85 86 85 97 81 82 84 84 275 238 240 242 214...

Page 65: ...P1066Z020 3 S CAPACITOR 600M 125V 1 3 4 X 3 3 8 70 P1066Z070 PRESSURE ROLLER 20 4 P1066Z020 4 R CAPACITOR 50M 350V 1 3 4 X 3 3 8 71 P1066Z071 SANDING DRUM 20 5 P1066Z020 5 CAPACITOR COVER 72 P1066Z072...

Page 66: ...Y ONE LABEL 262 P1066Z262 HEX NUT 10 24 201 P1066Z201 BEARING SEAT LEFT 263 P1066Z263 HINGE 202 P1066Z202 MOUNTING BRACKET 264 P1066Z264 NYLON CABLE TIES 203 P1066Z203 BEARING SEAT RIGHT 265 P1066Z265...

Page 67: ...54 155 13 13 156 150 157 157 179 152 157 15V2 179 157 178 157 178 139 140 139 140 101 205 8 1 8 6 8 1 8 6 8 2 5 8 1 8 8 2 9 5 6 8 2 7 1 7 7 1 7 6 5 8 1 8 8 2 5 162 159 162 161 160 160 29 55 4 29 29 16...

Page 68: ...re G1079R Conveyor Belt Table 39 3 39 2 39 4 39 1 43 53 118V2 204 203 39 42 44 45 181 182 183 47 48 56 46 40 49 137 40 41 137 59 35 35 50 58 58 58 58 137 51V2 60 61 61 60 66 64 64 64 64 63 74 74 74 74...

Page 69: ...ller Mechanism 70 70 70 71 71 72 73 74 73 74 73 74 73 74 76 76 77 77 78 78 78 78 81 23 25 89 84 90 89 84 26 88 99 92 91 23 25 89 84 90 89 84 26 88 73 98 73 94 93 88 108 94 74 74 93 82 27 27 82 88 83 8...

Page 70: ...X 1 2 20 4 P1079R020 4 DRUM MOTOR JUNCTION BOX 79 P1079R079 PILLOW BLOCK BEARING UCP205 20 5 P1079R020 5 CENTRIFUGAL SWITCH 81 P1079R081 BEARING BLOCK 21 P1079R021 HEX NUT 3 8 16 82 P1079R082 SET SCR...

Page 71: ...1079R179 PHLP HD SCR 5 32 X 1 4 157 P1079R157 HEX NUT 2 32 180 P1079R180 DEPTH SCALE 158 P1079R158 FRONT CHAIN COVER 181 P1079R181 SCALE POINTER 159 P1079R159 REAR CHAIN COVER 182 P1079R182 FLAT WASHE...

Page 72: ......

Page 73: ...metalworker ____ 0 2 Years ____ 2 8 Years ____ 8 20 Years ____20 Years 6 How many of your machines or tools are Grizzly ____ 0 2 ____ 3 5 ____ 6 9 ____10 7 Do you think your machine represents a good...

Page 74: ...LINE FOLD ALONG DOTTED LINE GRIZZLY INDUSTRIAL INC P O BOX 2069 BELLINGHAM WA 98227 2069 Place Stamp Here Name_______________________________ Street_______________________________ City______________S...

Page 75: ...shall be tried in the State of Washington County of Whatcom We shall in no event be liable for death injuries to persons or property or for incidental contingent special or consequential damages arisi...

Page 76: ......

Reviews: