8
8
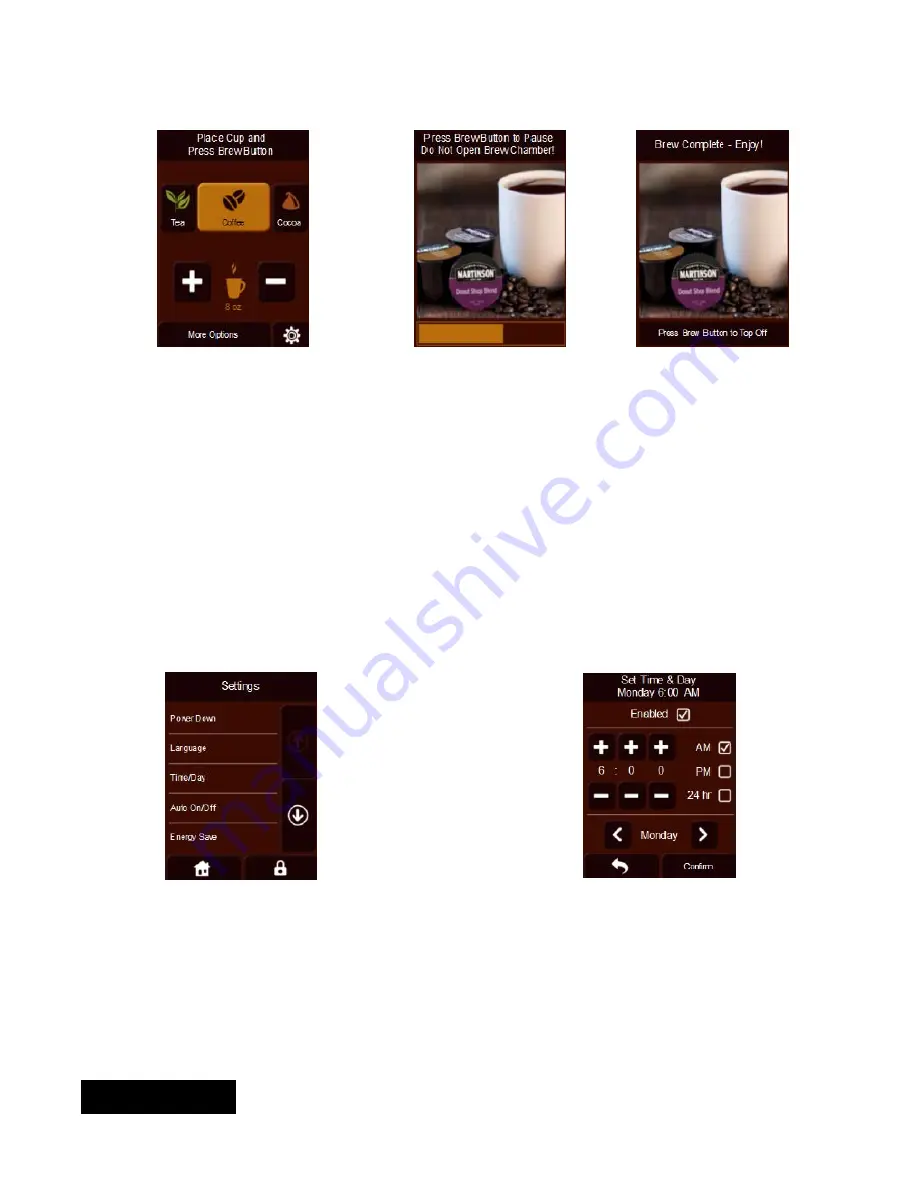
Step 4
– Select settings
Step 5
– Place cup & press
brew button
Step 6
– Remove RealCup™
capsule and enjoy
Brew Button Color
RED-BLUE-GREEN
: Color start up sequence.
RED:
Pulses during heating cycle. Light flashes if there is a fault.
YELLOW:
Steady on when brew chamber is open.
GREEN:
Steady on when ready to brew or at end of brew. Pulses while brewing.
ORANGE:
Fresh capsule must be loaded before brewing.
Topping off the brew – After step 5 is completed, if more hot water is desired, press and hold the brew button until
the desired extra hot water is dispensed. When proper hot water level is achieved, release brew button.
Setting Screens
Set up Screen
: Provides access to Language
changes, Time/Day set up, Auto On/Off changes,
Energy Save, de-scaling brewer, Service Con-
tact, and reset factory defaults (ONLY FOR SER-
VICE PERSONNEL). Home button at bottom left
returns user to “Lift to Brew” screen. The lock
button at lower right enters the advanced setting
screens (pass code protected). If password is lost
a factory reset must be performed.
There are six usable setting screens. The
screens are Language, Set Time & Day, Turn
brewer on at, Turn brewer off at, Energy Save,
and Service Contact. The arrow button at the
bottom left allows going back to basic settings
screen, on previous page, without saving
changes. The Confirm button allows going back
to basic settings screen, on previous page, and
saves changes.
ENGLISH


